Re-wiring your boat is not a trivial task, but if you’re experiencing battery problems, finding it hard to crank your engine or have devices that are not functioning correctly, it’s definitely worth considering. By Norman Holtzhausen.
Like many senior gentlemen with prostate problems, an older boat eventually begins to suffer from electrical woes, and it gets progressively worse. There comes a time when the best remedial treatment probably involves surgery. You can’t fit a new prostate, but you can give your boat a new wiring system.
Problems with the older boat’s electrical system have many causes, but a common issue is that it’s probably enjoyed numerous modifications and ‘upgrades’ over the years, not all to the same standard and some (probably) even downright dangerous.
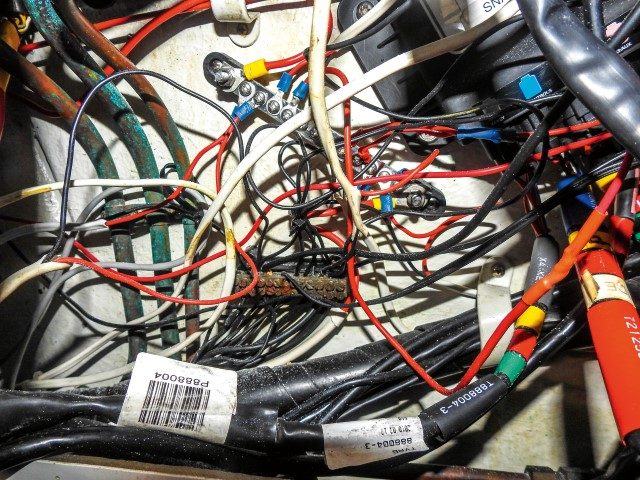
When something stops working it can be hard to trace the configuration of the original wiring. It’s not unknown for repairs to involve simply cutting the original wire and running a new cable, leaving ‘orphan’ connections which may cause any number of problems down the line.
Adding new accessories into circuits can also overload the rating of the original cable. At best this may cause the accessory to not work properly, but at worst can cause a cable to overheat. This could result in damage or even a fire, potentially a catastrophic event on a boat built of flammable material and carrying combustible fuel.
Added to this is the corrosion problem of older cables, especially low-spec, untinned copper wires. DIYers with an electrical flair will be familiar with stripping a wire from an older accessory to find the copper core is completely black. It is very hard to get a good connection with this, and soldering black wire is impossible.
For many of these ‘mature’ boats, the sensible thing is to biff it all and start again. Pull out all the original wiring and run new, marine-grade cabling, properly rated for the total load it will carry. Design the most efficient wiring runs, perhaps re-position the switchboard – and isolate components properly.
THIS IS NOT A DIY JOB
First – decide who will do the job. A complete re-wiring of a boat is probably beyond the scope of most DIYers. Apart from the specialist knowledge required of circuits, materials and specifications, it is also a big job that at times will require multiple hands to ease wires through tight conduits.
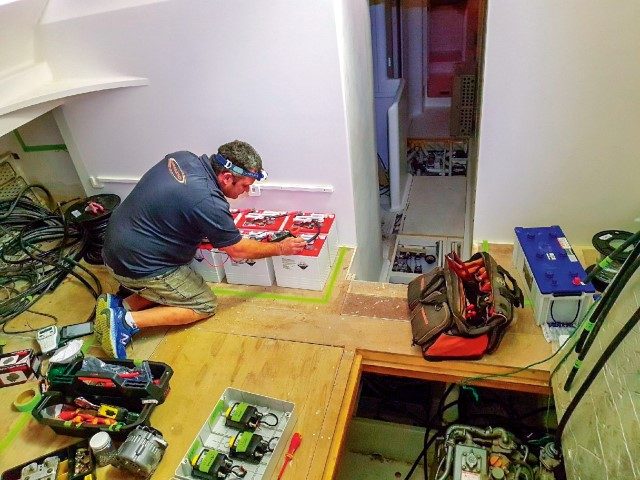
It could take weeks or even months if tackled on a part-time basis. And the job may require some specialist test equipment – if, for example, digital switching circuits are installed. So it’s a nobrainer to employ a specialist marine electrician for the project.
We spoke with Ian Douglas, Service Manager of Westhaven’s Marine Electrics, for some pointers – and his first piece of advice? Switch to digital technology.
Although the existing wiring can simply be replaced with a new backbone, digital switches can simplify the wiring, and certainly add some ‘smarts’ to how items are controlled.
Whereas a conventional system requires power cables running between every item and the central switchboard, a digital system has a single, powered backbone running around the boat. Every item draws its power from this common power source, while a much lighter (and in some cases, wireless) circuit runs to one or more digital switching units.
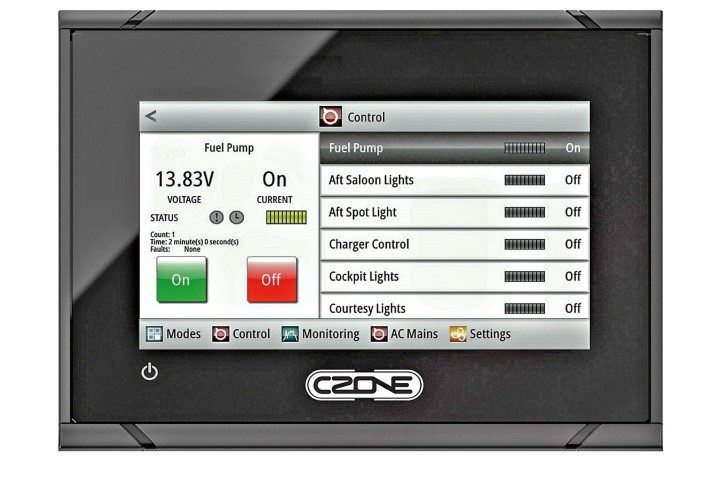
This enables touch screens and mobile devices to be used to control circuits. In addition, multiple combinations of circuits can be grouped into zones to be switched on or off together.
Mastervolt’s CZone and Raymarine’s EmpirBus are probably the two best-known digital switching systems, but there are various other options. Douglas says a digital switching solution should certainly be considered for larger vessels with more complex wiring.
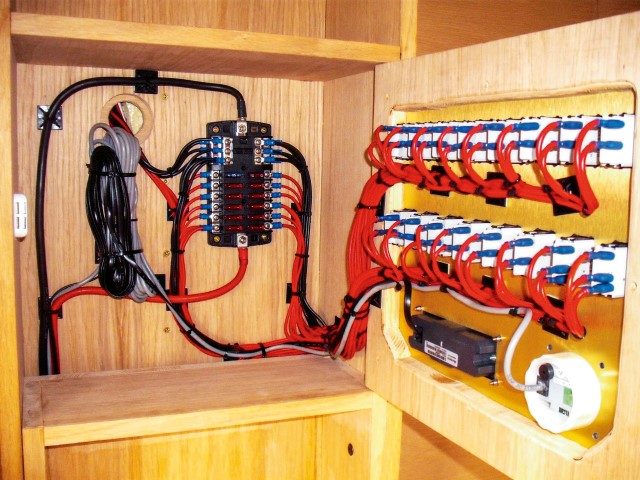
Another area where technology has moved forward dramatically is the area of fuses and circuit breakers. In a well-designed system, every component will be independently fused, so any failure is quickly and safely isolated. Previously, this meant fuses (and spares), but modern circuit breakers are compact and cheap – and a much better option. New regulations also call for Residual Current Circuit Breakers, which respond both to shorts and overloads.
The other major rewiring consideration is incorporating LED lights. Although replacement LED bulbs for older fittings are available, the new lighting units are slimmer and brighter, with many more options for fitting. Marine units are often completely waterproof and use far less power than older incandescent bulbs. This means you can install more lights in more places, with a lighter load on the batteries.
Marine-grade wiring can be expensive, and boat owners on a budget may question why cheaper automotive cable can’t be used. The answer is corrosion. Even the highest-grade untinned copper wire will corrode over time, even within the insulation.
Another common problem on older boats, says Douglas, is the use of underrated cable – a 10-amp bilge pump running over two-amp cable. This can lead to failure at a critical moment when that pump is most needed, resulting a minor issue becoming a major one.
Using non-marine-grade cabling is false economy, and if the boat’s going into survey, approved cable types have to be used or it won’t pass inspection. This may be harder to install and more expensive, but it is safer in the long run and will last for decades.
When designing the new cable layout, there are a couple of basics to consider. A large inboard diesel engine may draw 300 amps or more when starting. This demands large-diameter (and expensive) cables. For this reason start batteries are typically located close to the engine to minimise cable length.
Anchor winches are also high current hogs – typically 50 to 100 amps – and ideally should also have the shortest possible cable run. Both these cables have critical connections, so good-quality crimped or soldered terminals are essential. Your marine electrician will be able to calculate the required cable specifications and connector sizes.
The house circuit, which provides power for all the accessories, needs a somewhat lighter cable. But it is still important to calculate its total possible load (if all devices are turned on simultaneously) and rate the cable accordingly.
Note that electric motors (fridge or water pumps) often generate a surge current the instant they are turned on, which may exceed the normal operating current. After calculating the total load, a generous reserve should be added to prevent problems.
For the best strategy, find a marine electrician in your area. Ask him to review your wiring and make recommendations.
MAINS POWER
Although minor changes to the 12V (or 24V) system can sometimes be tackled by a competent DIYer, mains power alterations must be left to the experts. New legislation being introduced this year mandates that all mains voltage installations require a compliance certificate, which can only be issued by a certified marine electrician. This applies not just to circuits connected to shore power but also onboard generator or inverter-driven circuits.
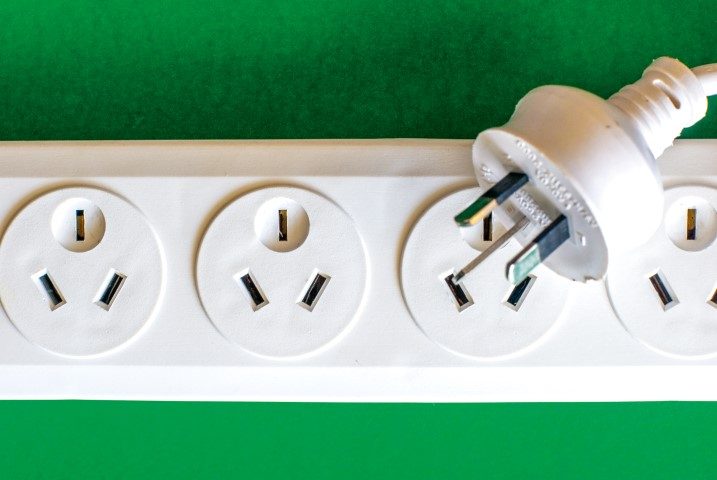
Douglas says lots of larger vessels coming into New Zealand have 110-volt mains circuits. These require large step-down transformers to connect to shore power. Added to this, many older vessels have thermoplastic sheathed (TPS) mains wiring installed, which again is now illegal. “When we see this product in a boat,” says Douglas, “we only have two legal options: refuse to do any further work, or rewire and replace all that cable.”
Note that this regulation has applied to New Zealand houses for some years, as many buyers of older properties have discovered to their dismay.
BATTERIES, CHARGING AND ISOLATING
Any boat bigger than a small runabout will probably carry multiple batteries, with one or more batteries dedicated to starting the engine, and a second unit to run the onboard electrics.
This installation prevents cell damage, as there are two types of lead-acid batteries: starting, and deepcycle. Starting batteries deliver a large current for a short period and cannot withstand repeated discharge. A deep-cycle battery provides sustained power over an extended period without being damaged.
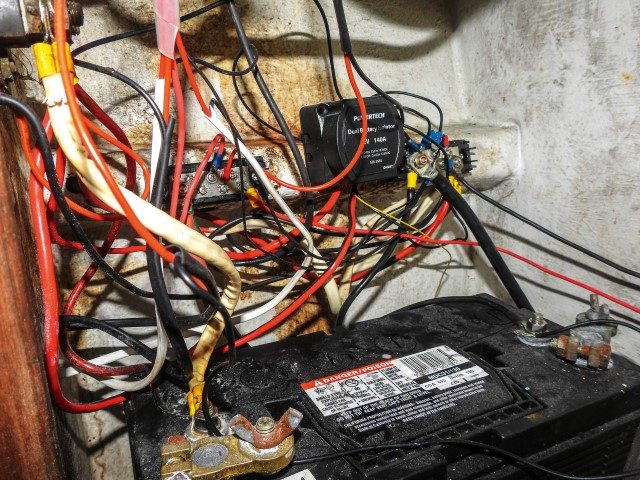
For two different battery types to co-exist happily in the boat, a voltage sensing relay (VSR) is used. This ensures the starting battery is charged up first by the engine’s alternator, and only once it’s fully topped-up is the house battery charged. It also prevents the house circuit from draining power from the starting battery – so the starting battery remains fully charged.
Added to this complexity is new battery technology, which requires higher charging voltages than in the past. Most engine alternators deliver a peak of around 14.2 volts, but modern AGM and calcium batteries may require 14.4 to 14.6 volts to charge properly.
Douglas recommends replacing the built-in regulator with an external regulator to get optimum charging and extend battery life. He says this will save money in the long term.