When Norman Holtzhausen found himself stuck at home again during Auckland’s short, sharp lockdowns last summer, he decided he needed a project.
I have a particular boat project I have been planning for some time, and a key part of that project will involve removing the interior of my boat’s large saloon and cabin and re-configuring the layout. The original boat was built as a commercial fishing charter vessel, and it was woefully short of the standard I desired as a family vessel. I also wanted to play around with an idea I had for moving the fuel tanks and helm position, which required some trial and error to see what would be practical.
Drawing pictures and sketches was not an option for me, given my lack of artistic ability. Also, there is nothing like actually seeing what things will look like when planning new layouts for seating, galley and toilet. On a practical note, I want to be sure of my layout before I start ripping out the interior on the boat.
Plus, we were now in lockdown!
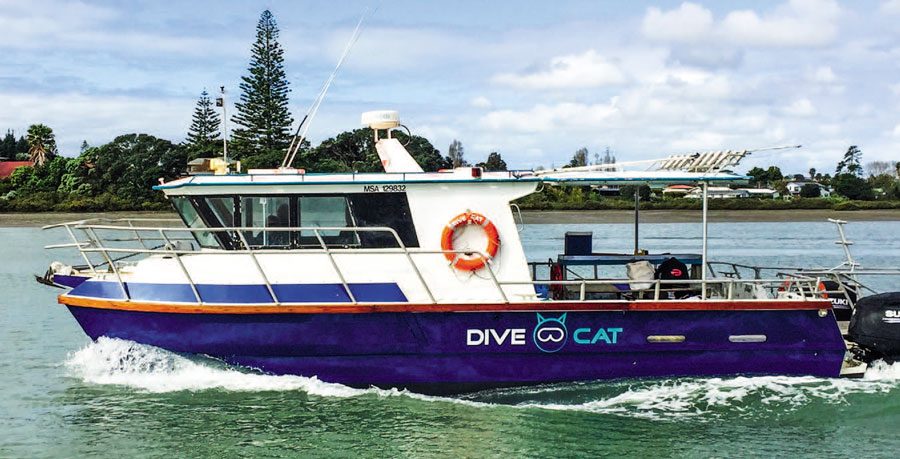
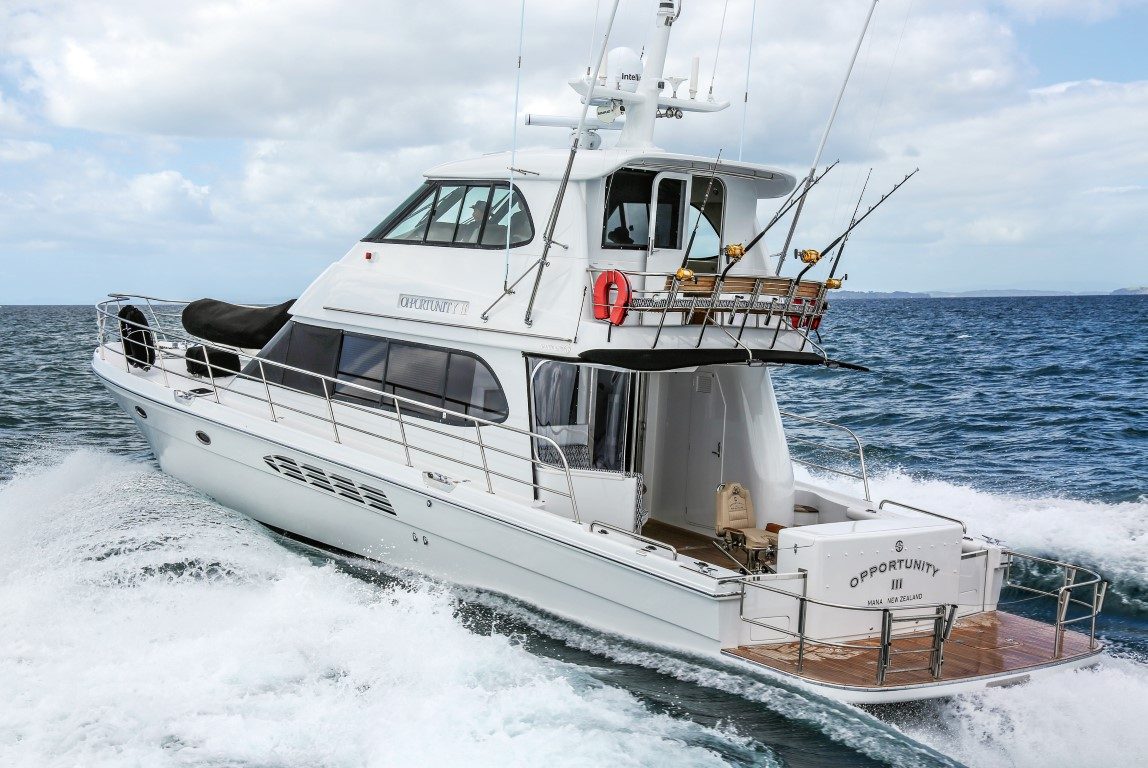
Dive Cat in happier days
So, I hatched a plan to first build a scale model of the boat. Luckily my vessel is an aluminium plate design with no complex curves, which is easy to reproduce in thin plywood. Although I do not have the original plans for the boat, I had taken an extensive set of detailed interior and exterior photos when I purchased her. And when I had her exterior vinyl wrapped, I had measured up the critical dimensions of all the main panels. With these, and the photos, I could estimate any other dimensions I needed.
To make my plan even more feasible, during the first lockdown last year I had splurged on a workshop laser cutter. I have used this a fair bit to cut out plywood, MDF and plastic pieces, and it is perfect for repetitively and precisely cutting detailed shapes. I also had a fair bit of 1.6mm plywood left in the shed from the last project, as well as some 3mm-thick MDF.
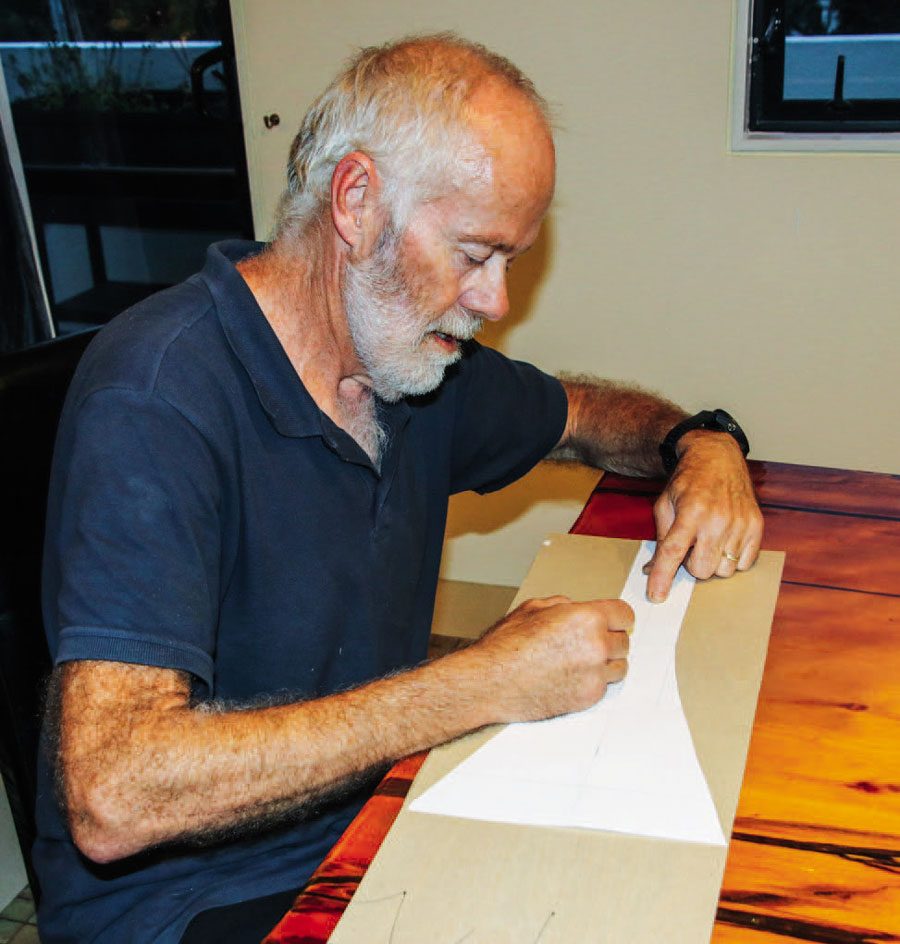
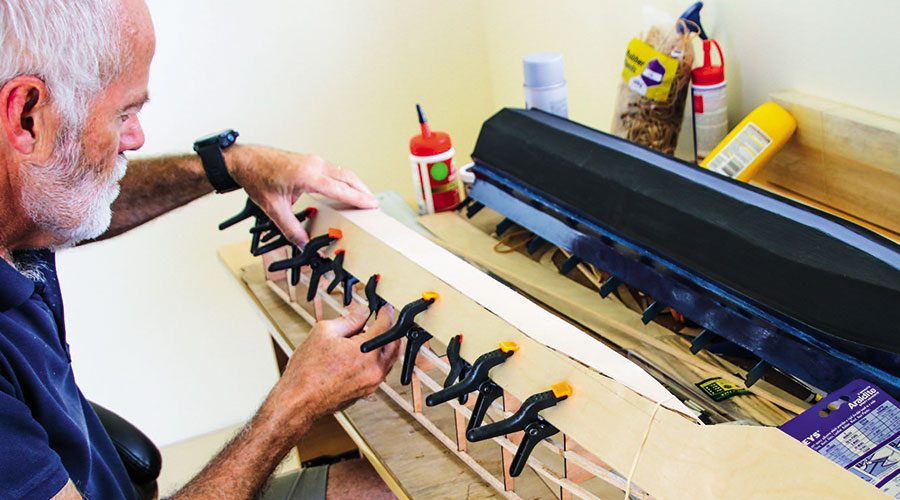
Norman transferring the paper template to the plywood.
Looking online, I saw my local hobby shop had some 0.8mm plywood sheets that were perfect for ‘plating’ the sides. Better still, they could deliver these during lockdown. A mixed pack of balsa wood for various parts was added to the order. The only other major item I needed was a large supply of quick-set epoxy, which I ordered on a click-andcollect basis from the local hardware store.
First item on the agenda was to decide on an appropriate scale. A 1:10 scale makes the calculations super-simple from the measurements I had, so that seemed obvious. The resulting model would be large enough to be a ‘proper’ model and would be ideal for playing around with the alternative layout. I did not fully appreciate how big the finished boat would be, however – more on that later!
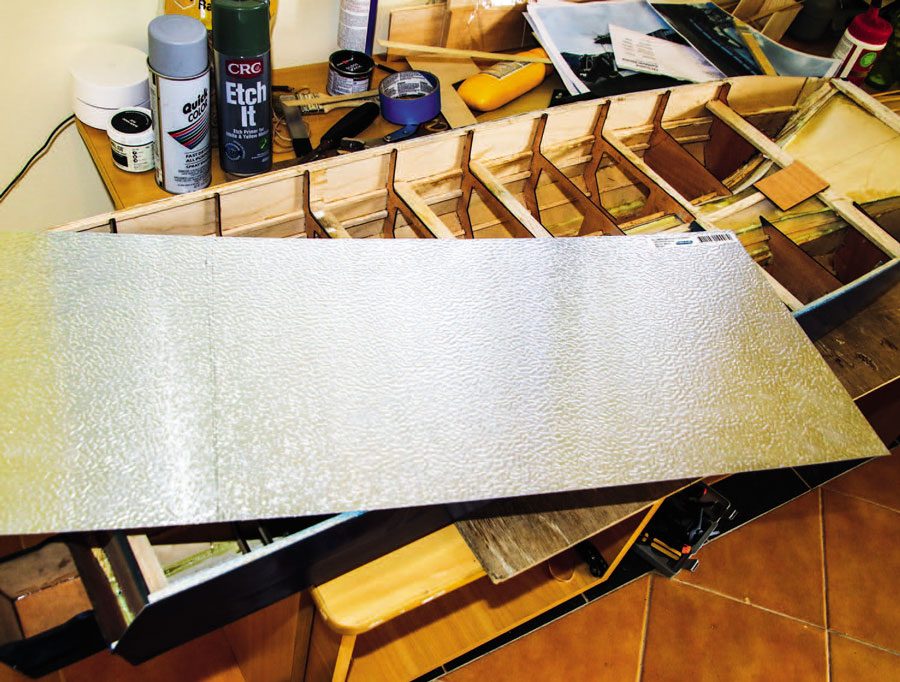
Aluminium stucco plate from the hardware store
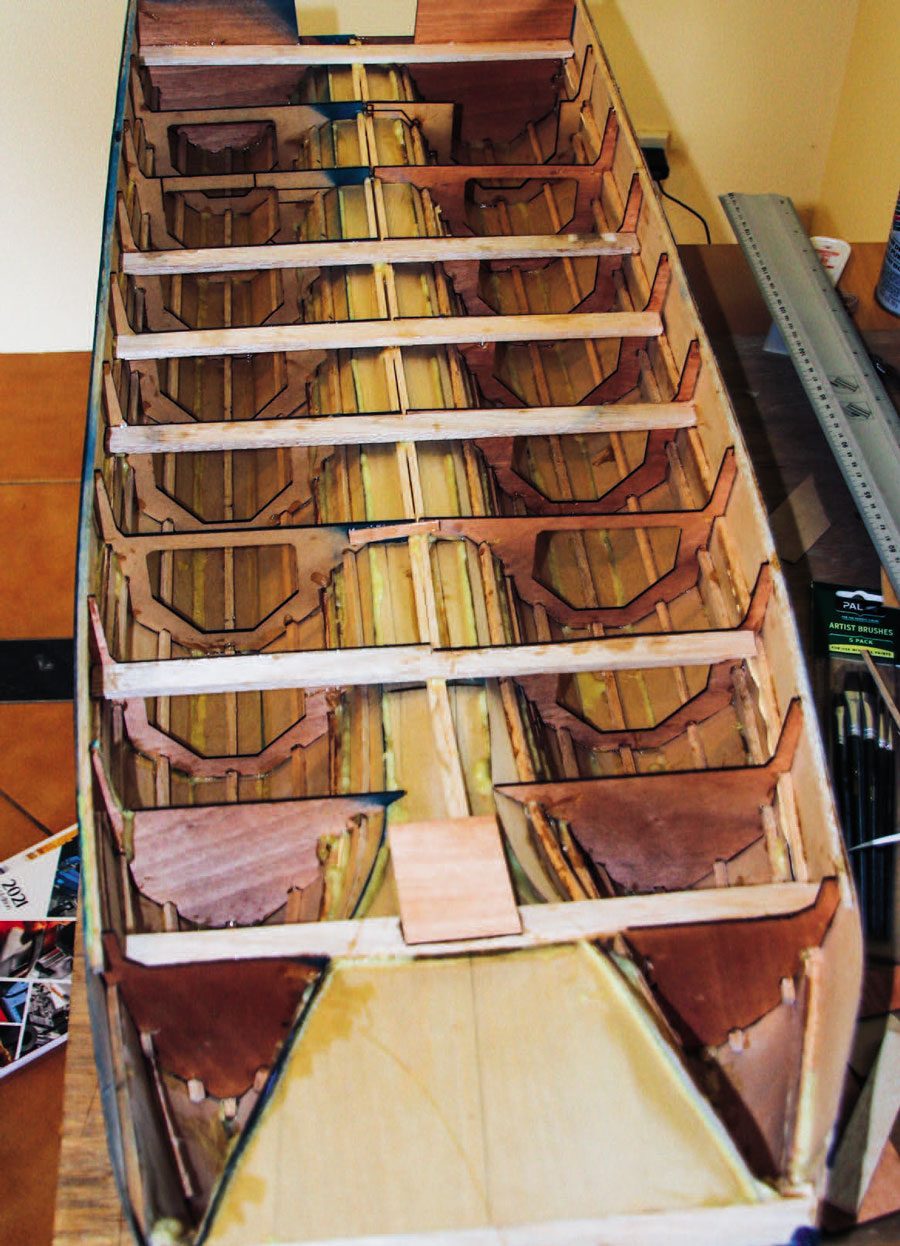
I used my computer to draw the bulkhead shapes, based on the inside-hull photos and measurements I had taken previously. My boat is a catamaran, so has two hulls that are mirror images of one another. Also, the hull sides are dead straight for 80% of their length, and only taper in the front two metres or so. Hence, I was able to design and cut out a whole bunch of identical bulkheads for the length of the hull, and then just taper down the last two. Using the laser meant I could pre-cut the notches for the stringers, and also get every detail down to the chines and planing strakes cut out as close as possible to match the real thing.
A day of laser cutting ensued. I started using MDF for the bulkheads, but this generates lots of smoke and carbon which slows down the cutting. Switching to the plywood enabled me to cut the required shape much more quickly. The downside of the plywood was the thinner material has less edge surface to take glue, and also could be more easily deformed when assembling the frame.
The size and complexity of the build soon became apparent.
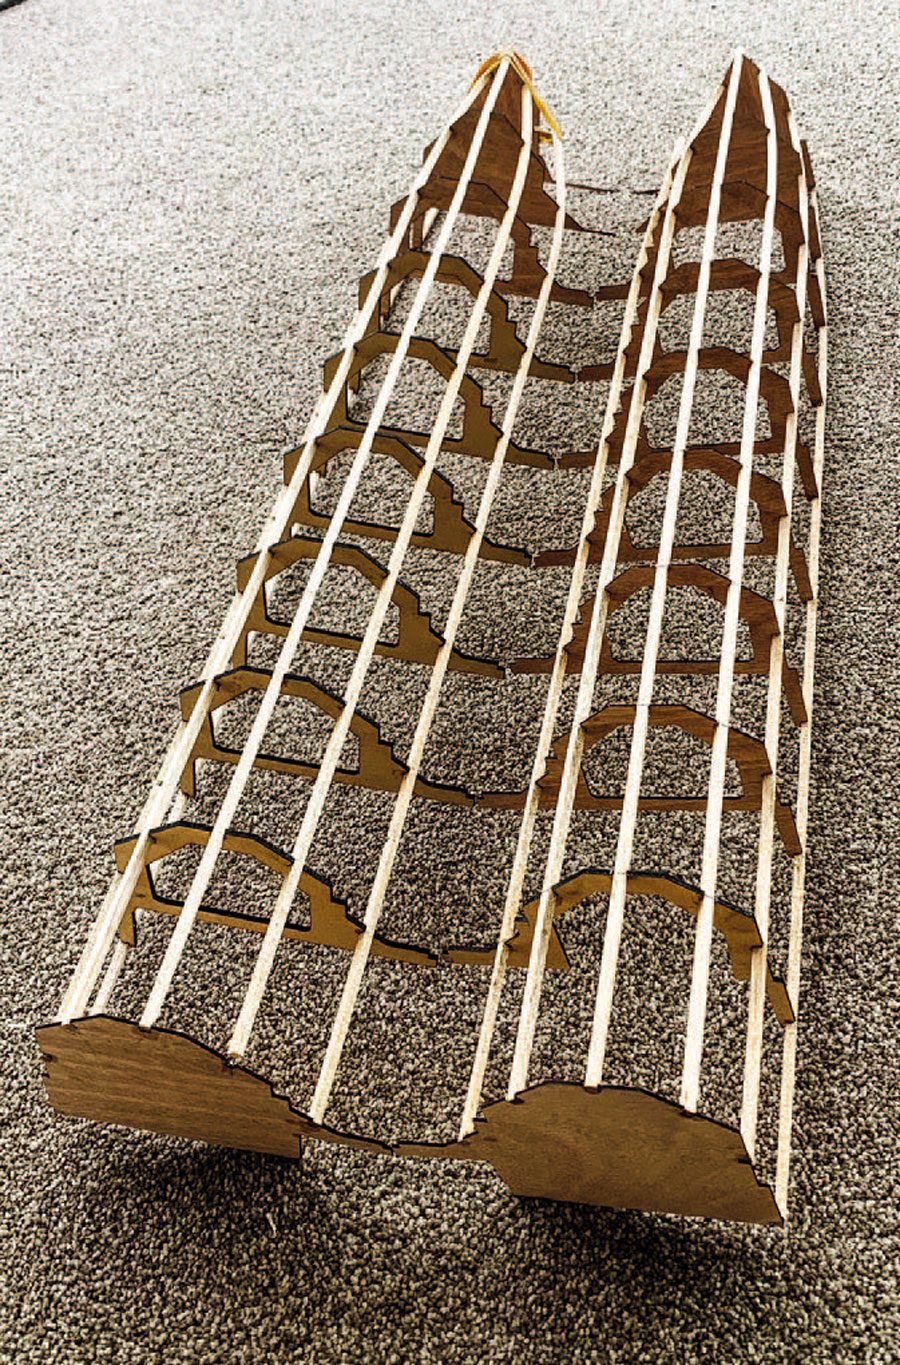
Once I had all the bulkheads cut, I used balsa strips as stringers to build the basic hull structure, using the dining room table to get it flat and square. It was only when I had scarfed two balsa strips together to achieve the required length for the keel strip that I realised quite how big my model would be. An 11m catamaran at 1:10 scale makes a model that is over a metre long and close to half a metre wide! Too late now – I was committed.
After assembling the bulkheads and stringers for each hull separately, I then ‘plated’ the hull with the 0.8mm plywood. Fastset epoxy is perfect for attaching the ‘plates’, reducing the clamping time and speeding up the build. Luckily, I also had a VERY large number of mini clamps in my workshop. The hull plate sections had to be cut by hand since their length exceeded my laser cutter’s capability, but the thin ply is easy to cut with a box cutter or a pair of scissors. A few mistakes were made, but a spot of filler would sort those out later on.
Decks in place
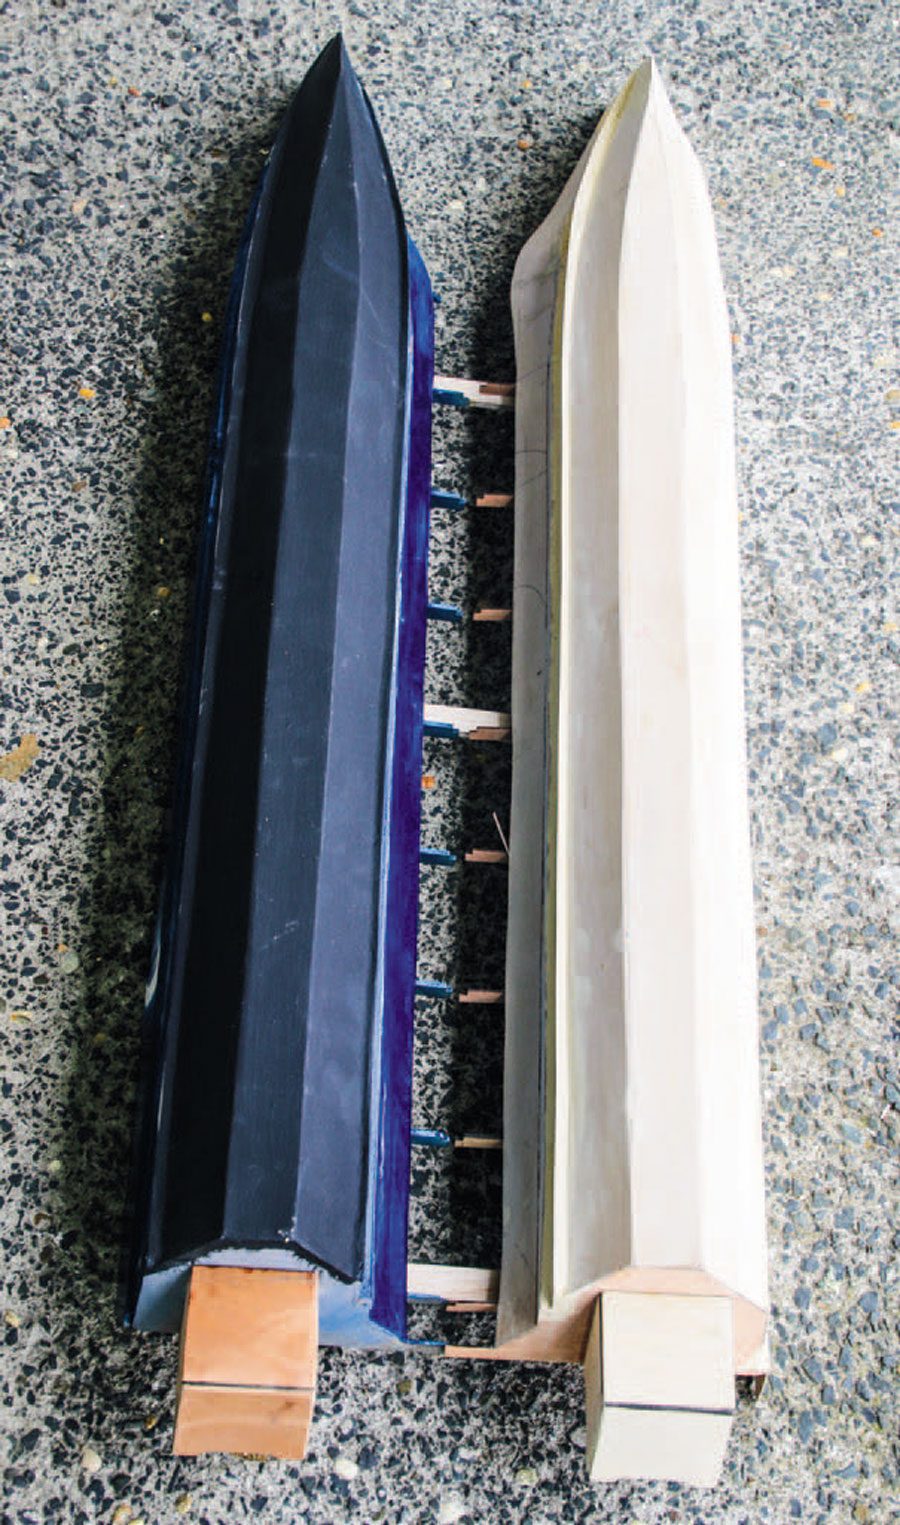
Within a couple of days, I had both hulls framed and covered, apart from the deck and wing deck. Hand shaping the hull sides required several attempts to get the bow profiles to match exactly – a bit of extra cutting, followed by extra filling, ensued. While the hulls were separate, I could sand, fill and partially paint the final shapes before joining the deck beams together. The wing deck was a tricky shape, but a bit of trial-and-error with some thin cardboard allowed me to get the correct shape before cutting out in ply.
At this point the first lockdown lifted, and it looked like the project would go on hold for a bit. But never fear – a week later Auckland was back in Level 3, so back to the project.
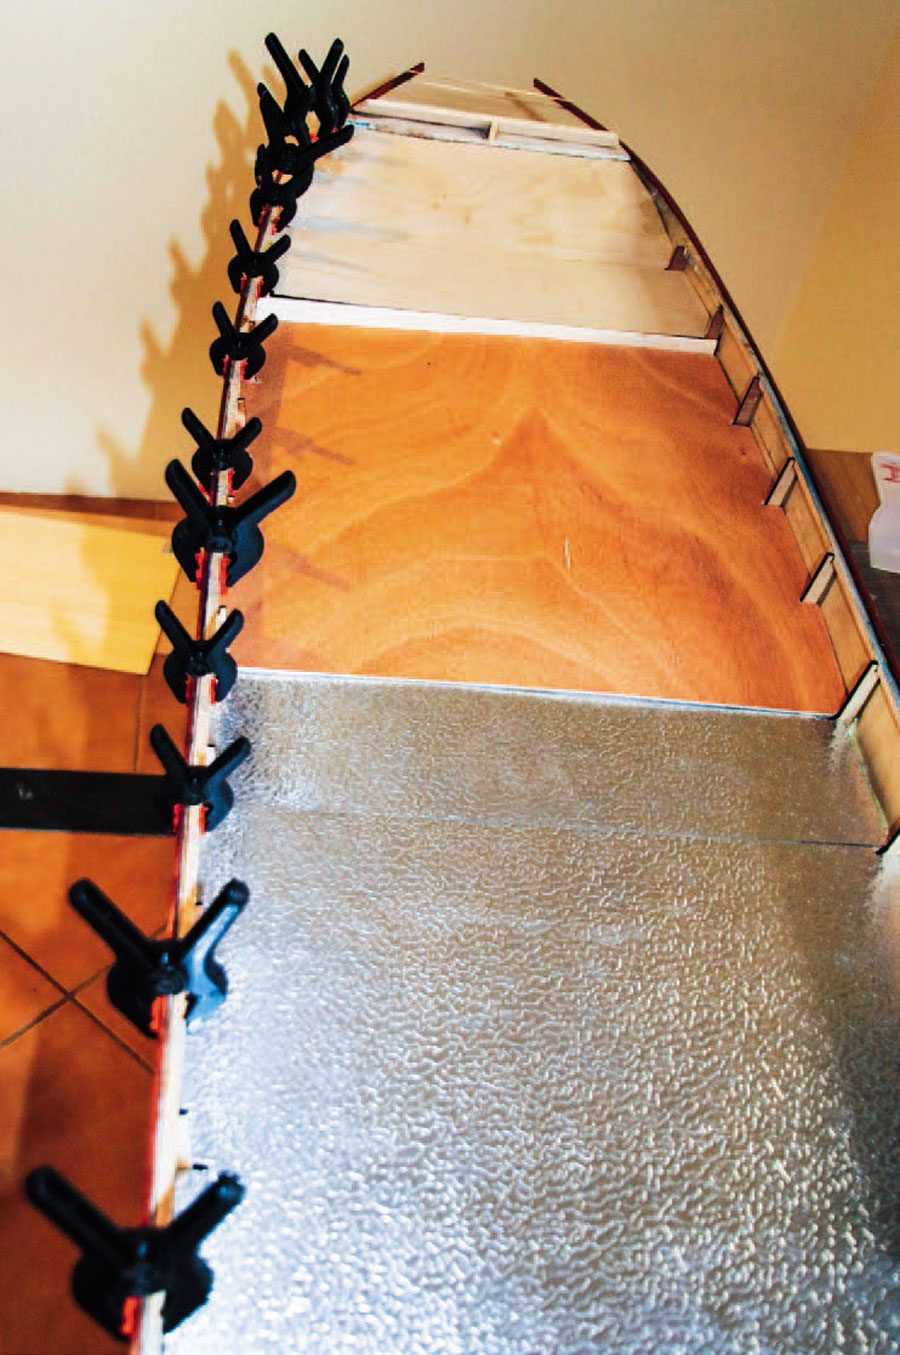
Lots of mini clamps…
With the hull exterior mostly finished I could start on the details and superstructure. The transom and outboard pods took a bit of fiddling, as I did not have any dimensions of these on my pictures. I used the laser cutter to cut some thicker ply for this, to give added strength. In the meantime, I had discovered www.alterscale.com, a company in the USA that makes 1:9 scale model outboard motors. This is close to my model’s scale, and I ordered a pair of Evinrude 300hp engines. Although my boat has Yamahas, the Evinrudes are also V8 models, so I can simply change the decals on the engine cowlings.
Bulkheads assembled into the hull frames.
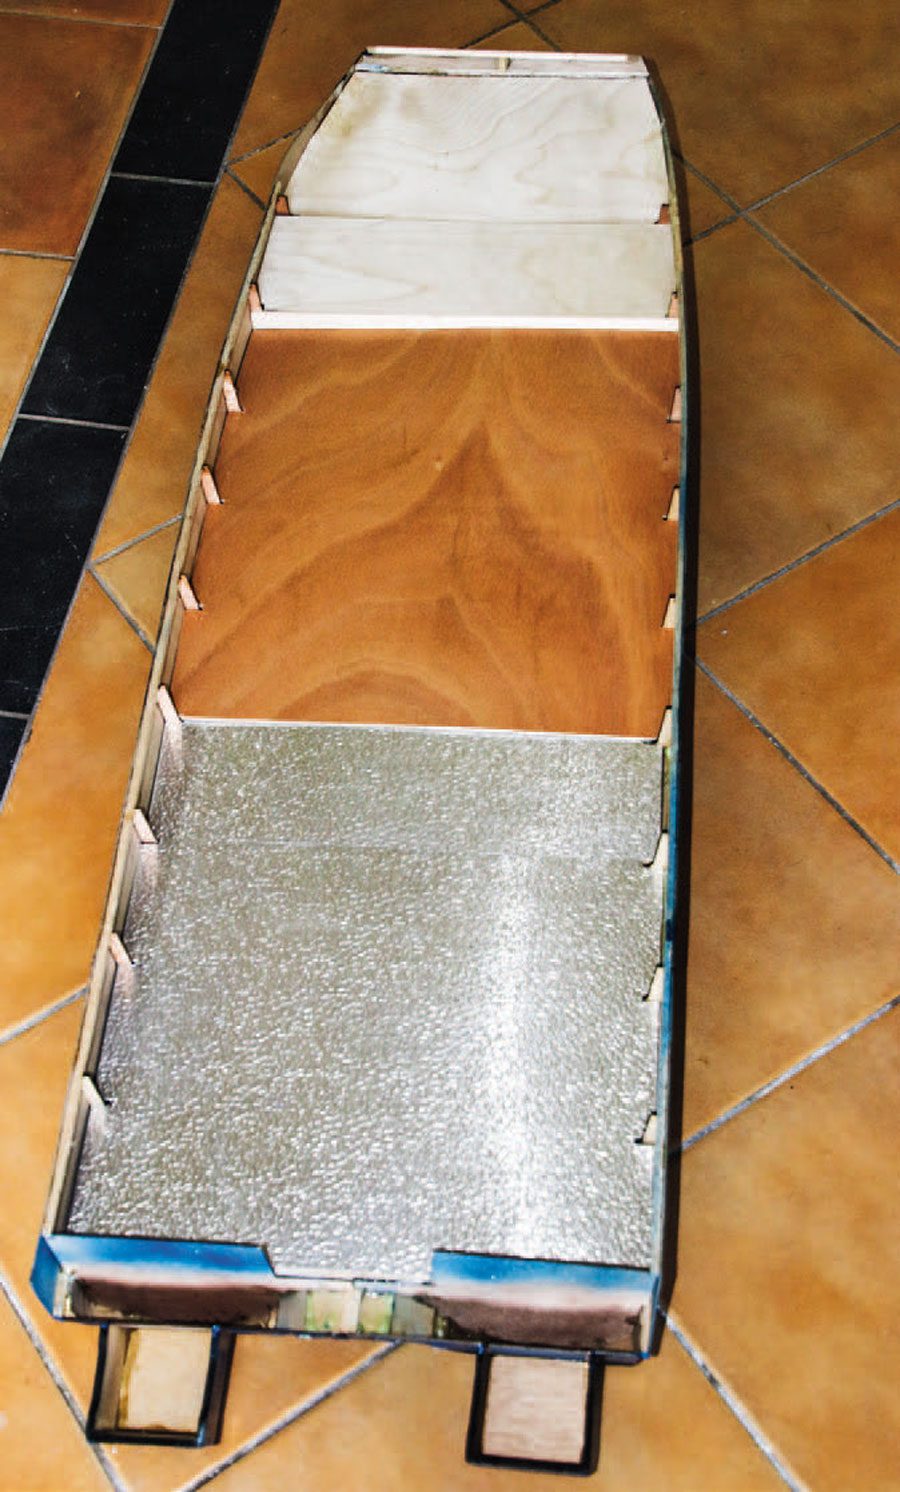
Next was the deck and saloon floor. Because I am planning to change the layout, I did not fix it in place just yet. The outer cockpit is the only part of the boat with bare aluminium showing and I discovered the hardware store sold small sheets of 1mm-thick textured aluminium plate. Between this and the ply I soon had a fully decked hull.
 Joining the hulls
The final major step was the cabin. Ideally, I wanted the cabin sides fixed with just the roof removeable, but since I was not going to fix the deck down just yet, I decided to make the whole cabin as a single unit that lifted off. The cabin sides are large and complex shapes which I had to approximate by eyeball from the side-on pictures I had, plus the hull dimensions.
With the sides cut out and the roof shaped (did I mention I also had a drone picture of the boat?) I could start to assemble the cabin. This proved reasonably complex, since the forward cabin has a bunch of stepped sections designed to increase headroom above the bunks. Once again, in the absence of precise measurements and angles, I had to eyeball these.
And pretty soon I had something that looked exactly like my boat! At this point the project is adequate for my needs, because I can now experiment with different galley, toilet, seating and helm layouts.
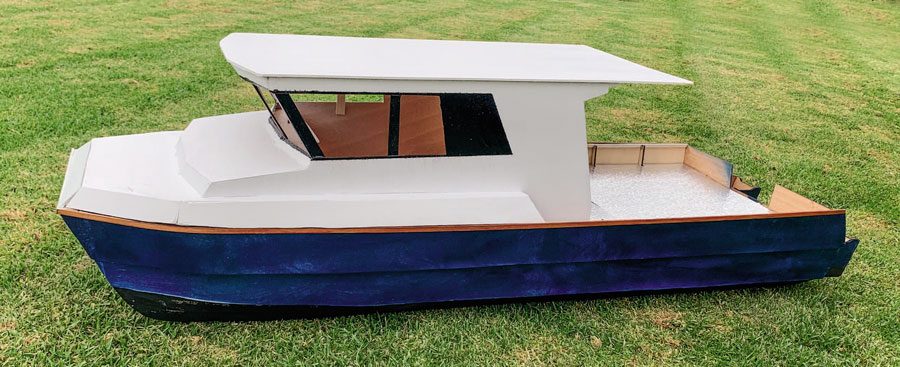
The almost finished model.
Of course, it is not finished by any means and having come this far I plan to complete it to a fully working model. Apart from the outboards, which are currently being shipped, I have discovered an online model yacht shop from where I can buy a scaled-down steering wheel, dual throttle control, panel switches, cleats, gauges and even a chartplotter. I also need to add the guard rails, life rings, radar arch and a few other small finishing touches.
The only significant item I have not yet found in 1:10th scale is a model toilet! BNZ
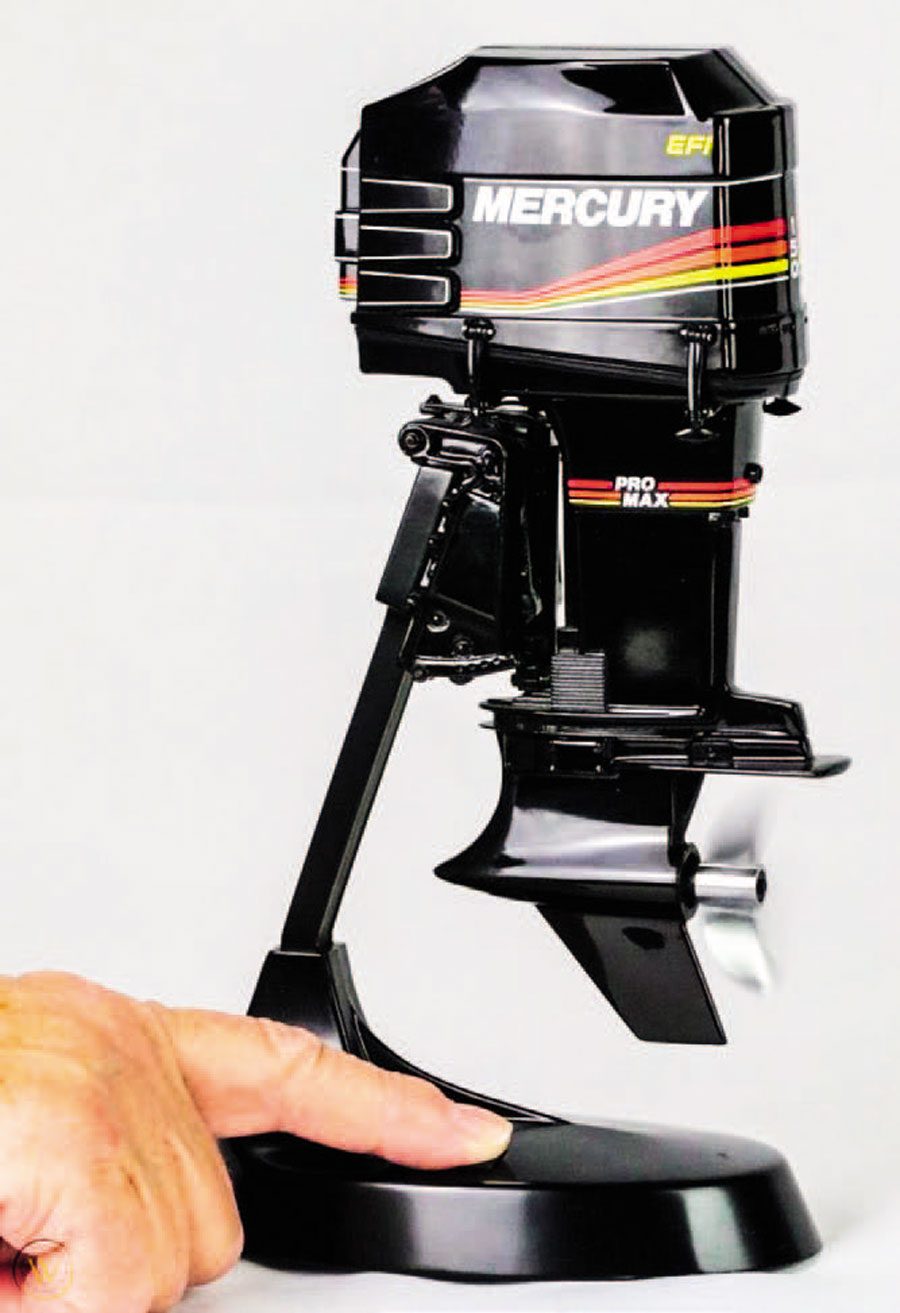
1:9 scale model outboard motors are available from specialist model retailers in the USA.
Norman’s boat Dive Cat was lost at sea in February 2020 but locating the wreck’s exact position proved difficult. Nonetheless, Norman made plans to salvage Dive Cat himself, using lockdowns to order equipment and consult with experts, while also planning a major revamp of the salvaged vessel’s interior. After its position was eventually pinpointed in March 2021, a salvage attempt was foiled by gear failure. Norman says he will try again soon, once the sea warms enough to make diving on the wreck easier.