Is you bilge pump installation up to moving a large volume of water out of your hull should the need arise?
Many people have asked why my aluminium power catamaran Divecat sank, and while there were several contributing factors, one that could and should have been mitigated against was the bilge pump installation.
All boaties should consider whether a single bilge pump is adequate should you ever need to move a lot of water out of your hull in a hurry.
So firstly, some background.
Divecat passed Maritime NZ survey just over two months before she sank. That implies the boat design was approved (i.e. was deemed to be inherently stable and safe), and all the installed safety equipment was of an approved type, configuration and had been tested as part of the survey process. Nevertheless, she took on water and was unable to get rid of it – or even let the skipper know water was coming in – until there was so much weight onboard it began to affect the boat’s handling.
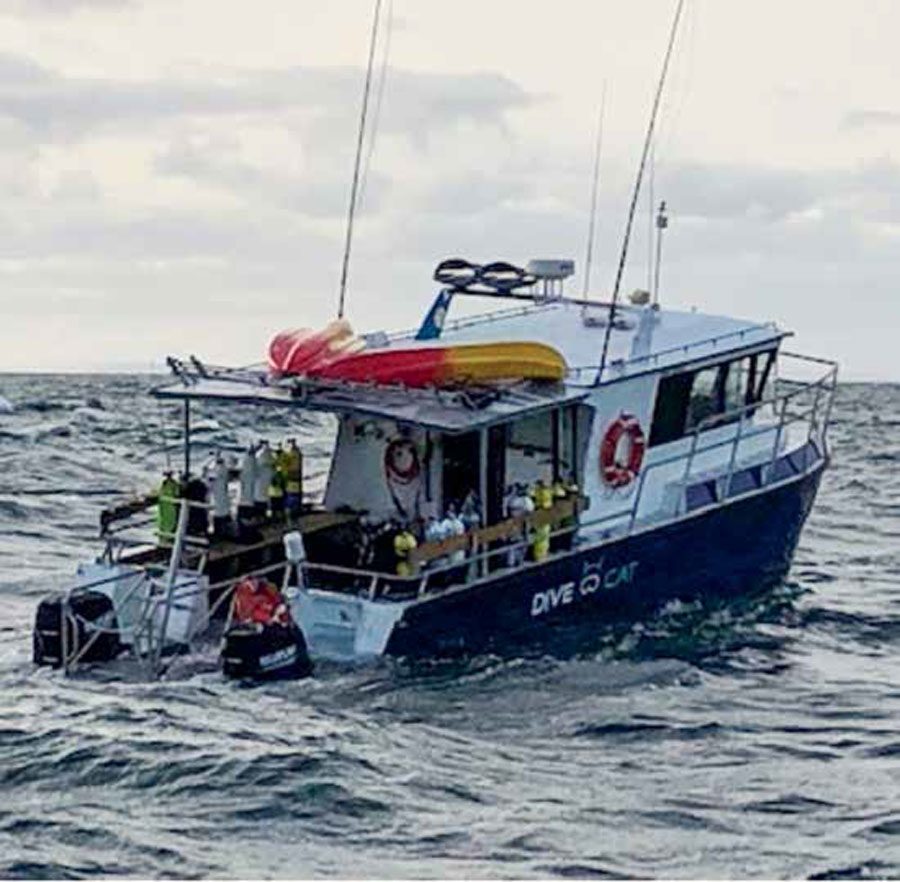
On the day Divecat sank the sea conditions were not great, although well within her operating limits. However, a steering issue and a nasty chop meant we were travelling at just below planing speed, which meant that the pressure waves in front of the outboard legs were pushing up against the transom of the boat. And because we were not planing, the boat was ‘squatting’ at the transom which lifts well clear of the water at normal planing speed.
And this is where the transom design was at fault, with an angled plate that allowed water to slosh up and into the bilge pump outlet. This can be seen in the pictures. That outlet was also too close to the waterline – not a problem at rest, or at planing speed, but a definite issue at slower speeds, especially when the transom drops to its lowest point just before the boat climbs onto the plane.
On the day, water would have been sloshing into that outlet hole, and then running down into the bilge. As the water level rose the float switch should have kicked in, starting the bilge pump and the alarm alerting the skipper. Neither happened, for reasons we haven’t been able to determine. When the boat was recovered, the bilge was full of silt and debris, and although the float switch seemed to function, it may be that something loose in the compartment (some gear perhaps?) had interfered with its operation.
So, the water siphoned into the hull through the outlet, slowly at first and then faster and faster as the stern dropped lower. Eventually water was coming in through other openings as well, until even manually operating the bilge pumps couldn’t control the rising water.


A second design fault came into play at this point: the original watertight bulkheads inside the hulls were positioned for an inboard engine configuration. When Divecat was switched to outboard power (and the weight of the engines moved nearly a metre behind the original transom) no new bulkheads were fitted. Thus, the rear compartment in each hull was now almost 50% of the vessel’s length and once full would have dragged the whole vessel down.
With the benefit of hindsight, a number of these factors could have been easily mitigated while others would have been less easy.
Fitting new bulkheads and changing transom profiles are major engineering exercises, while weather conditions are outside our control. On the other hand, changing the location of the bilge pump outlet is easy, and a better bilge pump configuration is a no-brainer. That’s what we’re planning to do as we restore Divecat to operational condition. We will also be installing a second float switch as an independent high-water alarm.
The first aspect of the new installation is to increase the pump capacity. The vessel came with 2,000gph pumps (about 7,500 litres per hour) in each compartment. This sounds like a lot but is inadequate for a compartment with a volume of over 3,000 litres. Going to the largest size pump available – around 3,600gph or 14,000 litres per hour – means that, in the worst case, the entire volume can be emptied in under 15 minutes.

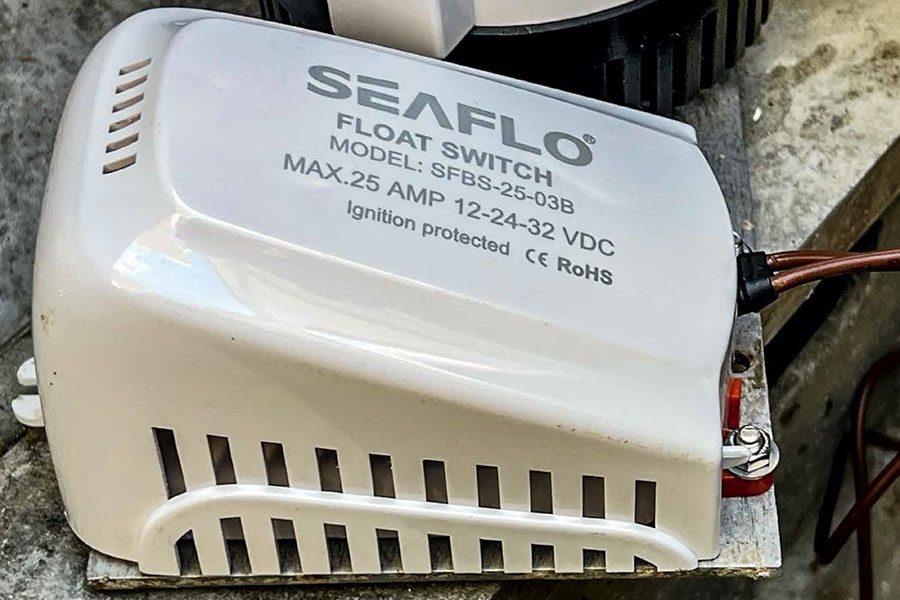
The second technical detail is the float switch that operates each pump. While a standard bail-arm float switch is simple to fit and easy to test, it can be easily obstructed if there are loose items in the bilge. I suspect this is what happened in our case, as there was some loose cordage, a gaff hook, a bait board, a couple of fenders and some other stuff in the compartment.
A better solution is a fully enclosed switch with a ‘cage’ around the floating arm. This prevents anything interfering with the movement of the float. The only downside is that they are harder to test since you cannot just flick the bail arm up with your finger.
Another option is an electronic switch with no moving parts, although these are more expensive.
And the third aspect I wanted to address was how to prevent water from siphoning back down the pipe. Some pumps come with a rubber one-way valve inside the outlet, which theoretically closes when there is any back pressure. Alternatively, an in-line non-return valve can be installed into the outlet hose. However, these can partly impede the flow of water through the pipe, thereby reducing overall pump capacity. They are also hard to test and are easily blocked by detritus, preventing the valve from closing in the case of back pressure.
A far better solution is an anti-siphon loop fitted to the outlet hose. We elected to install a model from TruDesign, a Kiwi company that is at the forefront of plastic marine fittings. This plastic loop is installed in the hose line at a position higher than the bilge outlet. It includes a small air valve at the top of the loop. The valve drops open and allows air to suck in when the pressure drops, so it is impossible for water to back-siphon through the outlet. Also, this design does not impede water flow, unlike the non-return valve, so that almost the full pump volume is available. Anti-siphon loops are also relatively inexpensive and easy to install.

So, our new bilge pump configuration included:
• A large-capacity pump
• An enclosed float switch
• An anti-siphon loop
• Raising the bilge outlet higher above the waterline.
The photos show the progress so far. The original pump and switch used 32mm bilge hose, while the new setup required 38mm hose. That slight increase in hose diameter gives an effective 50% increase in hose capacity (thanks, High School geometry!), although it did necessitate completely new throughhull fittings. And the new outlet is approximately 30cm higher than the original and now higher than deck level. Luckily, we had space inside the transom to position the vented loop even higher than the outlets. We can install one of the new bilge pump configurations, and as we progress with the boat rebuild, we will be installing identical configurations in each of the hull spaces.

There is one more component that we are going to install, and cruising yachties will be familiar with this – a high-water alarm. This is a second, completely independent float switch connected to a buzzer at the helm. It will be located about 5cm above the first float switch and in a slightly different position in the compartment. Then, should the first switch fail for whatever reason, we will get a warning that there is water in the bilge while the level is still low enough to deal with. It is easier to manually pump a hull with 10cm of water in the bottom than one with water nearly a metre deep and rising! BNZ


