Strayline fishing is perhaps the most effective bait fishing technique, especially for snapper. It’s essentially a simple fishing style, but taking the right approach is essential for consistent success.
Assembling the right tackle, using it correctly and employing a careful, thoughtful approach to your fishing should bring success. Last month we discussed the stray-line rig and some of the preparations required before starting a stray-lined baits fishing session.
These include:
• Using an outfit that casts well (7–8-foot/2.13–2.44m rods with reels filled with 6-10kg nylon)
• Making up at least half a dozen two-hook rigs in advance
• Anchoring the boat so it’s 30-50m up-current from where you are targeting fish
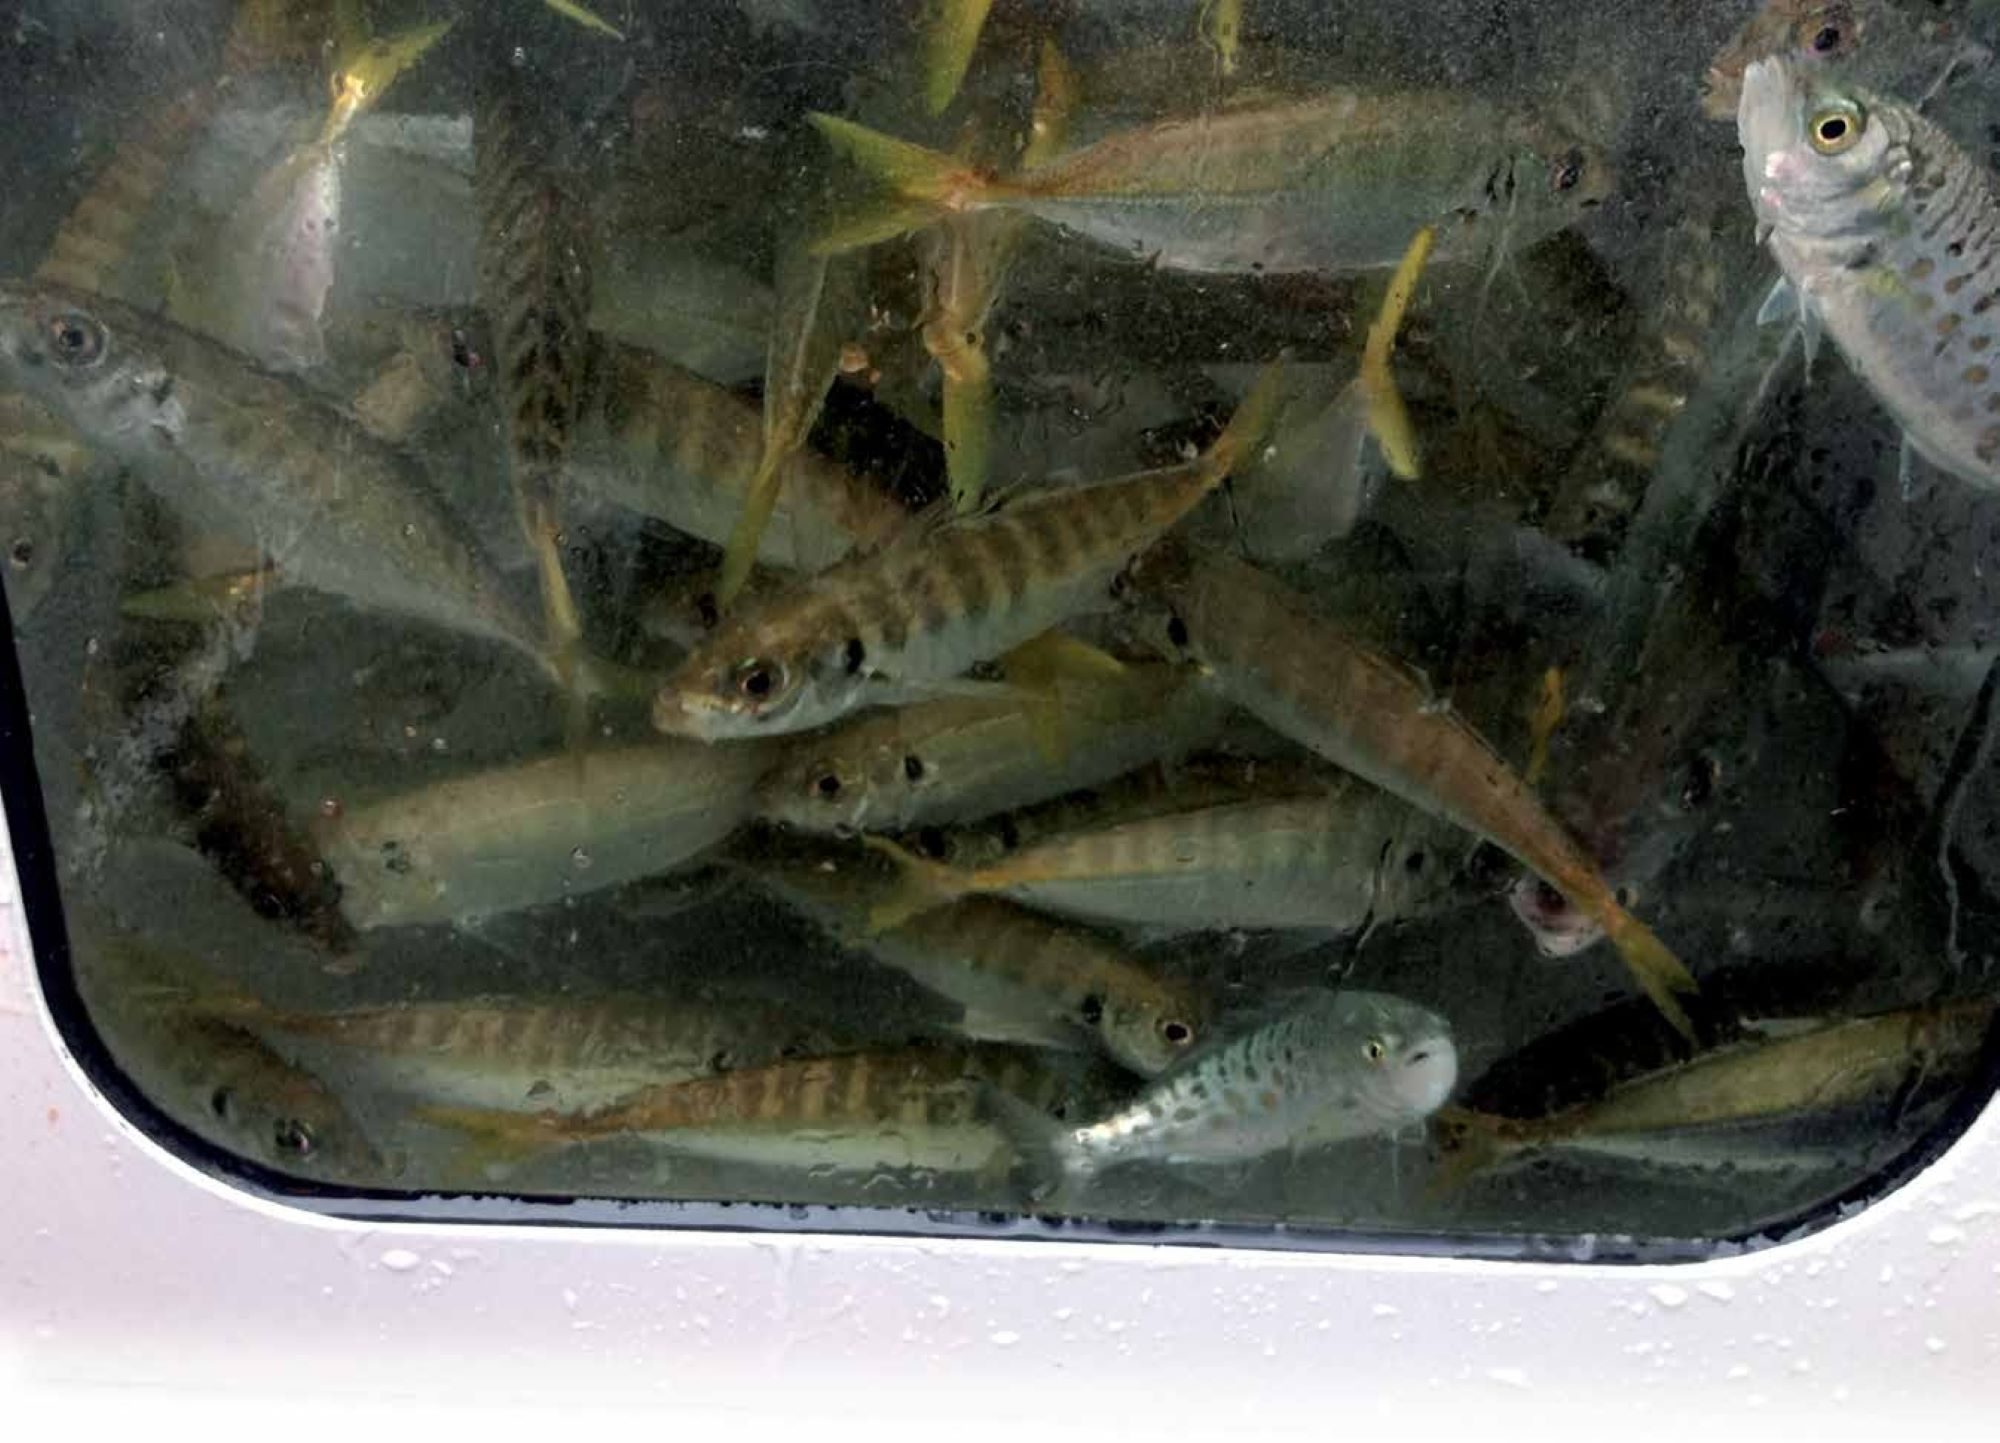
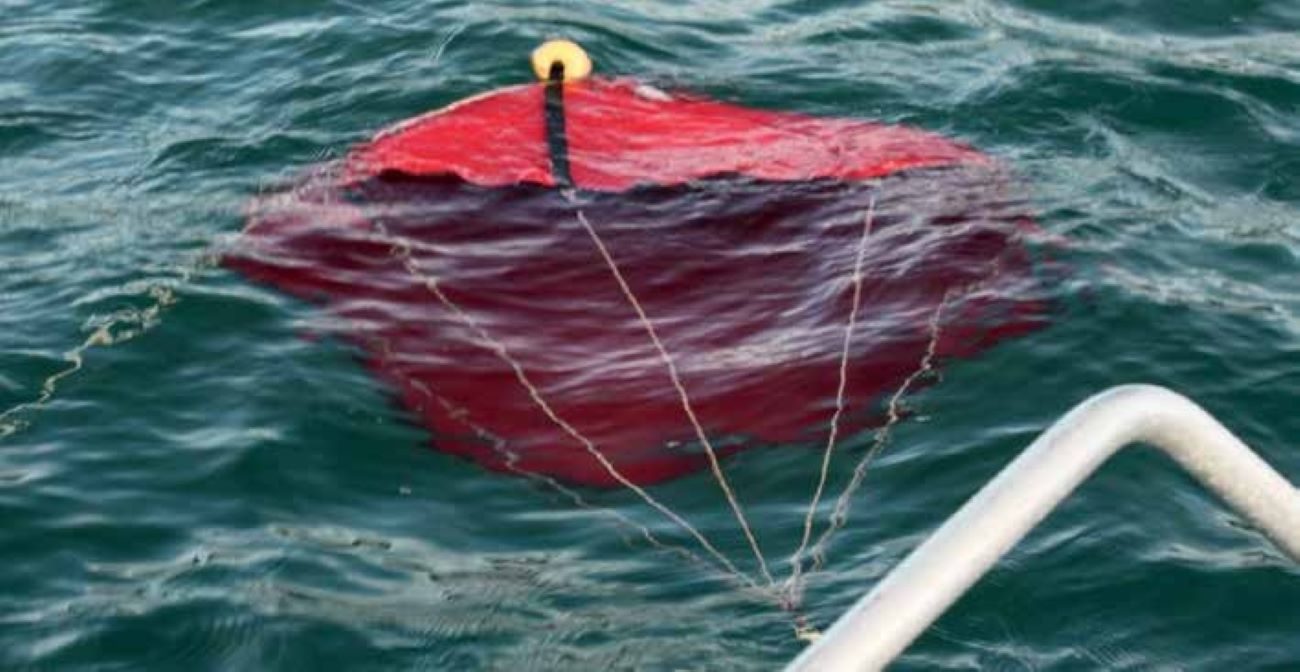
• Deploying frozen berley suspended one or two metres off the bottom in a weighted berley dispenser to create a berley trail
• Rigging baits so they are reasonably well-secured to the hooks without choking them.
With all that done, you are ready to make the first cast.
THE CAST AND BEYOND
The ability to cast around 20-30m can pay dividends, as the better fish tend to hang further back behind the boat, especially in shallower water (i.e. less than 20m). Position yourself in the cockpit to allow plenty of casting room and be mindful of rods in the overhead rod rack which might obstruct the cast!
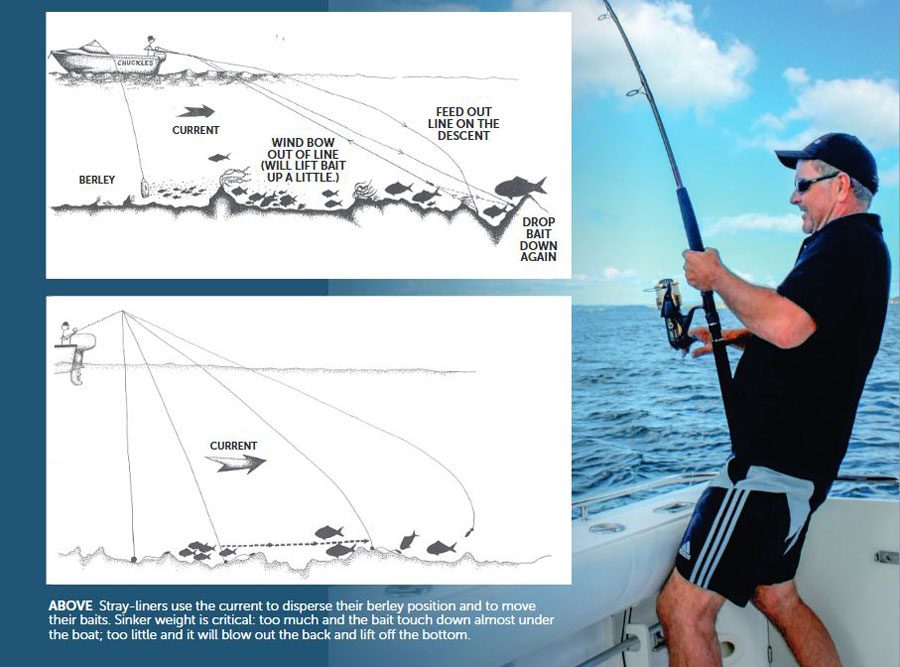
Once the bait splashes down, rather than allow the current to pull the line off the reel, steadily feed line off the reel by hand so the bait descends more naturally. This also lets the current carry the bait further from the boat so you’re more likely to reach those warier fish holding further back.
If instead of drifting away from the boat the bait drifts back towards you and under the boat, you are in a ‘wind against the tide’ situation – not ideal when stray-lining. If that happens, shift to a more wind protected area or seek out somewhere that has ‘wind with the tide’ conditions. Islands are a good bet, suitable conditions can usually be found somewhere around their shores.
Watch the line as you feed it out, staying alert for any slight hesitation or decrease in the descent rate. This indicates the bait has reached the bottom — or it has attracted a bite on the way down.
When you feel the bait touch down, wait a few seconds in case it’s a bite (see below on hooking the fish) before engaging the reel and winding up any slack line to get tight to the bait. Now open the bail-arm/disengage the gears and let some line out again to reposition the bait on the bottom – it will have lifted off in the current when you tightened up on the line.
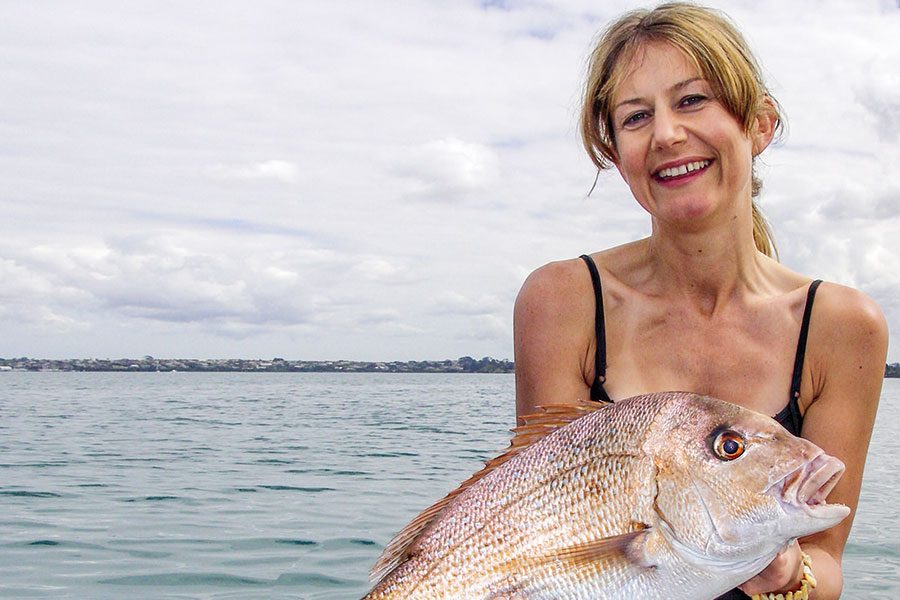
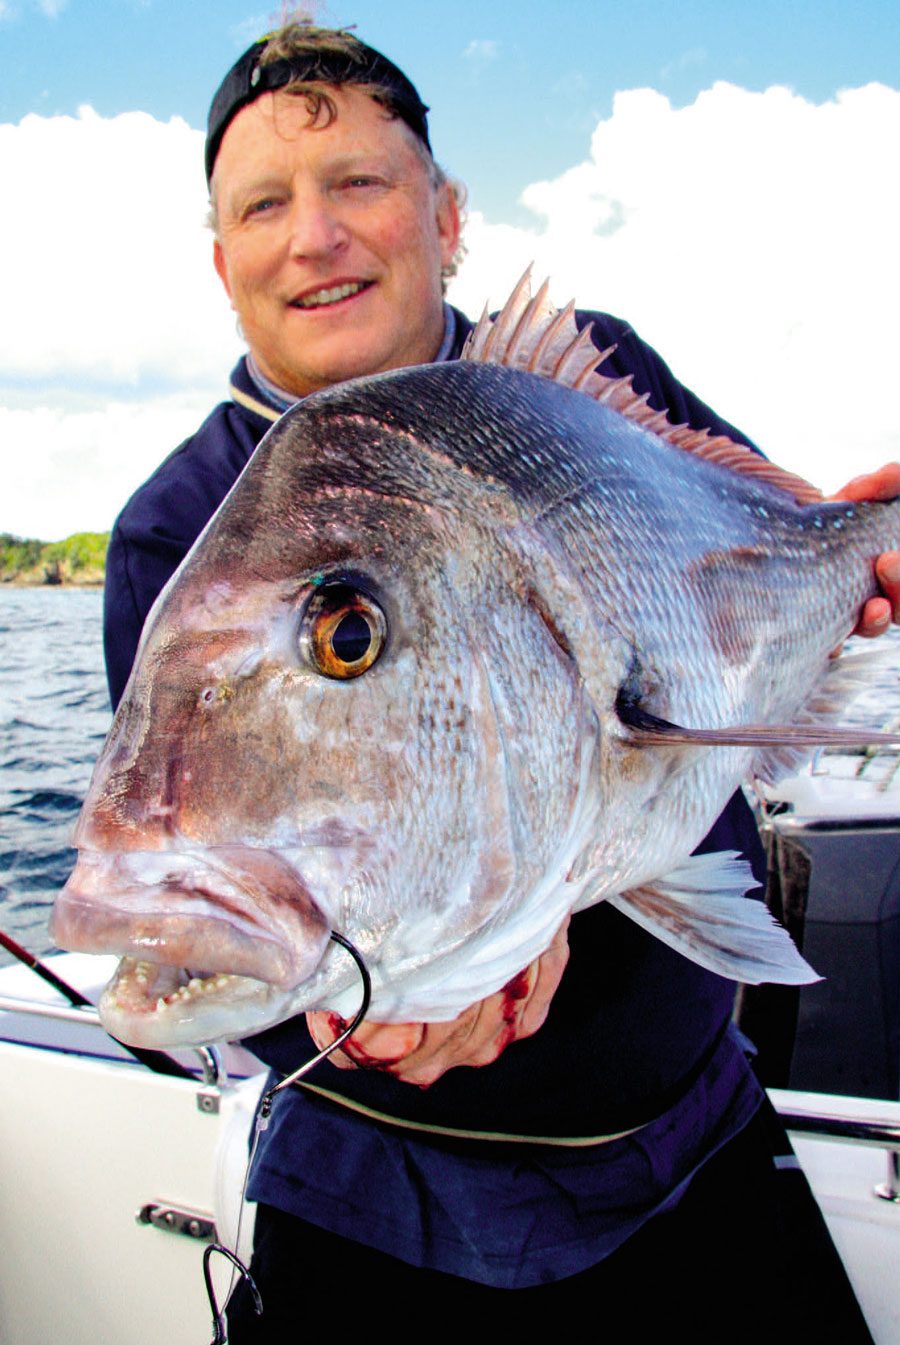 A nice stray-lined bait victim – in this case a double- recurve hook rig was used.
Let the bait sit for a while once more, in case its initial descent attracted attention, as it often does, along with any subsequent position adjustments.
Release a little more line to maintain contact with the bottom if the current is pulling, or retrieve a bit if the line goes slack. Wait after each adjustment, as you’ll often get bites soon after repositioning the bait. Repeat as necessary, but don’t be too quick to wind in or release line.
These bait re-positionings create movements that attract snapper for a closer look, maintain contact with the bait and potentially place the bait in a better position than it was in before.
If line is released but you struggle to ‘feel’ touch-down or you can’t see the line slacken, you might be feeding a ‘sail’ of bowed line into the current. Or maybe your sinker is too light and your bait is being swept away. It could be a bit of both.
Wind in to find out. If the line increasingly angles towards you as you retrieve, before the weight comes on signalling you are now tight to the bait which is now starting to lift off the bottom, you’ve had a line ‘sail’.
Alternatively, if the shallow line angle remains the same or angles towards the surface whilst retrieving, there wasn’t enough weight on the rig to get down. Add a bit more. (The cleverly designed JARA sinkers make this a relatively simple exercise.)
Don’t let too much line out/fish too far behind the boat because it becomes difficult to maintain contact with the baited rig and setting the hook becomes increasingly problematic, too. You can feed out 10-20m of line as you reposition your bait repeatedly, but no more. It’s then time to wind in and start again.
 It pays to anchor up in positions that allow anglers to take advantage of structure that interrupts swells and/or currents.
Upon feeling a bite, swing the rod and reel out in front of you along the angle of the line. Wait for the fish to run some line off the spool for at least two to three seconds.
Now wind the handle to engage a Baitrunner reel, flick the bail over on a conventional spinning reel or engage the gears on an overhead reel before steadily lifting the rod. Your circle hook will usually slip into place in the hinge of a fish’s jaw.
If your quarry appears reluctant to commit to a bite, tease it by slowly drawing the bait away — but only for a few inches. You’ll often be rewarded with a more committed bite and a steady stream of line leaving the spool.
If you find that fish keep dropping the bait before you can strike, it could be because your Baitrunner’s pre-set tension is too heavy, making them wary. Ease it off a bit. Or it could just be that the fish are too small!
If using a standard spinning reel, keeping good contact is a little harder, but I personally prefer their simpler operation.
I open the bail arm and gently hold the line between the reel and the stripper guide. If the tension increases, I simply allow some line to slip through my fingers. If the line slackens, I re-engage the bail and wind in a bit, before opening it again and holding the line. Bites see the line pulled out of my fingers and then freely off the spool, so the fish feel no pressure at all, unlike with a Baitrunner, which must have some pre-set spool tension to prevent a backlash.
Releasing line from the spool of an overhead reel is controlled by feathering the spool with your thumb to avoid over-runs or apply too much pressure, putting fish off the bite. It gets easier with practice.
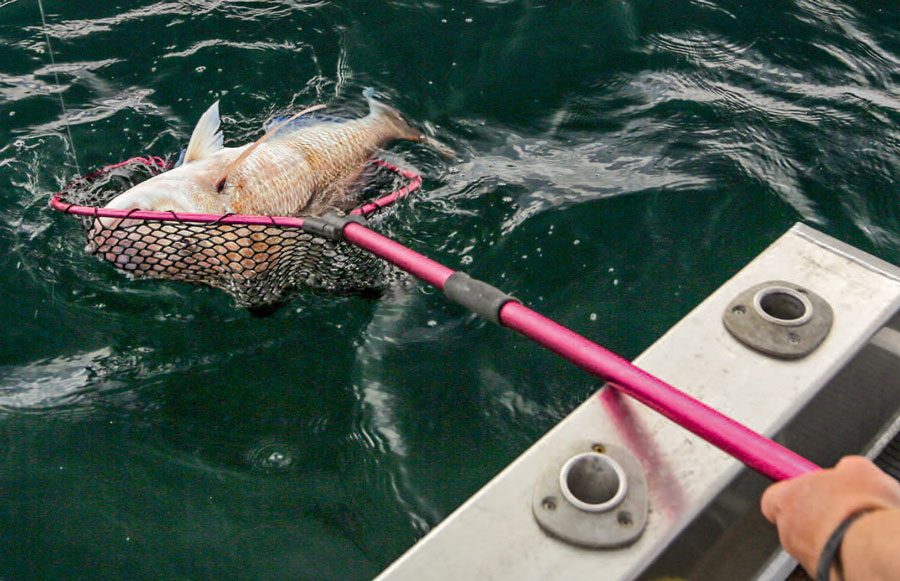 Use the rod to lead fish into the net head-first – fish have no reverse gear!
THE BATTLE
Whatever the reel type used, it’s main drag should have been pre-set to around a third of the line’s breaking strain. So if line is being pulled off the reel, don’t panic or crank the drag knob for more pressure because it’s doing what it should – releasing line when the pressure becomes too great!
If the fish is too big and heavy to shift, or the line is still unloading from the spool, stop winding the reel handle, which with spinning reels only creates line twist. Instead, keep the rod tip raised and under pressure, and as soon as the spool stops rotating or the pressure eases, smoothly lower the rod tip and wind in any available line. Then steadily lift the rod again and repeat as the fight allows.
While it is important to keep the rod raised so pressure is maintained throughout the fight, don’t ‘point load’ the rod by lifting it so high the rod becomes too severely bent, risking a break. This commonly happens with big fish alongside the boat, and anglers are struggling to position them for a net or gaff shot.
LANDING YOUR FISH
Don’t panic, even if you are feeling that way on the inside! Yelling and swearing just gets everyone nervous and more likely to make mistakes.
Once your fish is on or near the surface, concentrate on leading it head-first into the waiting net. The netter needs to wait patiently until the fish comes into range before scooping the net downwards in front of the incoming fish in a smooth motion. Fish don’t have reverse gear, so provided the net’s big enough they can’t help going in! BNZ