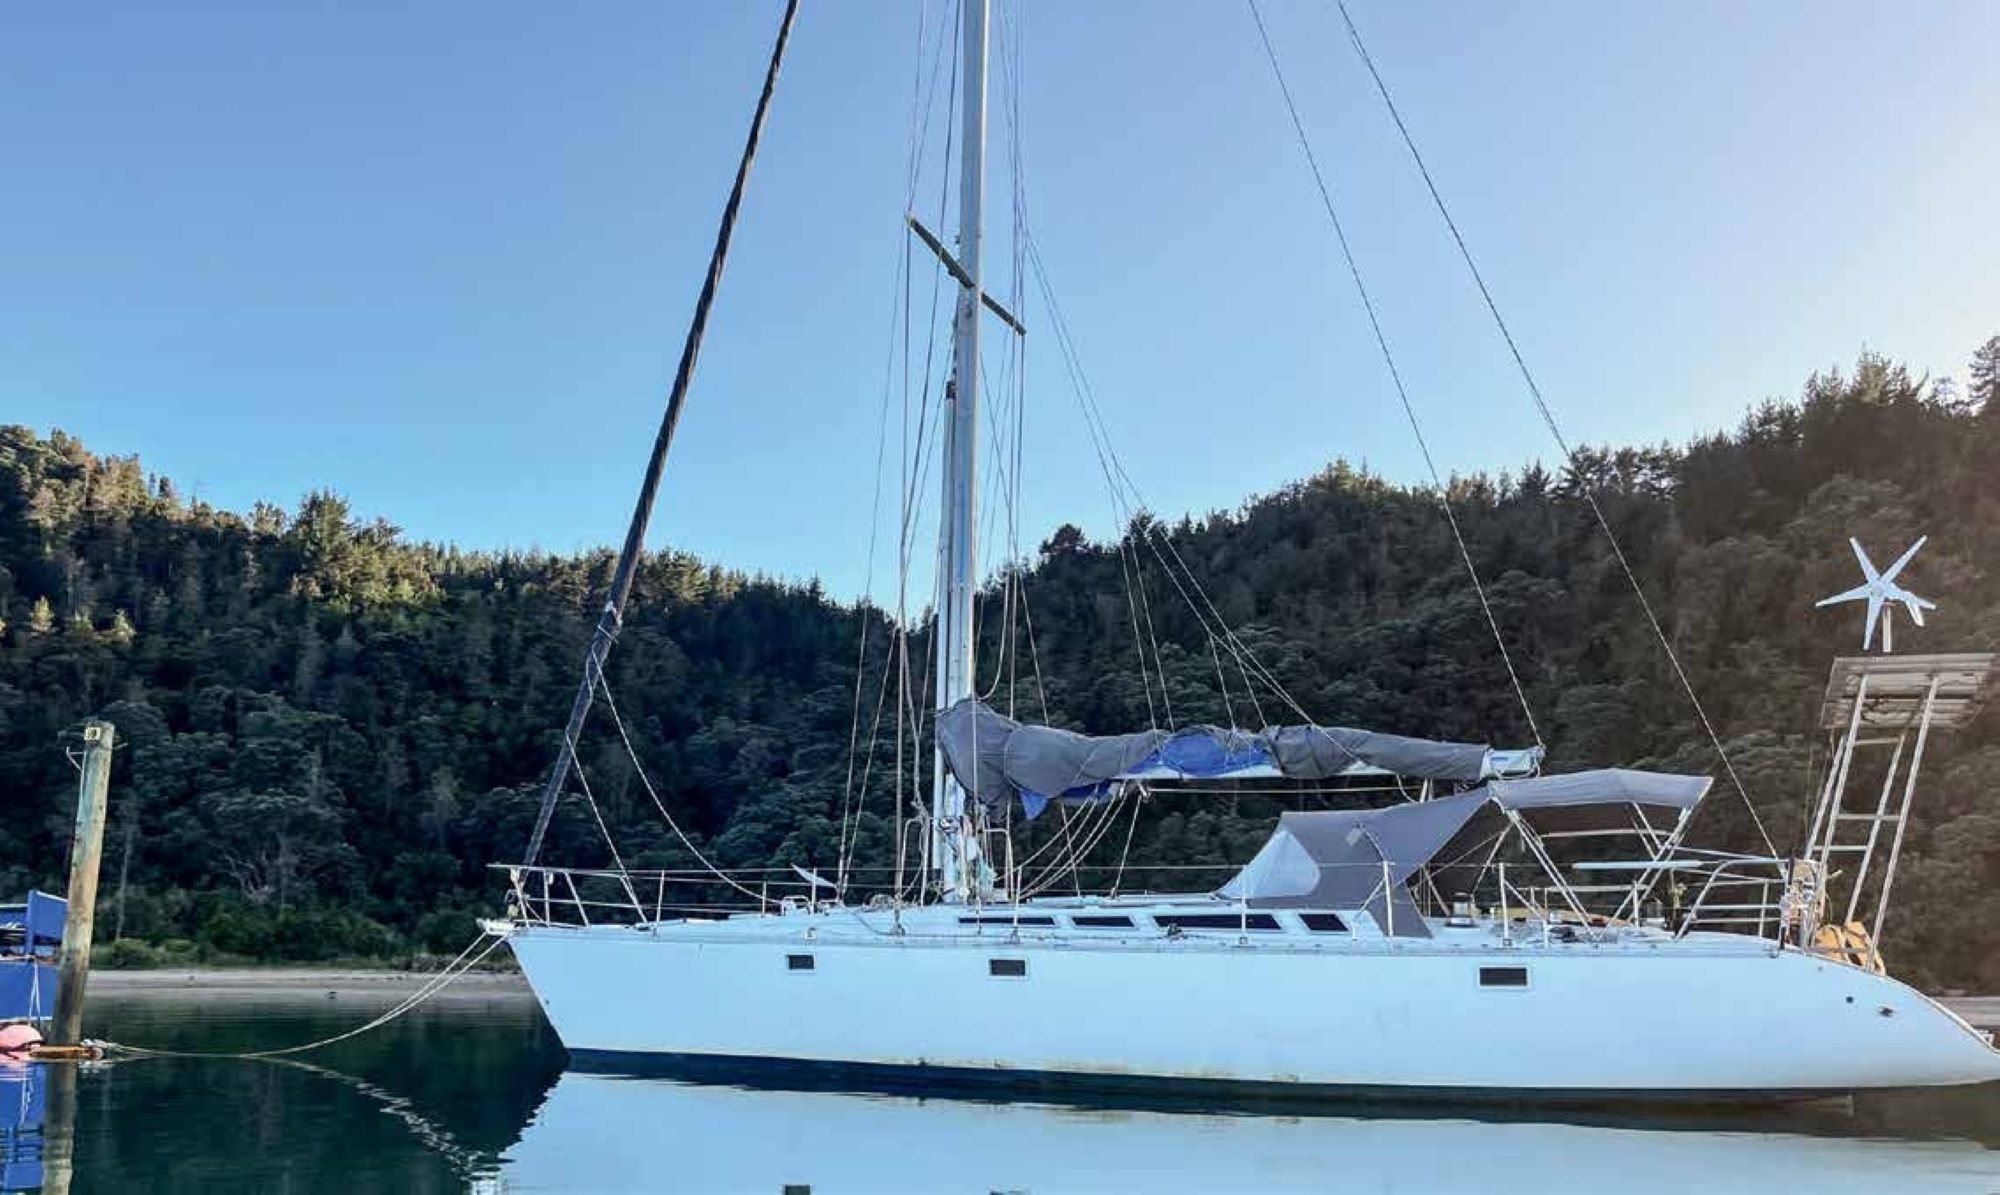
It’s the first weekend in June, and I’m sitting on SV Sauvage writing this article at Gulf Harbour Marina. We had planned a return sail from the marina to Rakino Island, but staying true to recent weather patterns, the gales and rain have come, so we find ourselves stuck at the marina on a ‘jobs weekend’ instead.
Truth-be-told, I have many ‘jobs weekends.’ Sauvage is the place I go to in order to get away and relax, and I enjoy the challenge of the ‘slow upgrade’.
Before we purchased Sauvage, we knew her autopilot and depth sensors were archaic. The autopilot had not worked in years (I suspect about 15). Knowing we would have to upgrade our electronics suite, I did my research and quickly reached the conclusion we would use B&G (www.bandg.com). B&G is by far the most popular choice of the yachtie YouTubers we follow, which swayed our decision.

Recognising that our upgrade would have to happen sooner rather than later, I had no issue at all in replacing them, bar the amount of money I knew I had to spend. But safety first! Accurately knowing your depth when out sailing is vital.
In June 2021, seven months after purchasing the boat, we were ready to install our new Depth, Speed & Temperature (DST) device. I ordered the DST pack which includes the screen appliance along with the transducer (model DST810). Well, when I say, “we were ready,” I actually meant that Sauvage was about to be pulled out of the water onto the hard for antifouling and a repaint. And since I was under the impression that we would need a new through-hull hole, this to me was the obvious time to attempt the installation.
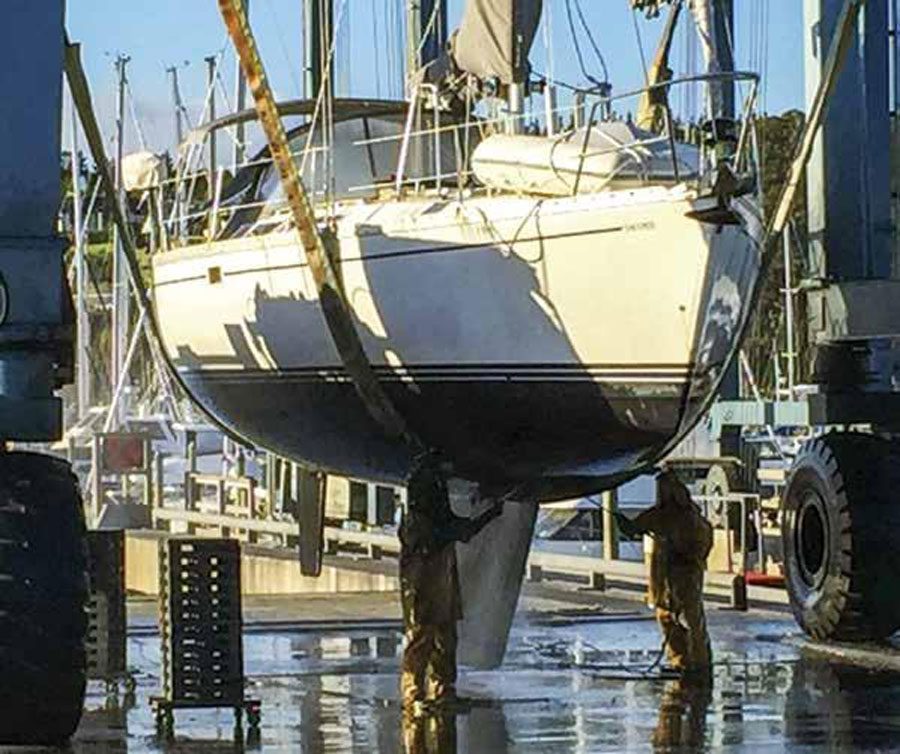
And so… we lifted Sauvage out onto the hard, where she was water-blasted. For the first time ever, I had a good look below her waterline. It was a wonderful and pleasing sight: other than needing an antifoul and a repaint, and while there were some obvious signs of age and wear and tear, there was no water damage to the hull.

Somewhere inside Sauvage we had something that looked just like the DST transducer I had just received from B&G and now needed to replace. But where was it? After removing floorboards, some seats and a couch, I finally found it. Yep, and as expected, it must surely have been one of the first Navionics installations: a depth transducer and a super-old Navionics autopilot compass!
Upon inspection, it seemed that once the old transducer was removed, the new one would literally be a plug-and-play replacement – no through-hole needed. The easiest boat job ever! Whew. I then ran the cable from the new transducer back to the navigation table (a.k.a., the Captain’s Desk) which I intend to be the electronics and electrical connections core of our sailing world. First job done!
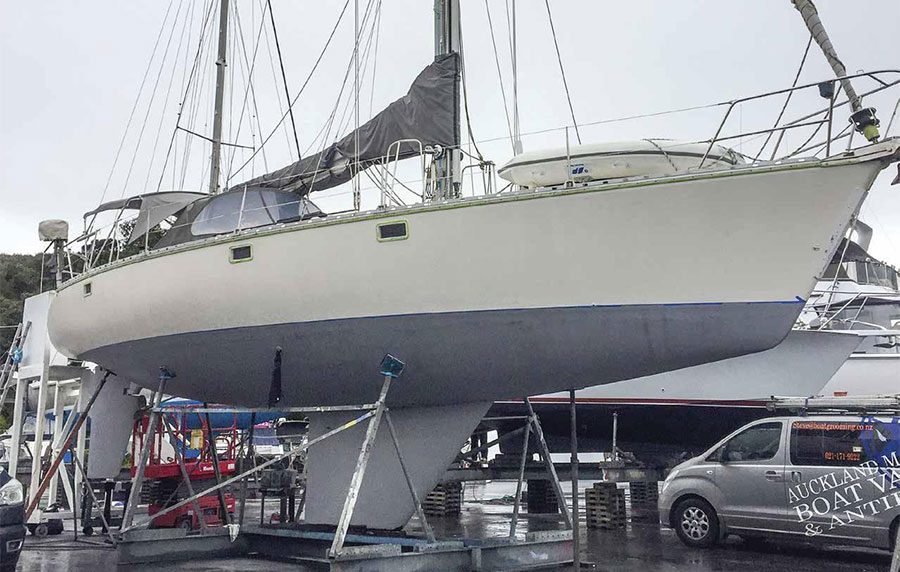
Having installed the transducer, the local marine coating team applied the new antifoul and paint, but to digress, as we all know (or maybe it’s just me), generally a ‘small job’ tends to become massive as its scope grows and lack of knowledge kicks in!
As thoughts of saving money ran through my mind, I decided that I would sand the gelcoat and then under-coat and top-coat (both twice) above Sauvage’s waterline myself: As luck would have it, I successfully sanded and applied the first two coats of undercoat. It was thoroughly pleasing to see my progress.
But soon work commitments and weather slowed me down, and I found myself further and further behind. Of course, I had to prove myself after my wife had asked me numerous times before we started whether I was over-committing myself. (“No, I’ll get it done in a few days,” I had said with confidence.)
At about this time Auckland’s COVID Level 4 lockdowns happened, and to my horror we found ourselves stuck on the hard. We live and work in Cambridge and could not cross the Auckland-Waikato border to get to Sauvage to do any more work! Sadly, she sat on the hard until September when Auckland went to Level 3, but the border did not re-open. Reconsidering my options, and our bank account (sitting on the hard for a lengthy period of time is no free gift), we decided to get our wonderful local painting team to roll on the two topcoats before the Marina Office helped us re-float the boat and put it back in its berth.
This was an expensive lesson – one that I did not particularly enjoy. But I relished my time spent with Sauvage, learning more about her setup.


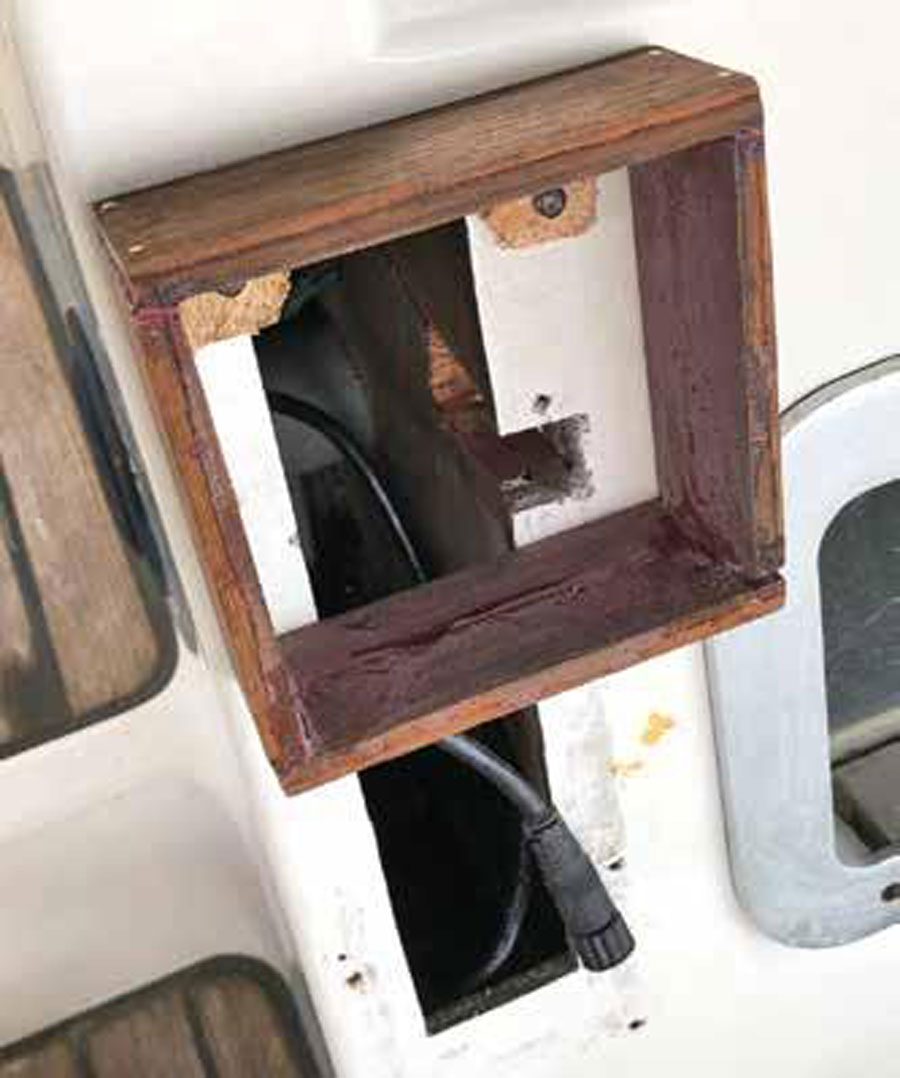
Fast-forward to the Auckland-Waikato border re-opening (middle of December), when we shot up to Auckland and installed the B&G screen in the cockpit and plugged in the cables. Then we used a No.8 wire trick to hold it in place. Why? The side of the spot where I wanted to install the screen was slightly angled, which meant that it was too small for the screen. So, I ran a temporary cable and perched the screen thereabouts, holding it in place with some masking tape. Here it sat for a while, even while we ran away from the world for six weeks on our summer cruise! It was a bit of an eyesore but the instrument worked perfectly out of the box.
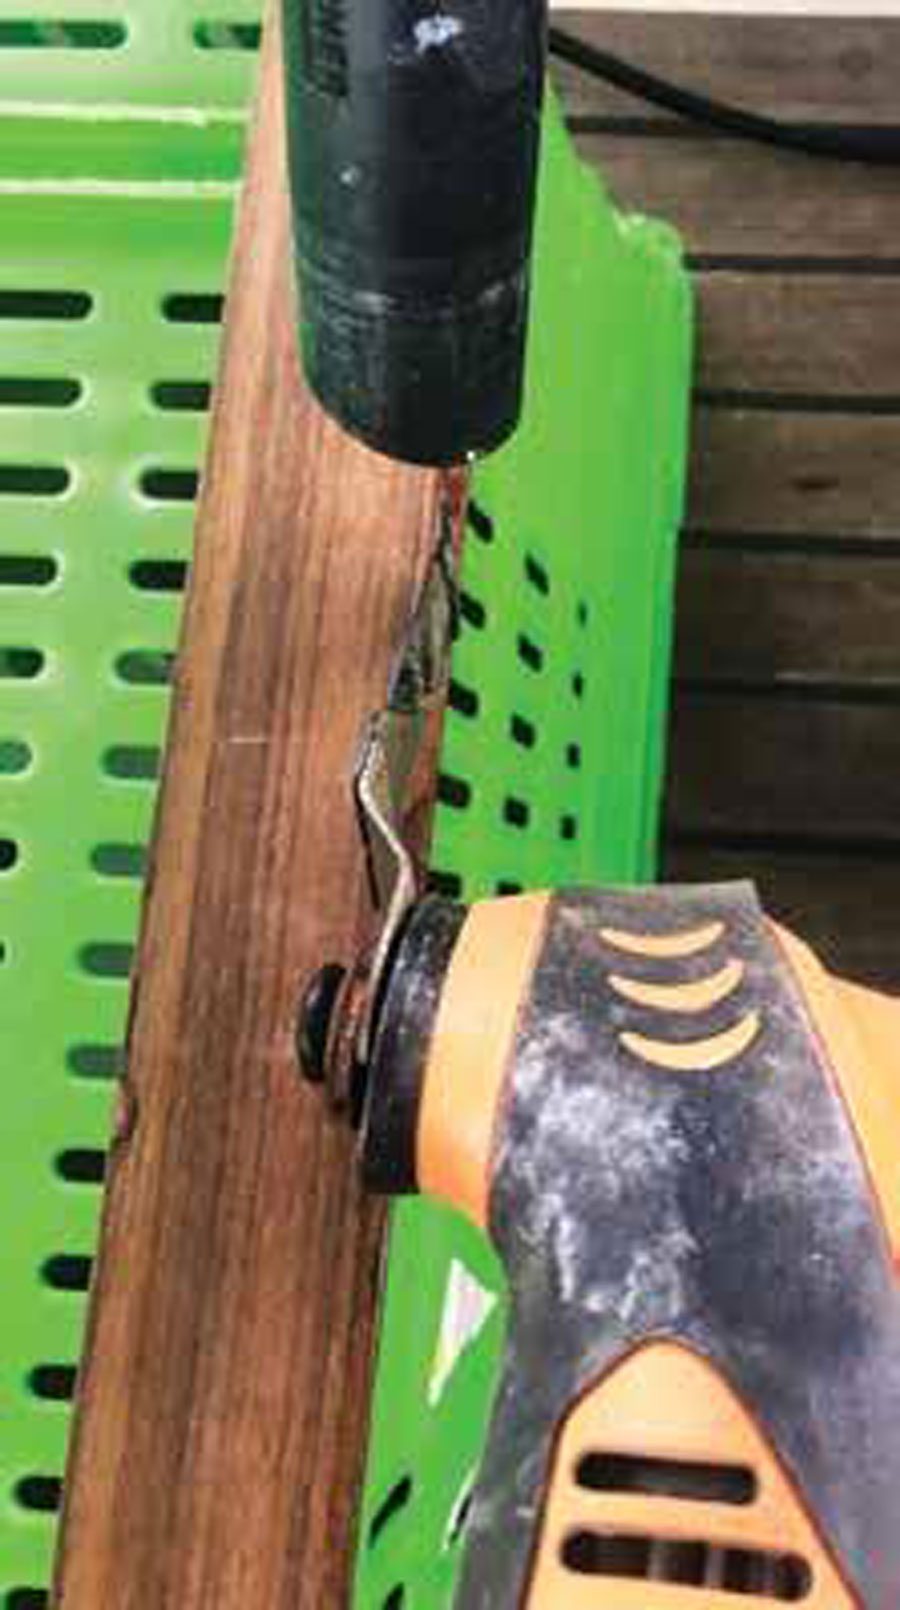
On our return in February 2022, I took a long and careful look at this eyesore. Then from teak leftover from an earlier refurbishment of the transom, I fashioned a rectangular box dimensioned to the B&G screen. Epoxy helped give it reasonable structure and stability. After mounting the screen, I screwed the box in place exactly where I had originally planned. After such a mammoth effort – only 10 months, three lockdowns and a six-week sail later – the job was finally done!
My take-away from this? No job on the boat is ever as small, as easy, or as quick as I expect it to be! But perseverance and vision always helps me get there in the end. BNZ