
Perhaps the simplest and probably the most effective rig for catching snapper, the stray-line rig benefits from a few subtleties.
Last month we looked at how to use the ledger/ dropper rig, which is very easy to use and works well in water over 25-30m deep.
However, a stray-line rig (more accurately described as a lightly-weighted rig) tends to be a much better option in shallow water, especially water too shallow to use ledger-type rigs effectively. But you do need to know how to cast.
Please note that free-spool/overhead reels can be lethal weapons for this style of fishing in experienced hands, but we will stick with the spinning-type outfits recommended in this series’ first installment for now.
Although spinning reels are relatively easy to cast, a few basic rules must be followed. They are as follows:
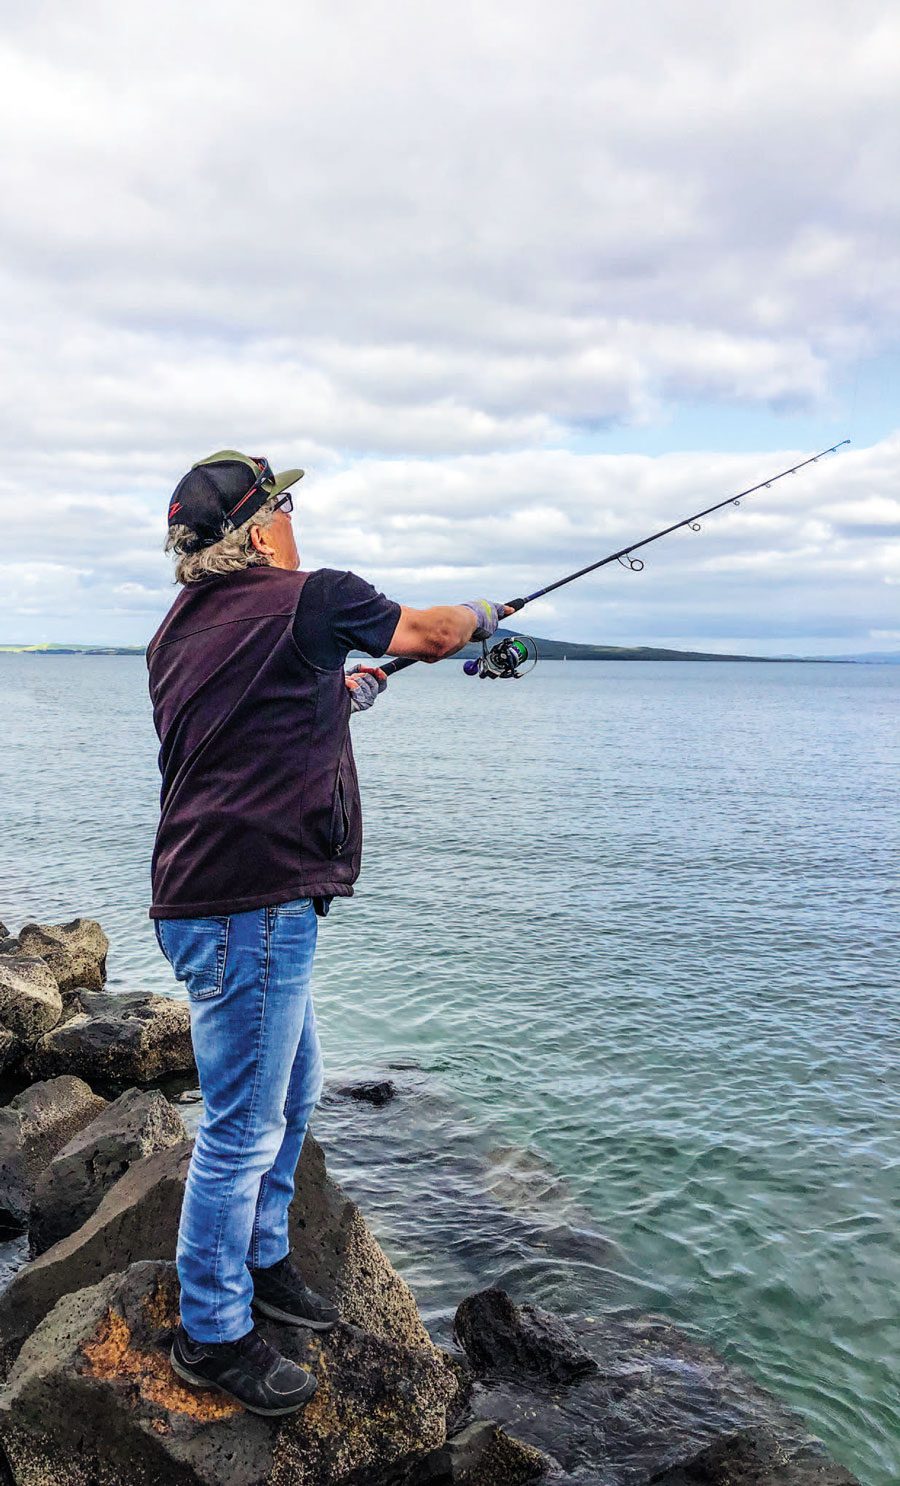
CASTING A STRAY-LINE RIG ON A SPINNING ROD


WHERE AND WHEN TO FISH
Look for structure: anything that breaks up or changes the current could hold fish, particularly if a potential source of food is also present.
A fish-finder will help you identify reefs, pinnacles, dropoffs, rises and guts. Fish numbers tend to be greater on the structure’s exposed side facing the current.
When fishing channels or significant drop-offs/rises, it can be surprisingly difficult to identify snapper on the sounder if they’re feeding hard on the bottom in the silt and mud. So don’t be put off if you can’t see any if you know fish are regularly caught in the area.
The best fishing usually occurs while the tide is running, especially around the change of light morning and evening.
BOAT POSITIONING
Boats create a big, scary shadow and many unusual noises, so any larger, more cautious snapper tend to keep their distance. So factor in enough distance between where you anchor and the area you want to cast to. A bit of distance between bait and boat often means more and bigger fish.
A bit of distance between you and your prey will help with your berleying, too. I suggest using a Wobble Pot. This weighted device, filled with a frozen block of fishy off-cuts, is best tied off amidships and set a metre or two up from the seafloor. As the berley block thaws, a steady trail of tidbits draws hungry snapper away from the structure to your bait.
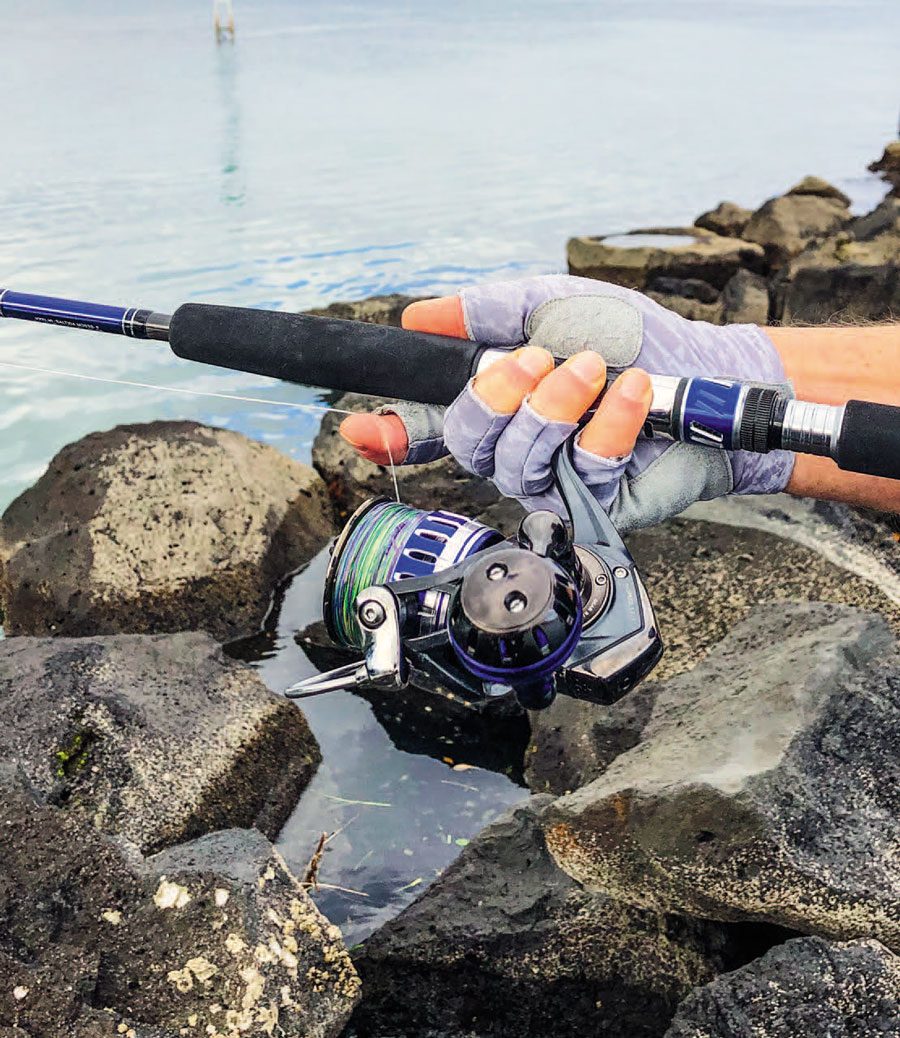
THE TACKLE
Six to 10kg nylon is recommended for most stray-lining duties. Thinner lines cut through the water better so less weight is needed to sink the baited rig. Yes, braid cuts through the water even better, but the line’s minimal stretch means fish can more easily detect your presence through the line and they often reject the bait after an experimental nip.
RIGGING UP
A natural-looking presentation is important, so take a minimalist approach to the rig. Around 50cm of trace is long enough to ‘sew’ the hook through the bait two or three times, wrap two or three half-hitches around it at the sinker end, but still leave several centimetres of trace exposed between the rigged bait and the thinner main line. The heavier trace protects against bite-offs.
A small swivel will connect the trace and mainline nicely (the more complicated but stronger leader-to-mainline connections can be learned later).
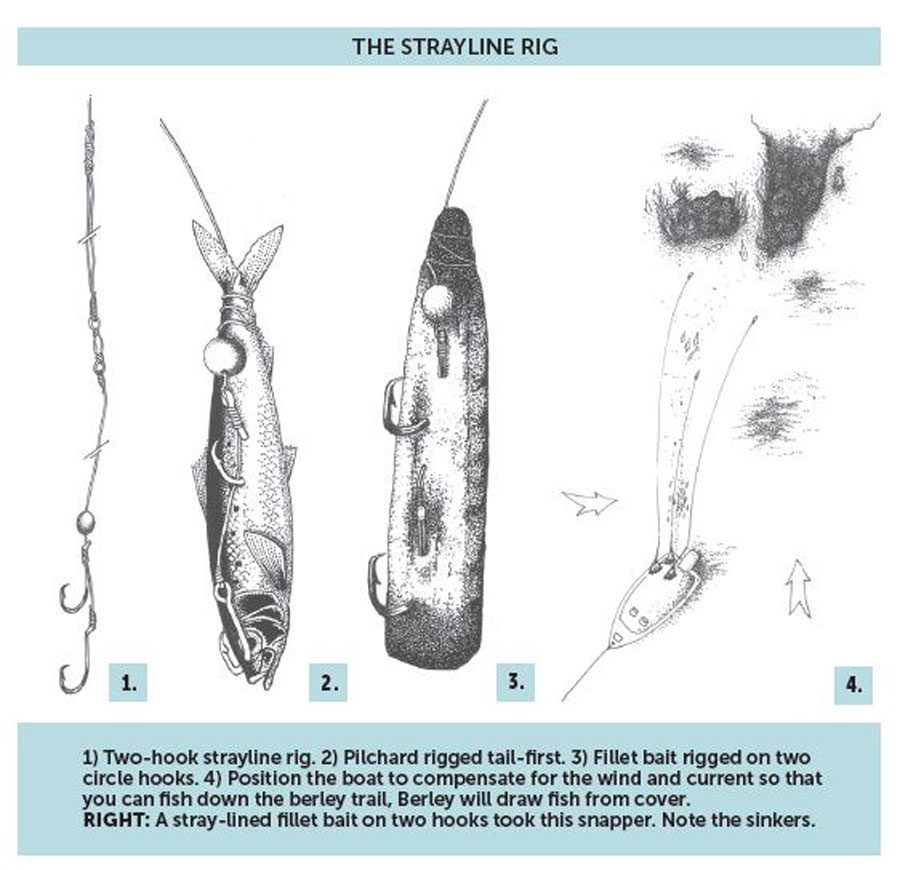
Using two recurve hooks – a 5/0 and a 6/0 – covers long, slim baits much better. It’s worth learning the snood knot to fix the top hook firmly in place; a sliding hook doesn’t hook up as well.
Knot the hooks quite closely together minimise slack nylon between them when the bait is rigged.
Reasonably small sinkers (i.e. ¼-1oz) are best, placed on the trace directly above the top hook. This packages everything into one bundle, making it easier for the angler to stay in contact with the bait.
Use just enough lead to combat the current and sink your bait to the bottom; try a 1/2oz ball sinker to start with and go heavier if required. Two or three small ball-type sinkers are better than one big one, because big sinkers partially block the topmost hook, reducing hook-ups. Removable sinkers, such as Jara, can make changing weights much quicker and easier.
Look at the bait-rigging diagrams and note the two or three half-hitches placed around the tapered end of the strip bait and around the tails of whole or half baitfish. The half-hitches absorb the force of the casting and make it harder for fish to bite/rip the bait off the hook/s. BNZ


