An overheating secondhand outboard needed descaling and flushing to unclog its cooling passages. Norman undertook the task himself.
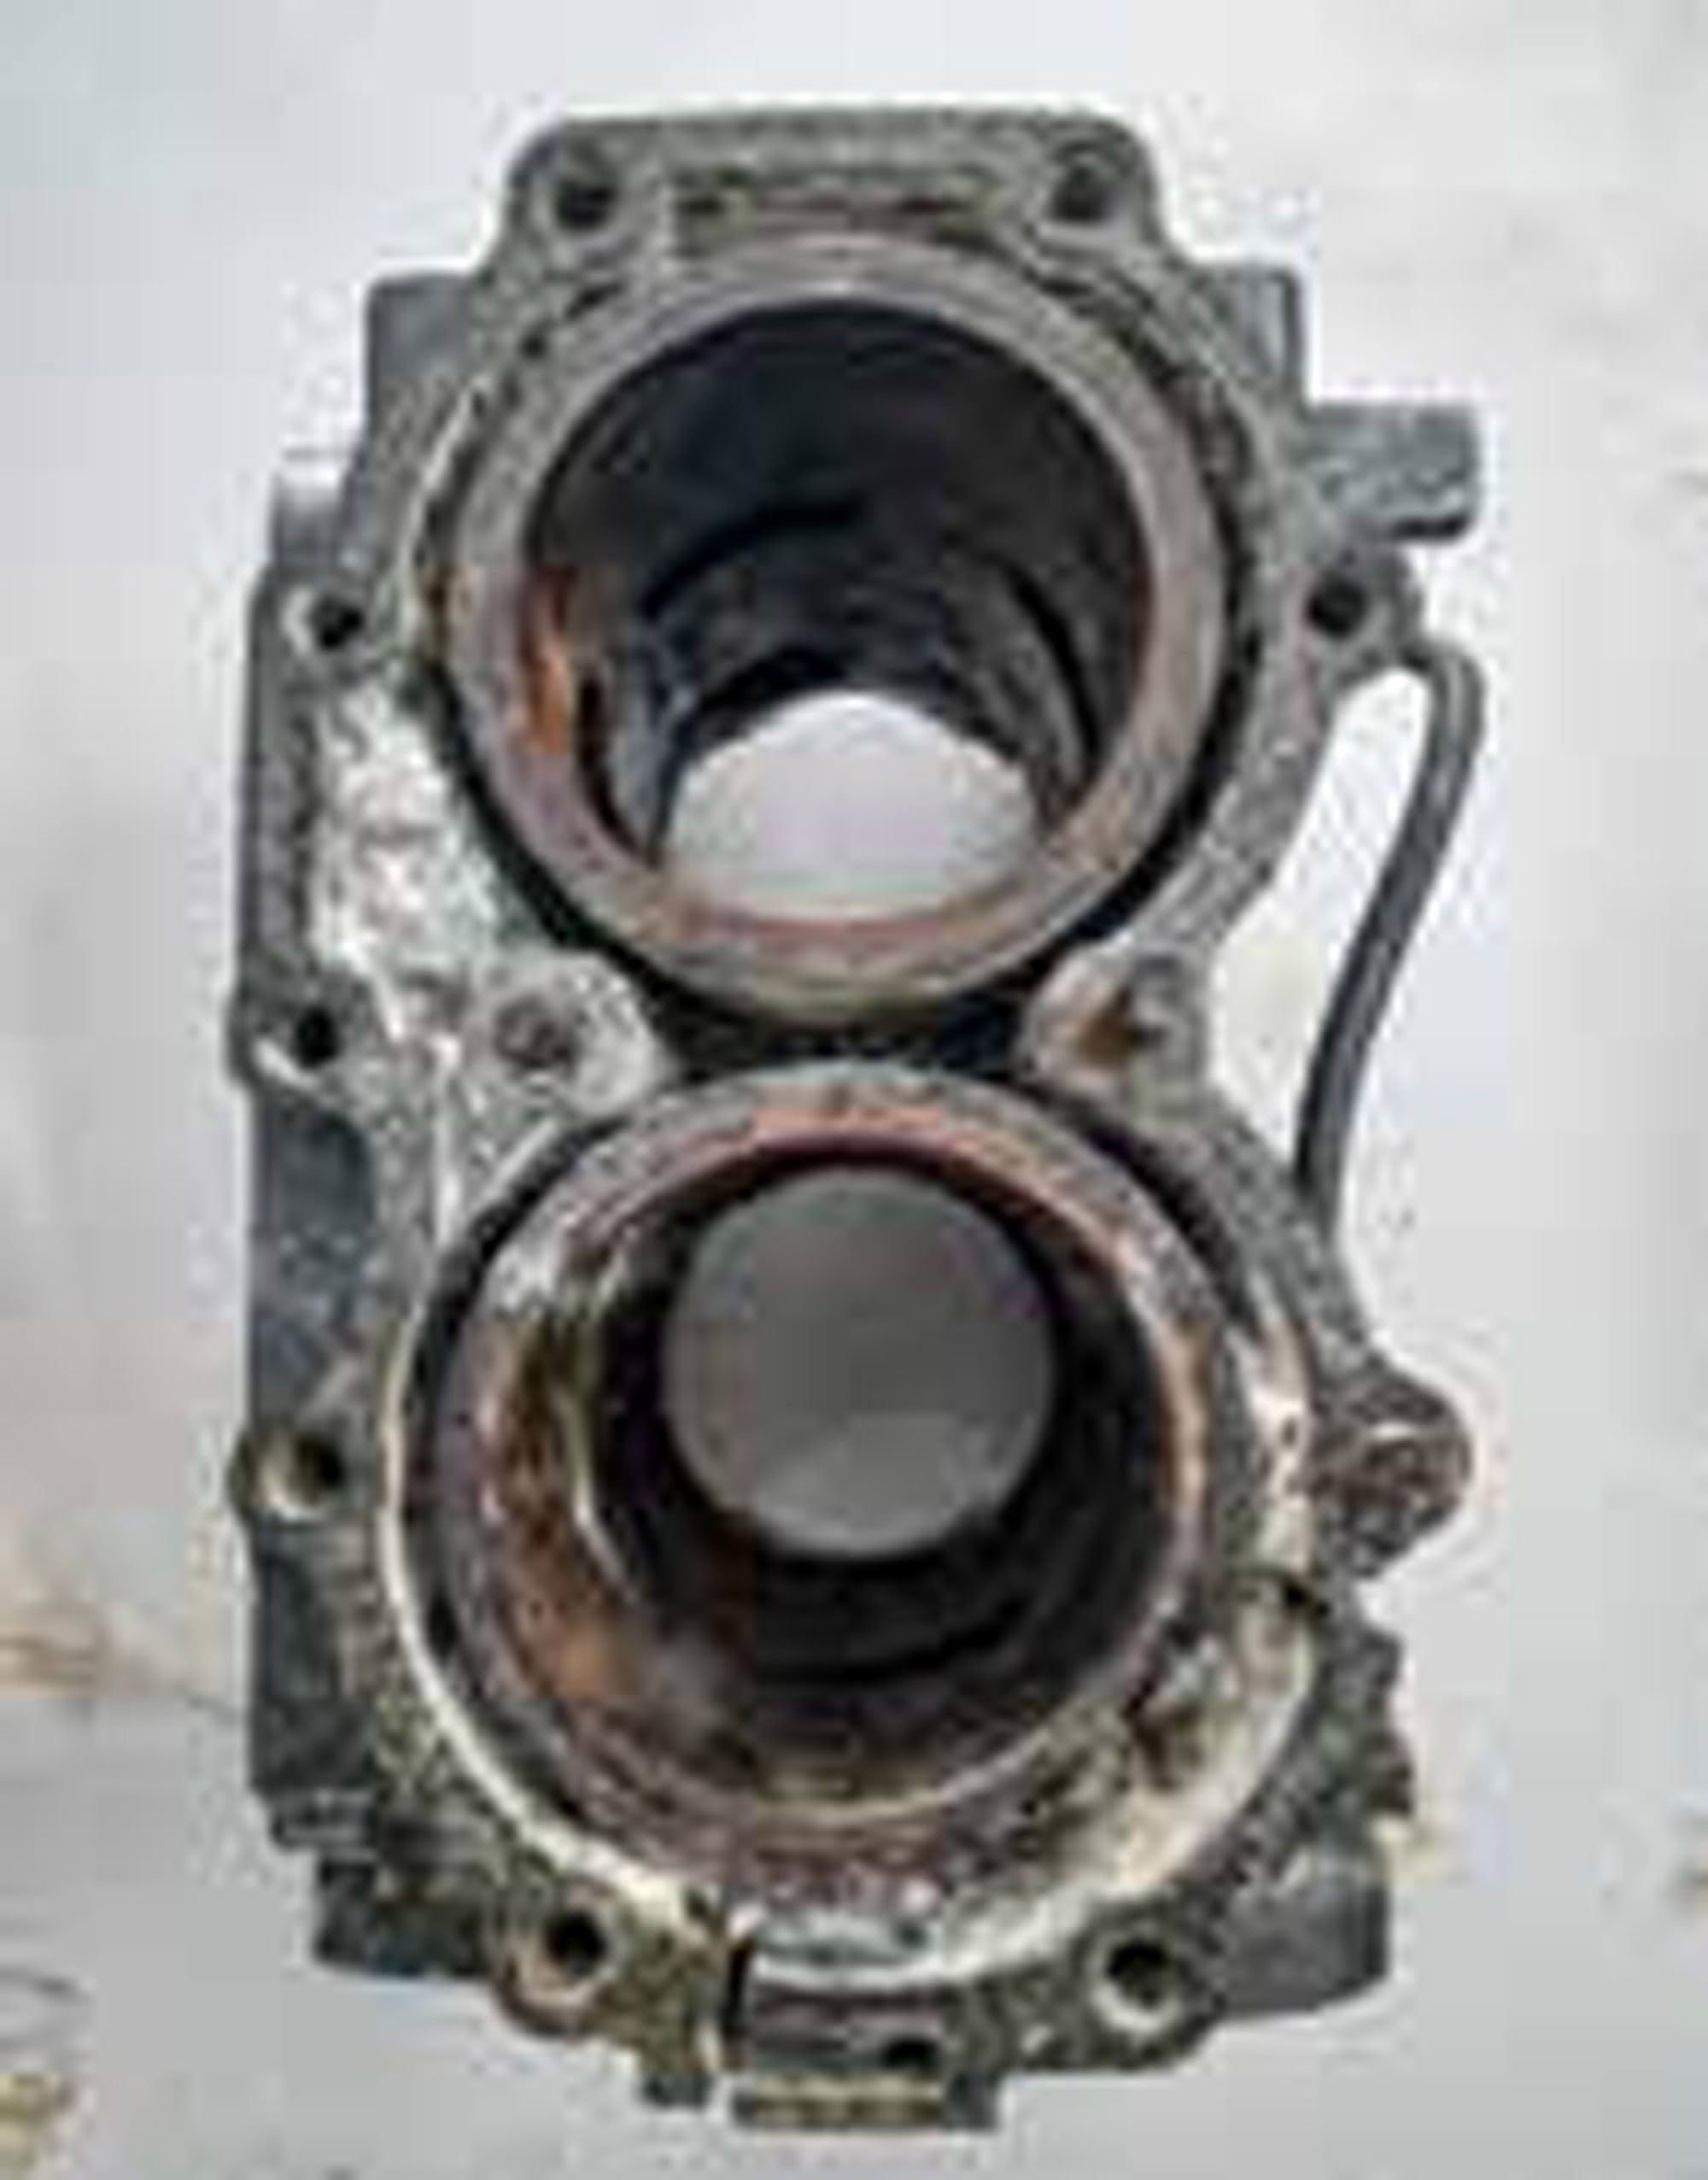
It’s well known that a boat with an inboard engine and a heat exchanger will need regular descaling. Any part of the engine that remains in constant contact with heated water will over time inevitably build up a layer of lime scale (calcium carbonate). For parts that do not get hot there is an added chance of encrusting organisms growing on the internal surfaces, including molluscs which build their shells in that same calcium carbonate. We have previously detailed the process of removing calcification in a heat exchanger for an inboard diesel engine (See Boating NZ, May 2022) What is perhaps less well known is that outboard motors also suffer from this problem, especially if they sit unused for long periods. Scale may take longer to build up since the motors are usually lifted out the water and flushed with fresh water between uses, but it only takes a very light coating to start insulating the metal surface from the cooling water. This can make a dramatic difference to how well the motor is cooled. Outboards can also suffer from salt crystal formation in those passages, since they are usually allowed to dry out between trips. And those crystals do not always fully dissolve once water flows over them again.
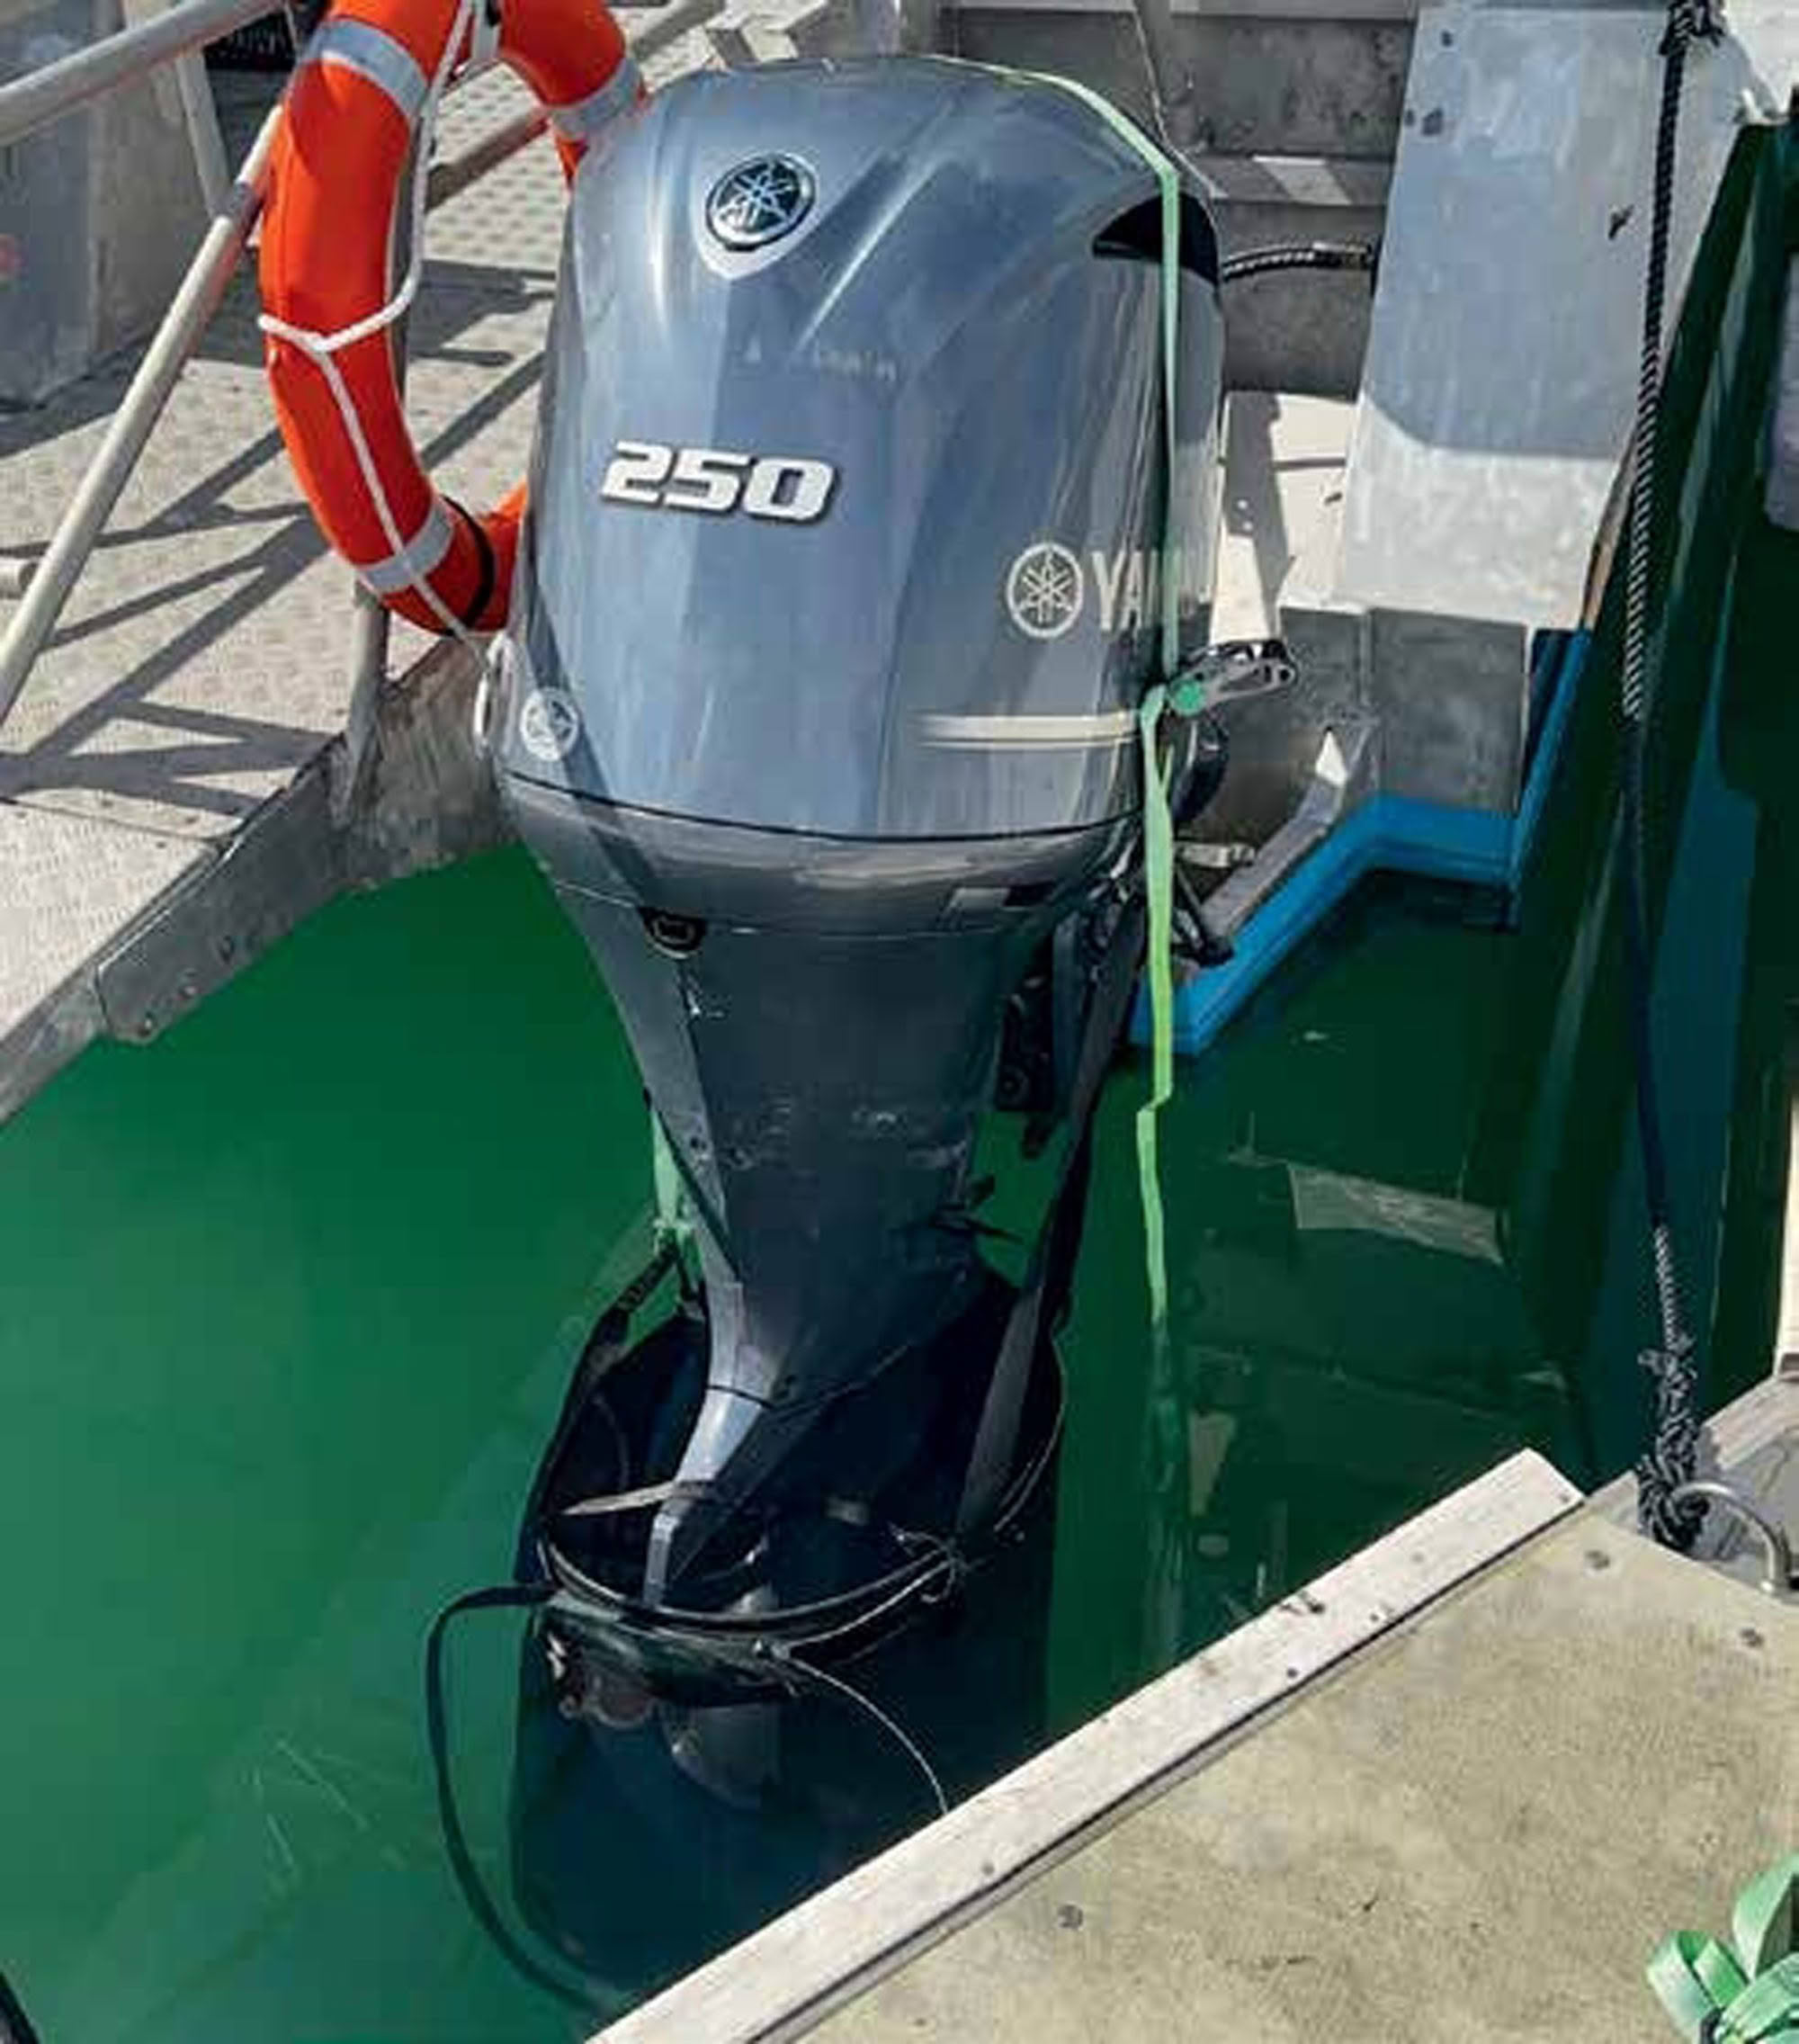
This can afflict even the best cared-for motors, such as the pair of ex-Coastguard motors that I have purchased for DiveCat. These had been meticulously maintained and were in exceptionally good condition but had been stored on their sides for over two years. And there was undoubtedly some water still inside the water jackets when they were removed, which would have slowly evaporated and deposited any dissolved salts or calcium carbonate onto the water jacket passages. So, it was not surprising that the motors ran perfectly, except that one had a tendency to overheat at high revs. The water pump was fine – she was pumping plenty of water – and the motor ran at lower and mid-range revs with no issue. It was only under maximum load that the overheat warning came on.
The solution is to run the motor through a descaling process. This involves basically circulating an acid-based solution through all the internal passageways of the motor, allowing it to soften and clean away any deposits. This then restores the system to optimum efficiency.
With the right planning and equipment, it is easier to do this for an outboard motor than an inboard, since no changes to plumbing are required. All that is required is a receptacle to go around the bottom of the engine, and a suitable descaling solution. Some form of circulating pump is also ideal, since that means you do not need to run the motor to use its inbuilt water pump. This is optional, however, and the motor can be left idling to move the solution through the cooling system.
On the negative side, aluminium cylinder blocks used in outboards react differently to acid than bronze, typically used for inboard heat exchangers, so an outboard-certified descaling product must be used. And the solution must be fully flushed out once the process is complete – no descaling solution should be left inside the engine.
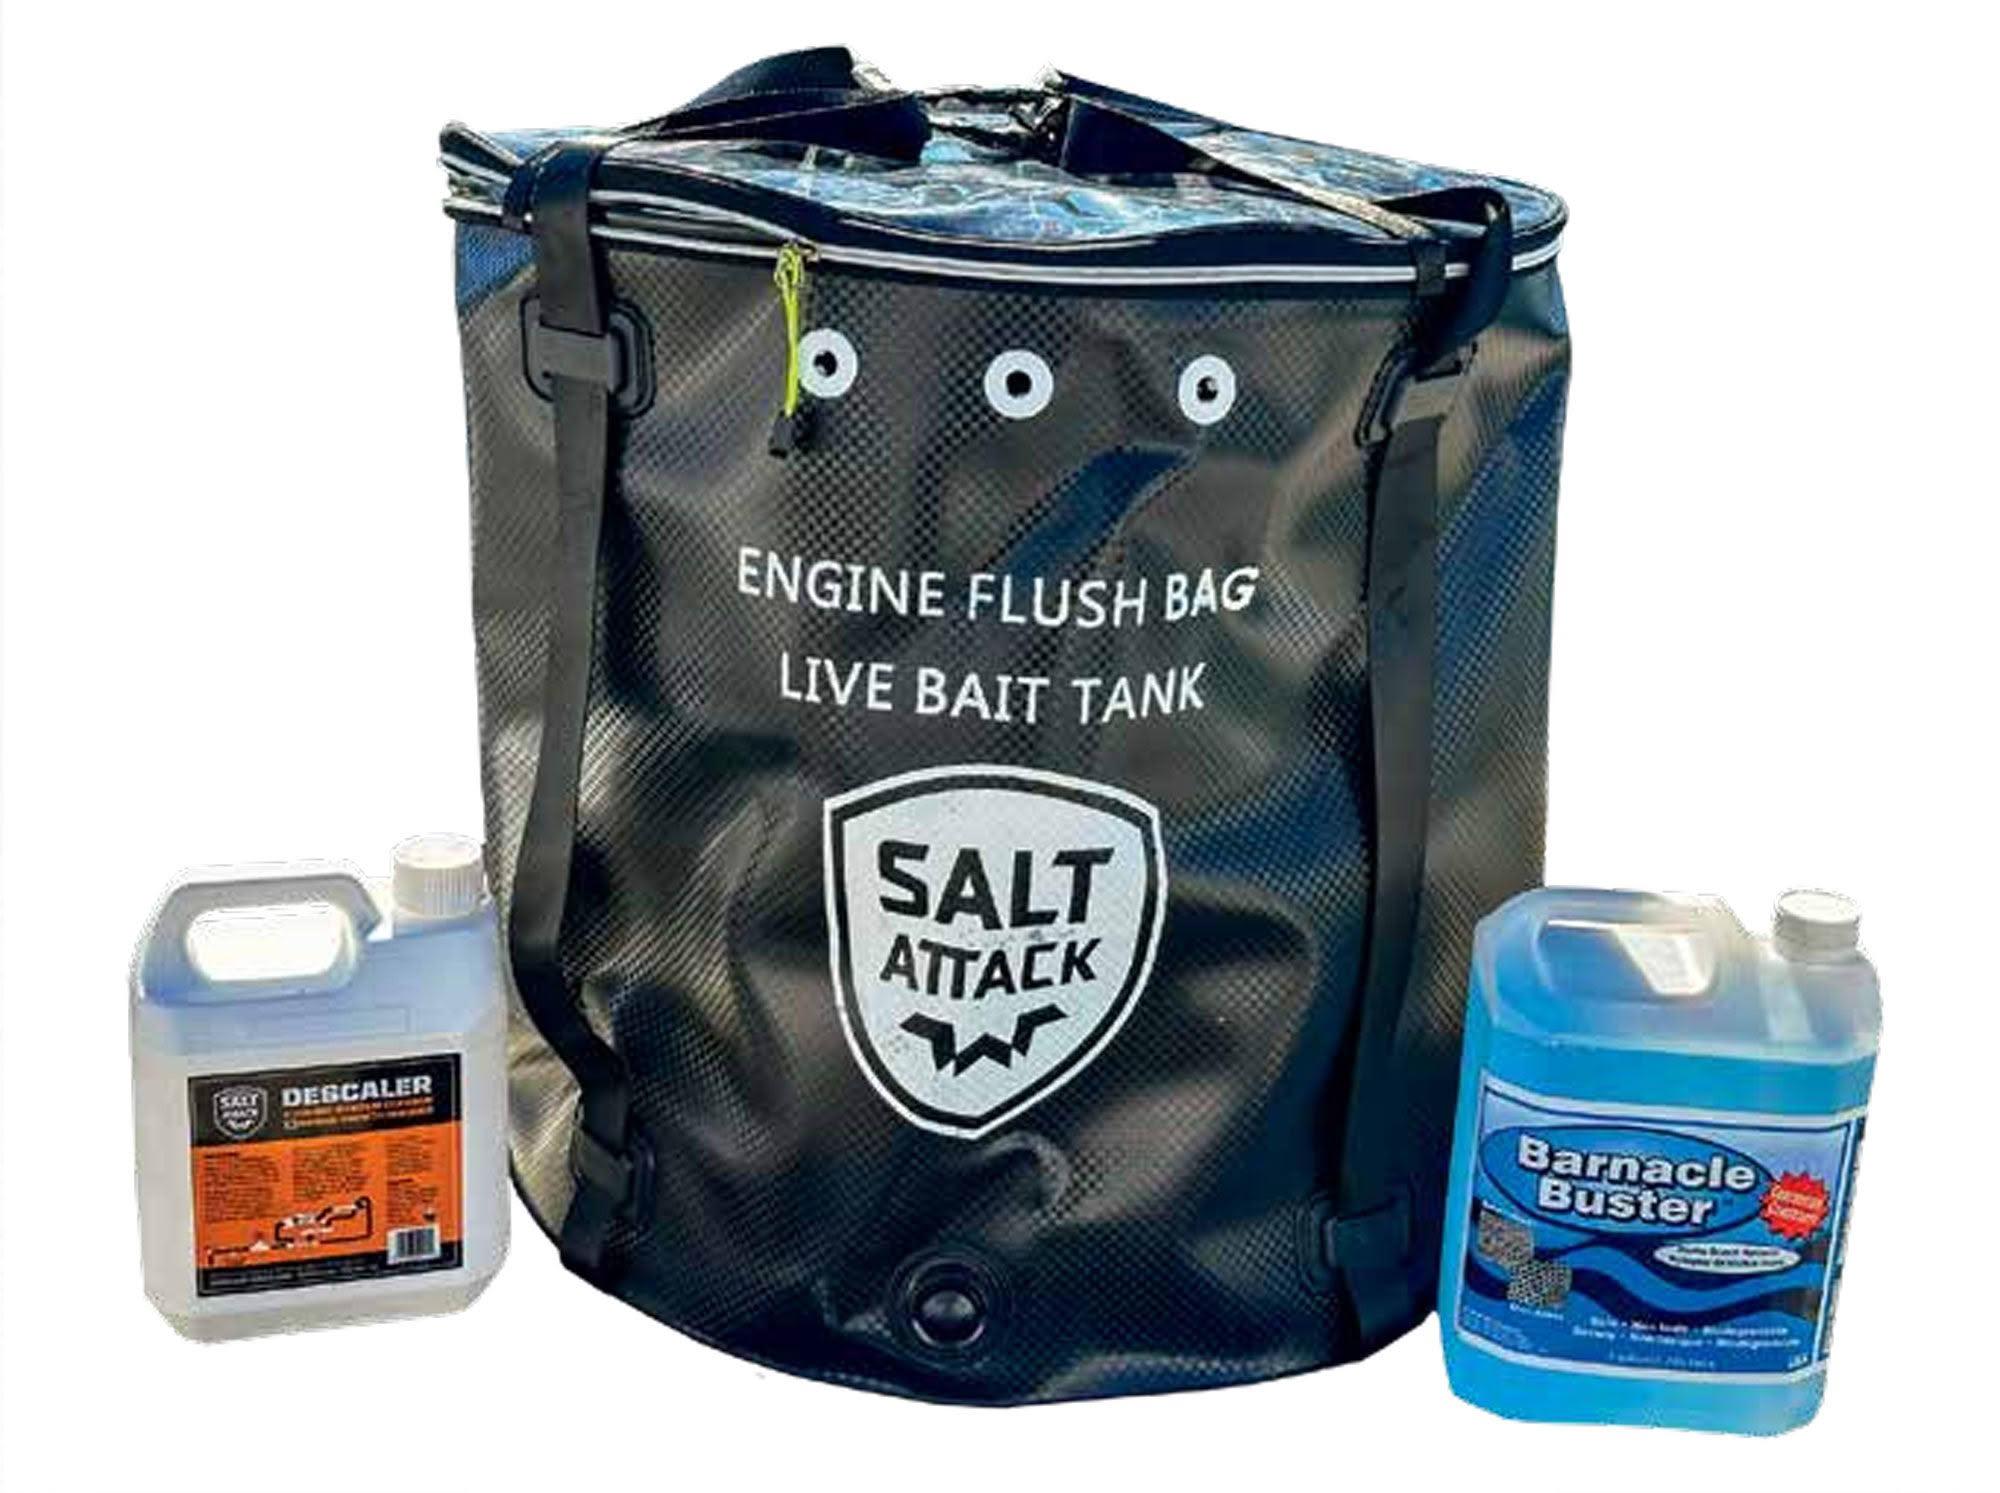
There are two main descaling product contenders available in New Zealand: Salt Attack Descaler, and Barnacle Buster from Trac Marine. Both are biodegradable and non-toxic, so will not harm the environment should you accidentally spill solution into a waterway. They are both certified for aluminium engines, and both achieve full descaling within three or four hours. Barnacle Buster is distributed by Ovlov Marine, while Salt Attack Descaler is available from most marine chandlers or direct from their website. Make sure you order the correct product though – both companies also offer excellent salt removal products for regular flushing, while descaler products should only be used annually or when there is a problem.
Most outboard motor owners will use a ‘flush muff’ or a direct hose connection to flush the motor with fresh water after use. These are simple and efficient when using a tap to flush the motor but don’t allow the flushing liquid to be captured and re-circulated. What is required is a very large bucket or watertight container into which the entire bottom end of the motor can be immersed in the liquid.
Realising the gap in the market, the guys from Salt Attack commissioned the custom-manufacture of a series of flush bags to suit different motor sizes. For boats on a trailer, the bag is simply set on the ground, the bottom of the motor positioned into it, and the bag subsequently filled with the descaling solution. When the engine runs, the water impeller sucks up the solution and the bulk of it is recaptured in the bag. The flow from the tell-tale may need to be redirected to ensure it does not squirt the solution out over the edge the bag, but otherwise these bags are super-simple to use. And the advantage of a flush bag over a rigid container is that they can be folded up for easy storage when not in use. Plus, the bag can be used as a portable live bait tank when not required for flushing – Salt Attack’s even have a clear zipped cover and a hose fitting on the side purely for this purpose.
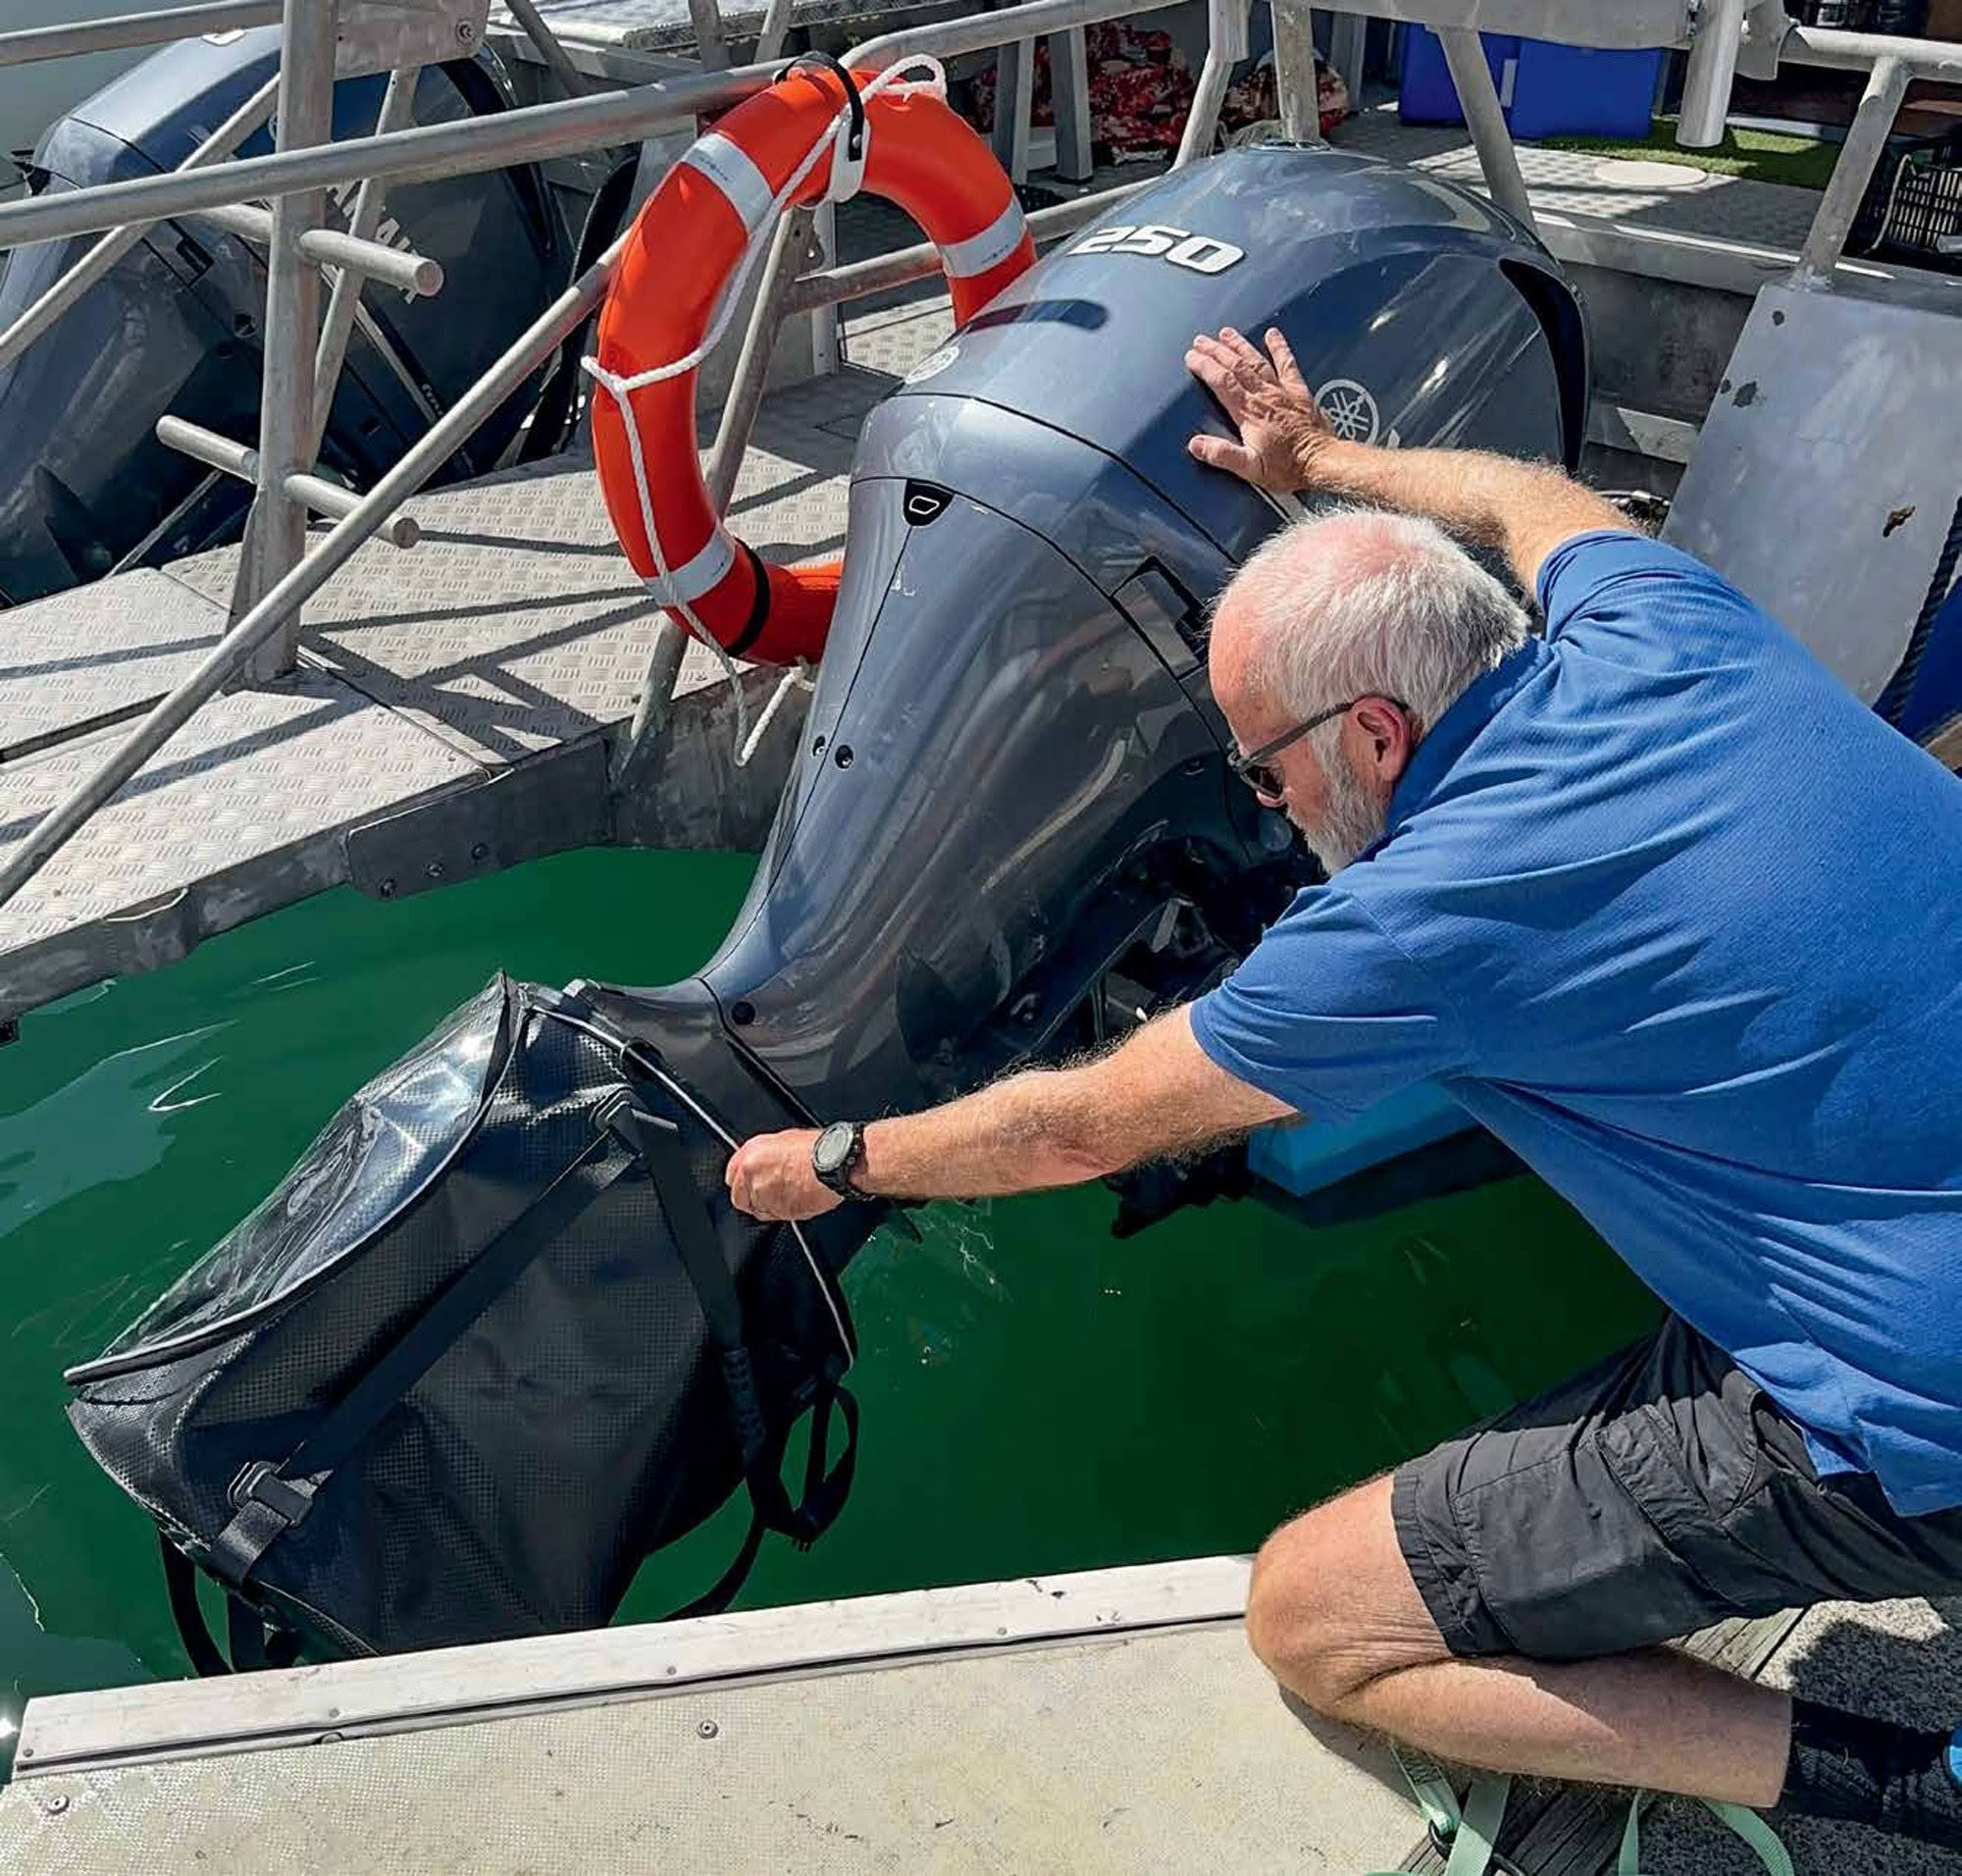
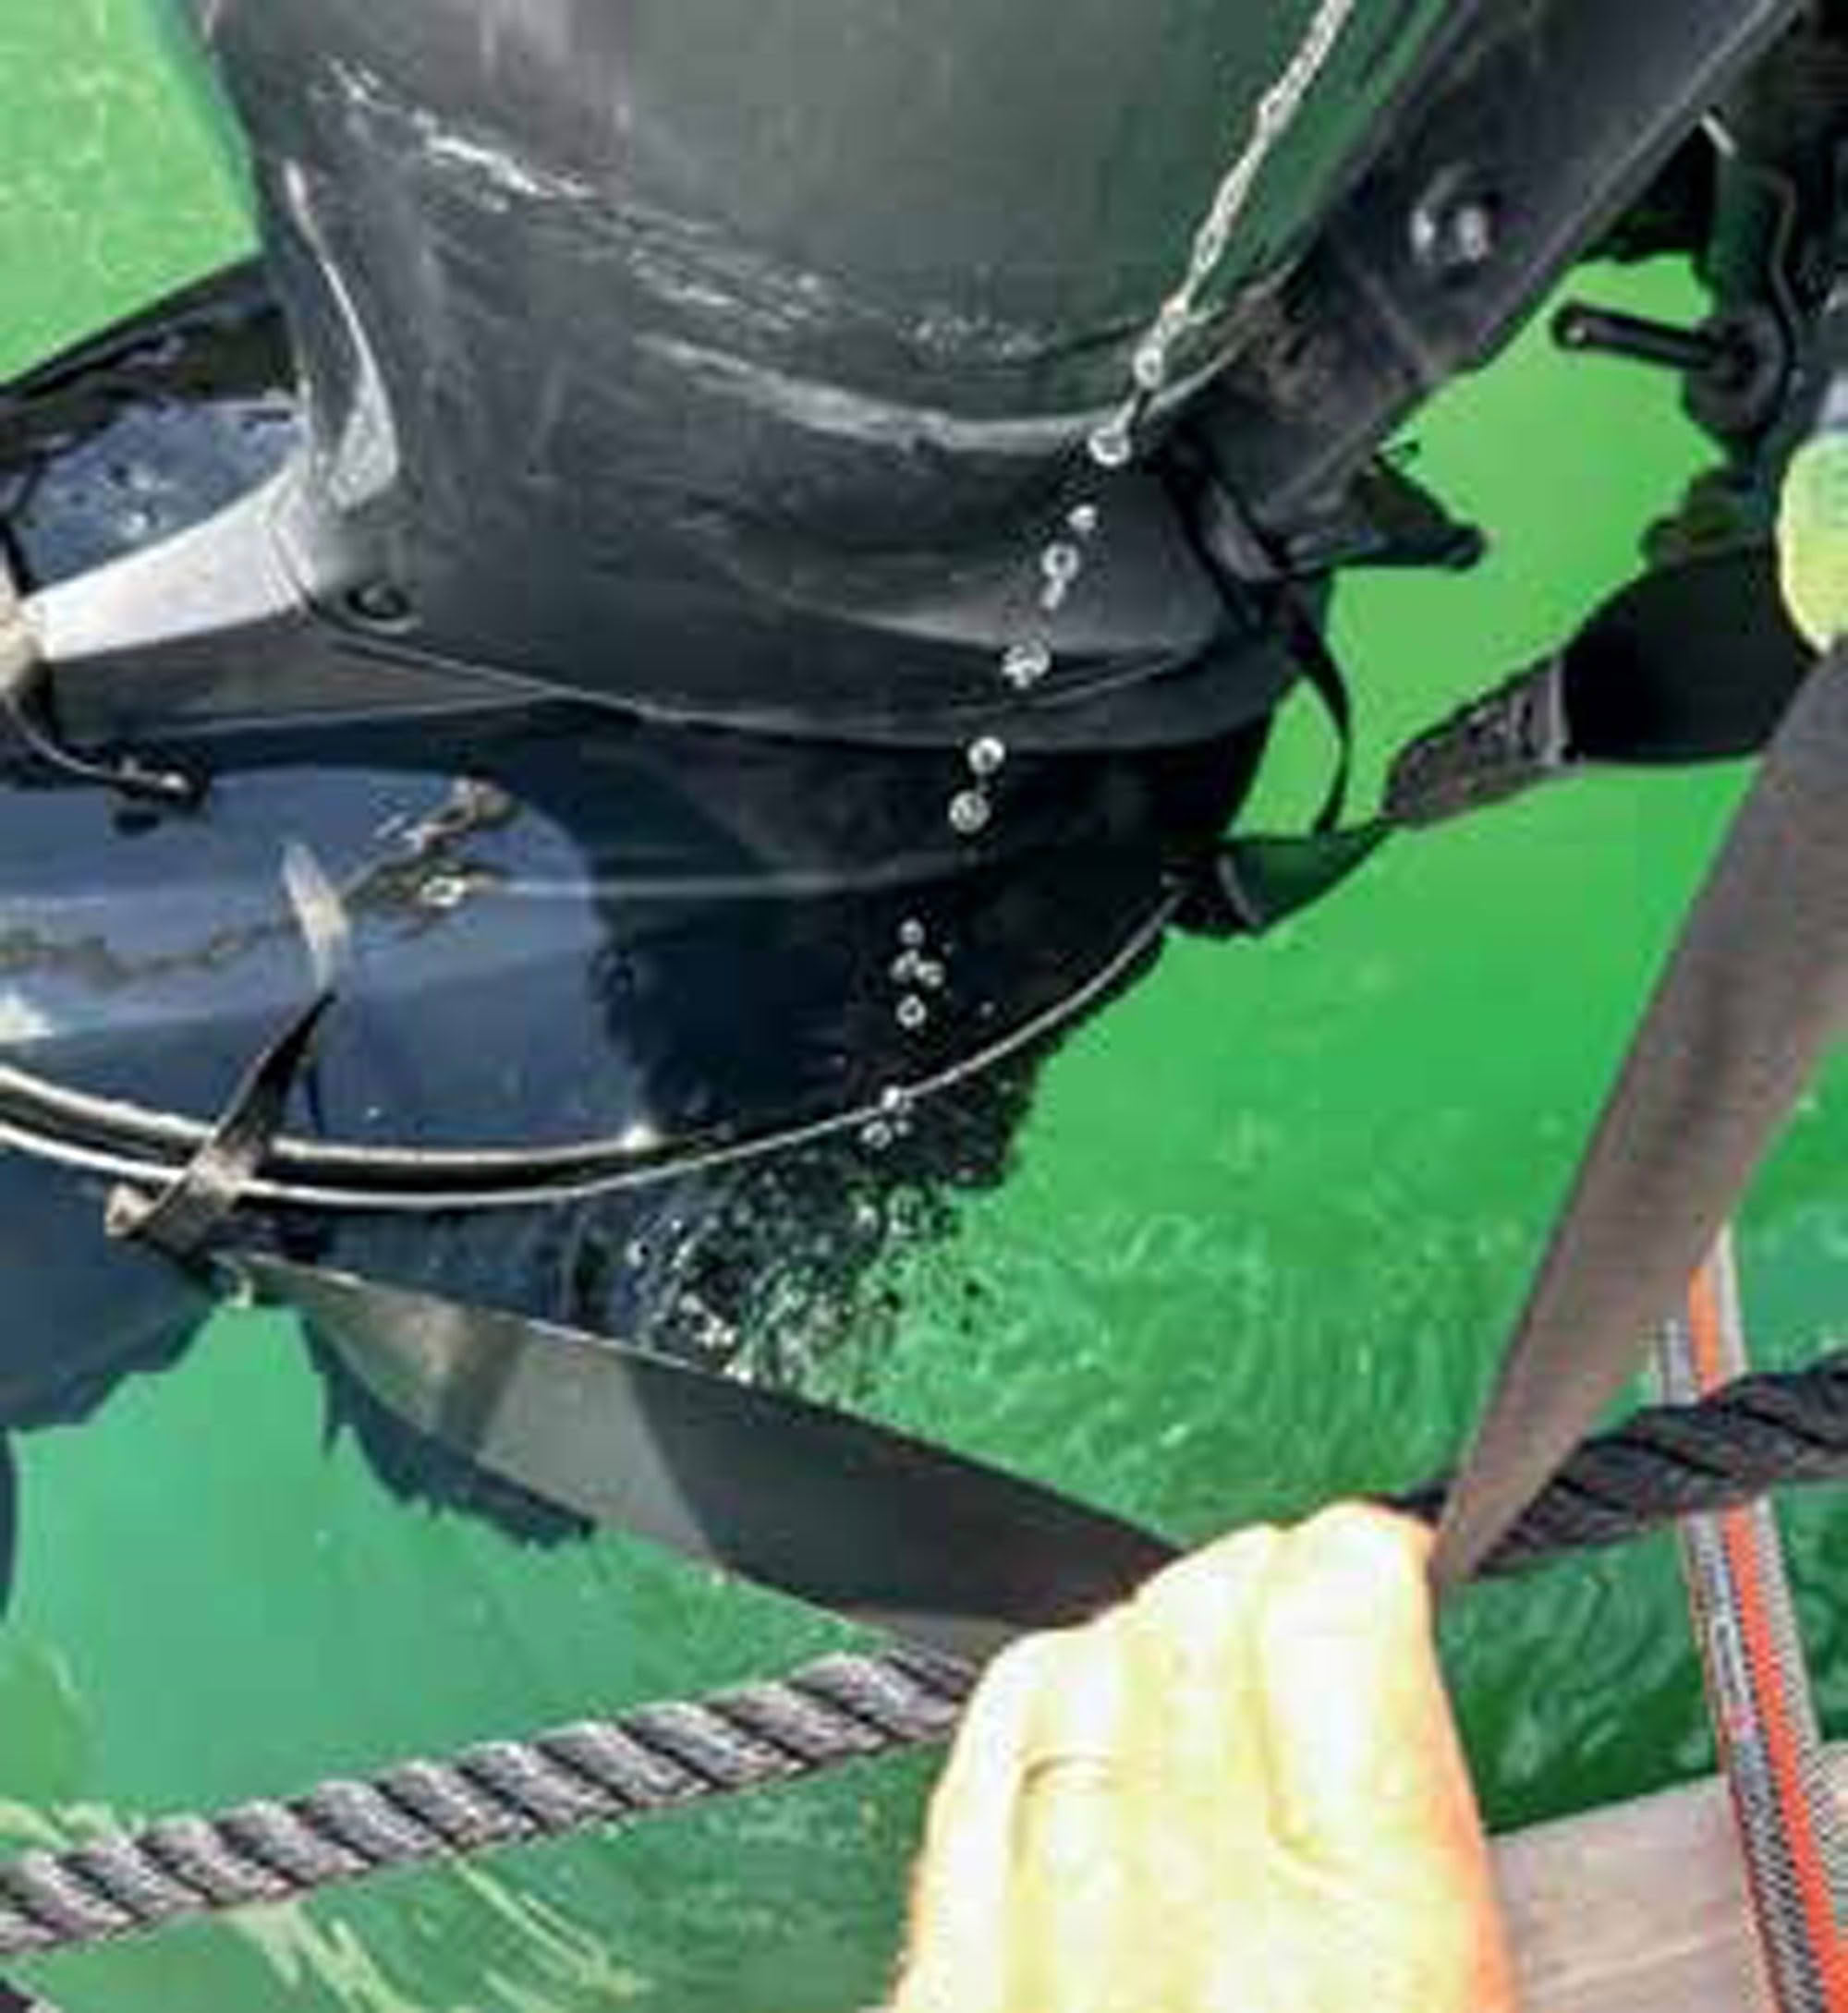
For boats on a marina berth, however, the process is slightly more complex since there is no ground on which to set the bag down. One motor at a time, I first had to tilt each motor up to allow it to drain before pulling the flush bag over the prop and the motor’s lower unit.
With some help from a friend, I then tilted the motor down slowly while simultaneously filling the bag with fresh water from a hose. This second step was necessary to give the bag enough internal pressure to hold its shape while effectively floating around the bottom of the outboard.
Once all the water intakes and outlet were under water I could stop filling, and using a strap I could secure the handles of the flush bag over the top of the motor. This then gave me a selfsupported bag around the motor’s gearbox, with the handles not taking any weight but simply holding the sides up and in place.
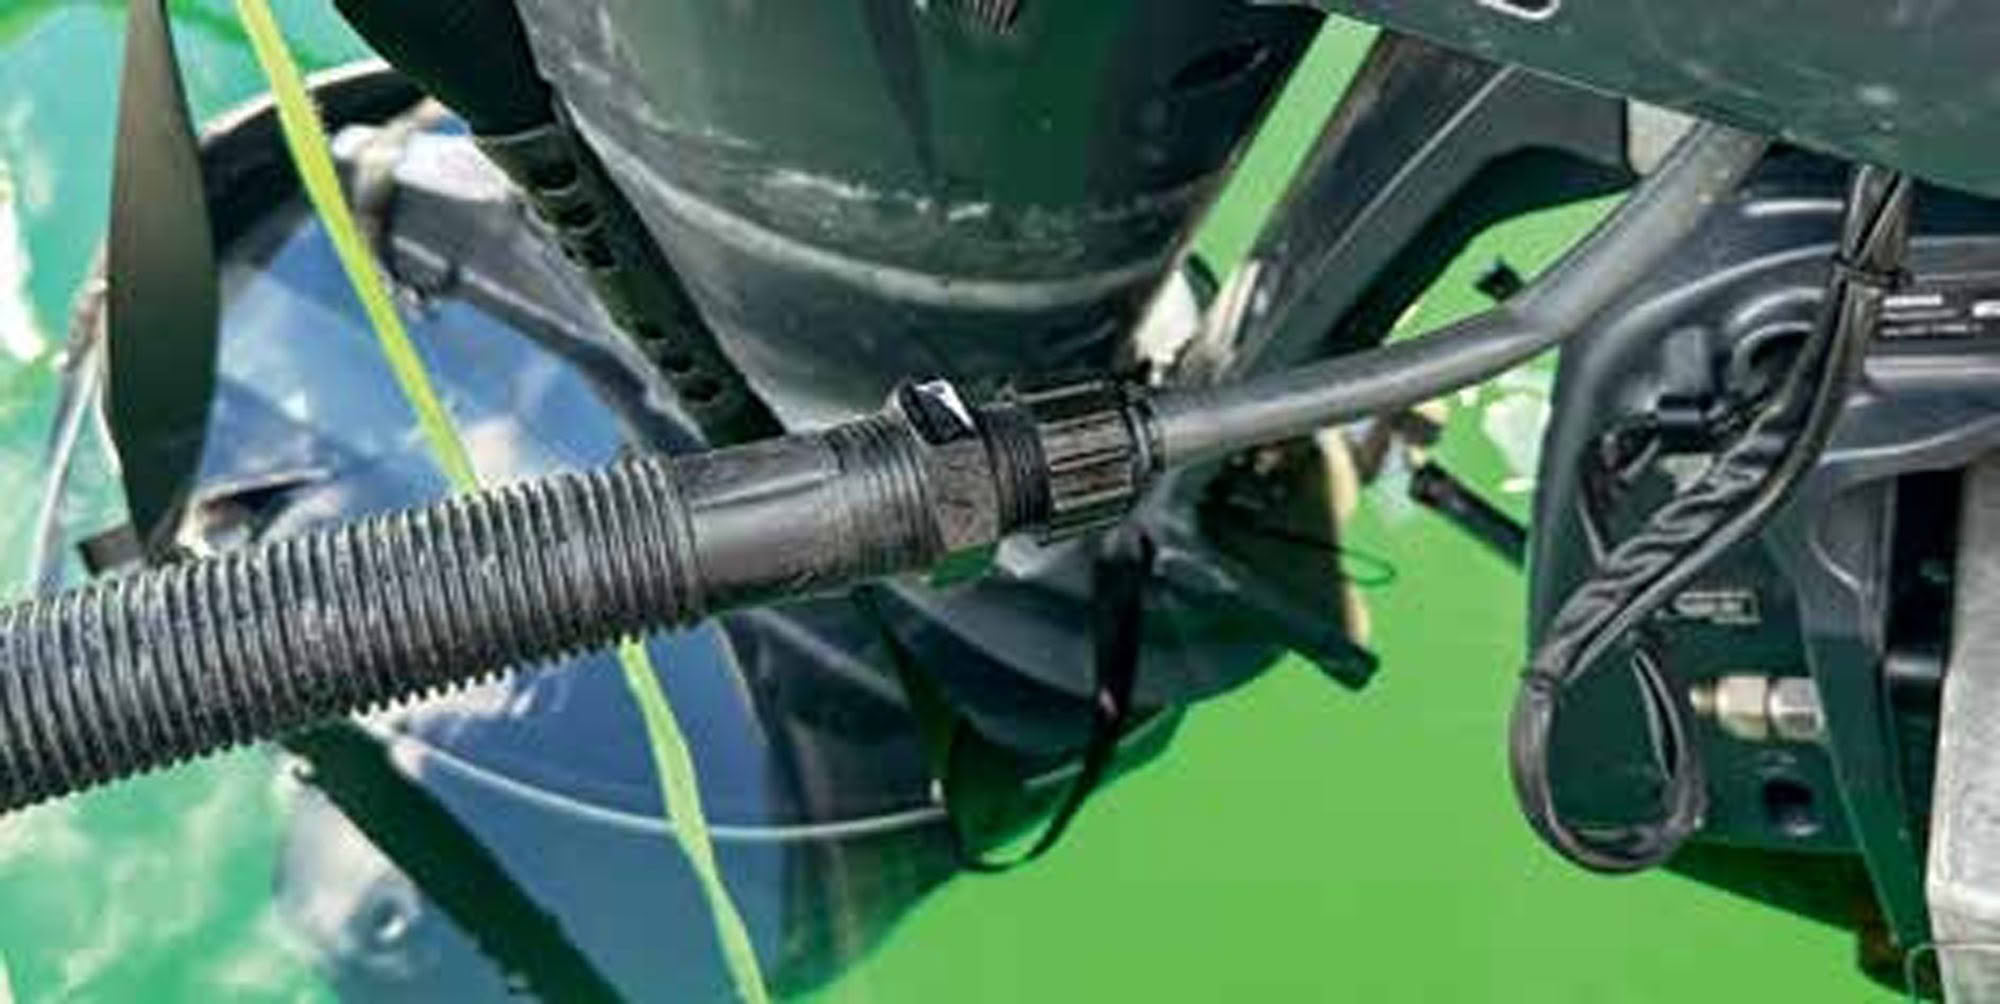
Although not entirely necessary, I connected up a small bilge pump with a hose connector so I could plug this into the flushing port on the motor. This meant I did not need to actually run the motor to circulate the mixture, hence I could set the pump going and go home for lunch while it did it’s cleaning. Since I knew the volume of water in the flush bag, I added the appropriate amount of Salt Attack Descaler to make the optimum solution. I then connected the circulating pump and started the process. Once the tell-tale was showing me that the solution was circulating correctly, I blocked that tube off with a small plug so it would not squirt out over the side of the bag and then left the system running for the recommended three hours.
Upon my return I shut down the pump, disconnected the hose from the engine and allowed the solution to drain out of the engine block. I wanted to save as much of the solution as I could since I had a second motor and needed to give that a good descaling as well. I carefully pumped the solution into a large plastic bin I had handy, and managed to salvage about 80% of the volume. I then slowly tilted the motor up until I could remove the flush bag before tilting it back down.
Because the solution was environmentally friendly, the easiest way to completely clear out the descaling solution was to start the motor and run it up to operating temperature while allowing sea water to circulate, which took about 20 minutes.
While it was running, I set up the other motor with the flush bag and started the process on that side.
Once both motors had been descaled and thoroughly flushed, I completed the job by performing a standard freshwater flush using the hose attachment. And, as usual, I ended the cleaning process with Salt Attack Salt Remover in the final rinse water.
When I next took the boat out for a run the engine temperature stayed exactly where it was supposed to be. I should not need to repeat this process for another couple of years, although I will probably do it as part of the maintenance cycle whenever DiveCat comes out of the water for antifoul renewal. BNZ