Every boat, regardless of its size or purpose, should be equipped with a reliable anchoring system. This ensures safety and stability when the vessel is stationary, especially when the weather swings. It is not always practical, or sometimes even possible, to return to the marina or boat ramp when the weather turns to custard, and a good anchor may be all that stands between you and disaster.
At its most basic, an anchoring system comprises an anchor, a chain, and a suitable rope. Collectively, the chain and rope are known as the ‘rode.’ The choice of anchor size and the chain’s length and weight largely depend on the boat’s size. From a one-man dinghy to a colossal supertanker, every vessel needs some form of anchoring capability.
In smaller vessels, anchors might be manually deployed. But as many experienced boaties know, manually retrieving an anchor together with a length of chain can be hard work. For larger vessels, manual retrieval isn’t just strenuous, it can be downright impossible. This is where mechanical winches come into play.
Most recreational boats employ a windlass-style anchor winch. This type of winch features a toothed wheel known as a ‘gypsy’ that can manage both chain and rope. Depending on the design, windlasses might rotate horizontally or vertically. They facilitate the smooth passage of the rode through the deck’s ‘hawse pipe’ and into the anchor locker below.
However, the windlass system has its challenges. One of the primary drawbacks is the substantial space it requires below the deck, termed the ‘fall’, for the rode to drop into. Without adequate fall height, the rode may not disengage from the gypsy effectively, leading to intermittent jamming. This space requirement often poses challenges for smaller boats and catamarans.
Older or more compact boats might use a capstan instead. This is a rotating drum powered by a motor, but manual intervention is needed to maintain tension and guide the rode into its storage. These capstans can also serve other roles, like assisting in craypot hauling. Both windlasses and capstans scuff the outer surface of anchor ropes over time, eventually necessitating their replacement.
While commercial boats have long favoured drum winches, these devices are now gaining traction among recreational sailors. Drum winches boast a range of benefits:
- They sit atop the deck, obviating the need for under-deck space
- Their operations are completely visible to the skipper
- They are less prone to jamming
- They are more straightforward to maintain.
Drum winches can accommodate thinner ropes, which are more cost-effective and space-saving. A windlass will typically require 12mm to 20mm braided rope, whereas a drum winch can operate equally effectively with 6mm to 10mm rope.
However, drum winches do have particular quirks. The retrieval speed can vary based on the amount of rope on the drum, which becomes an issue once the anchor is near the surface. Plus, as the drum accumulates rope, it shifts from side to side, much like a fishing reel’s level-wind mechanism. The use of a guided roller mitigates the sideways motion, while judicious tapping of the control switch will slow its rewind speed in those final few metres.
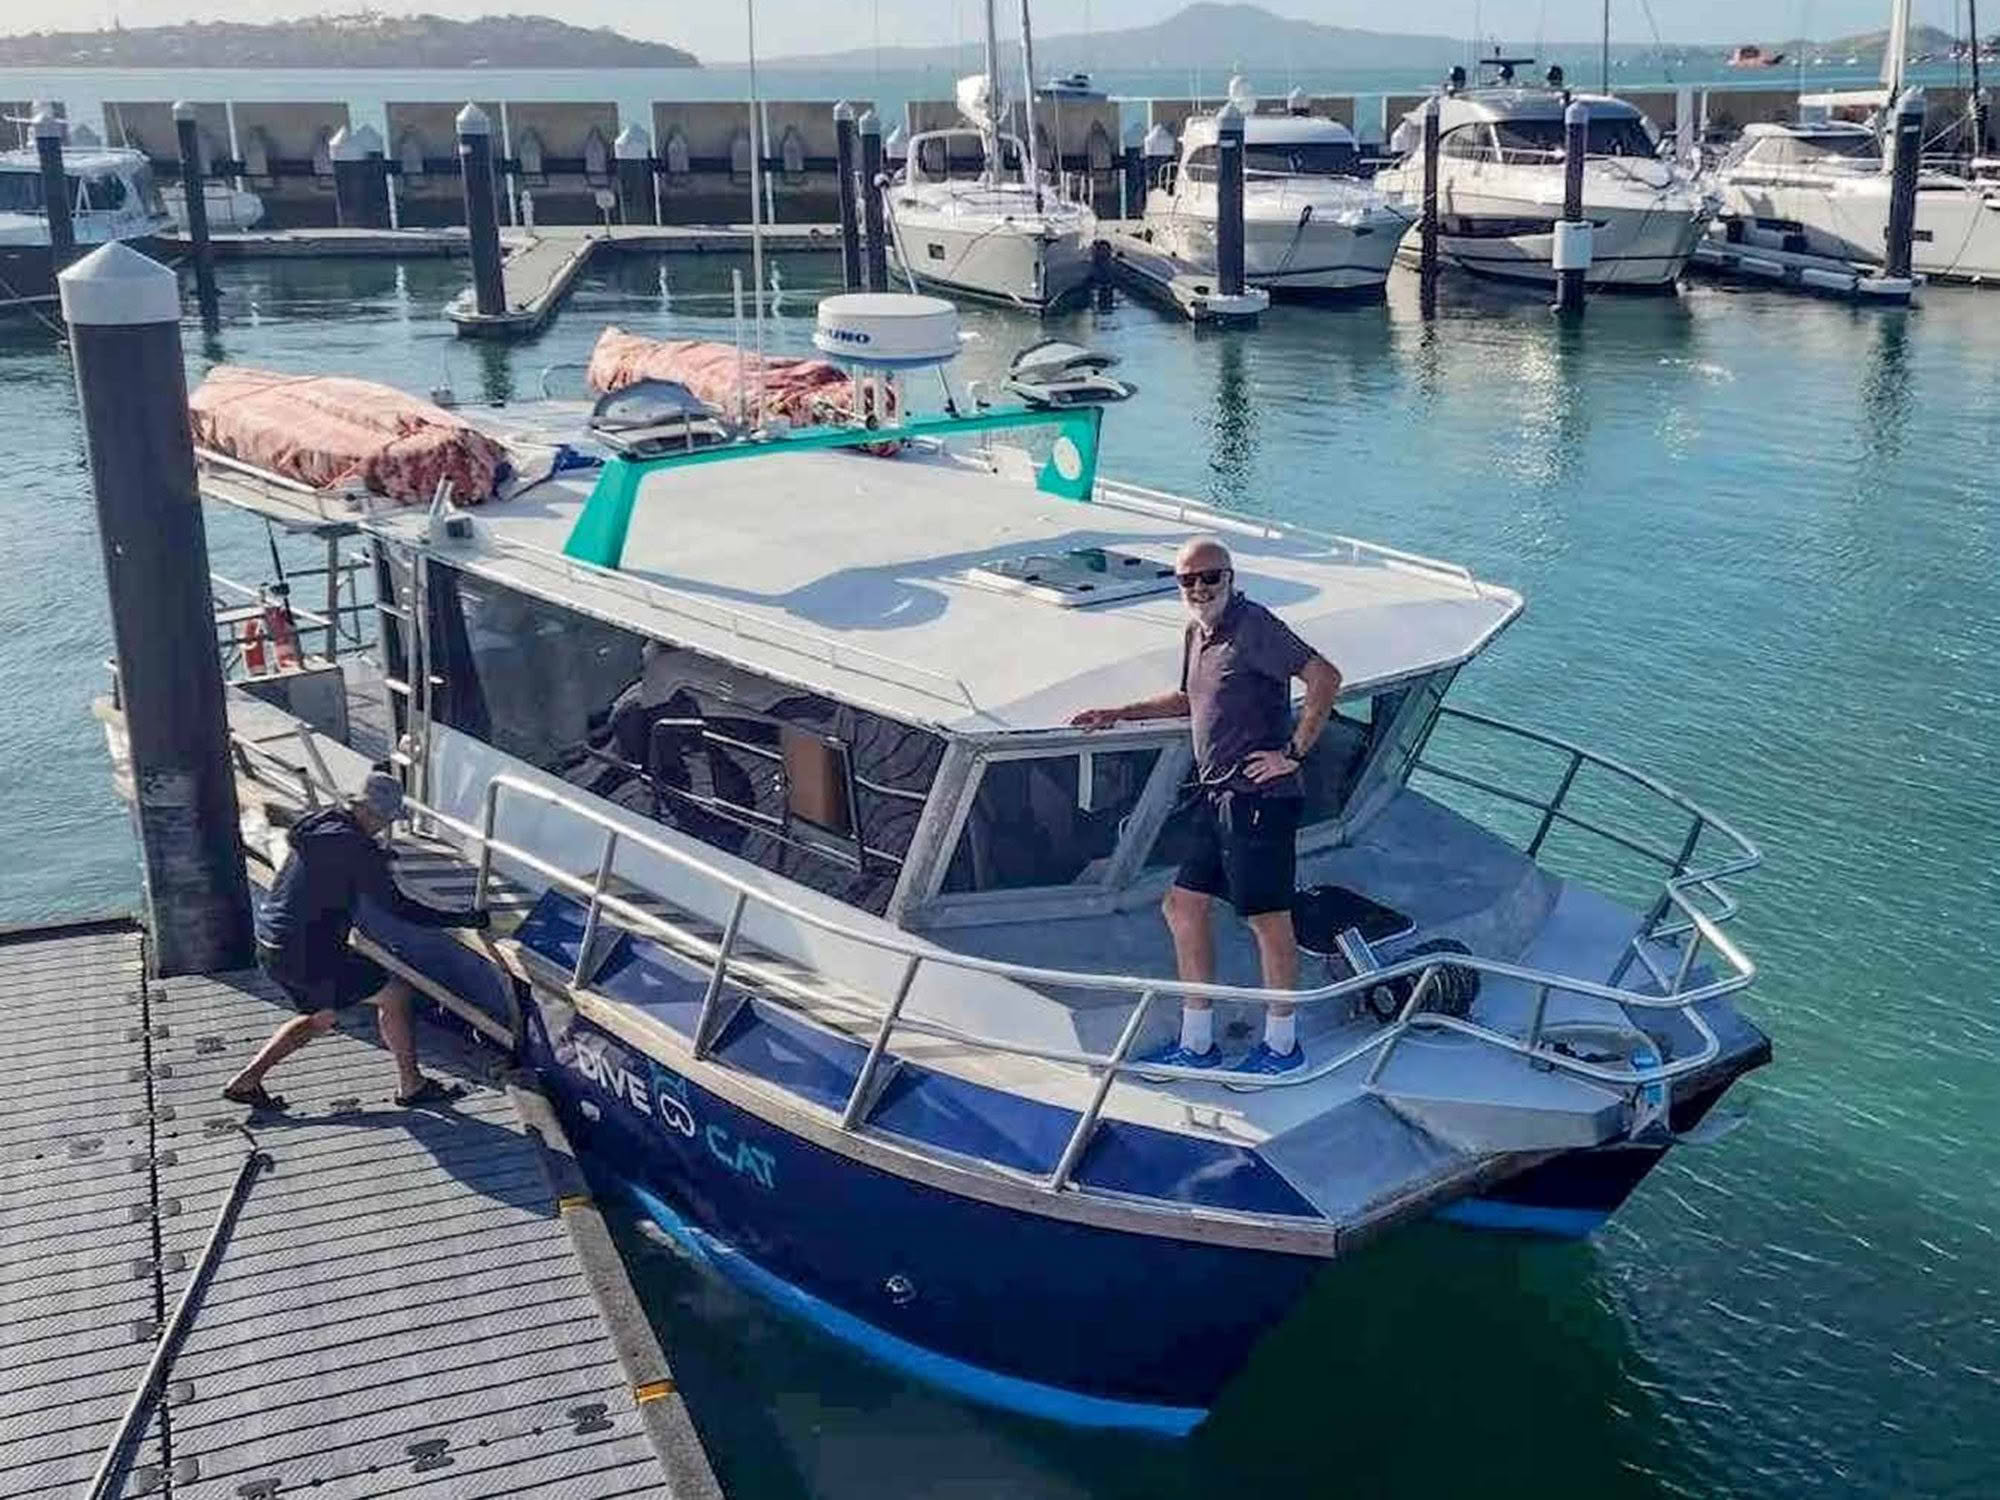
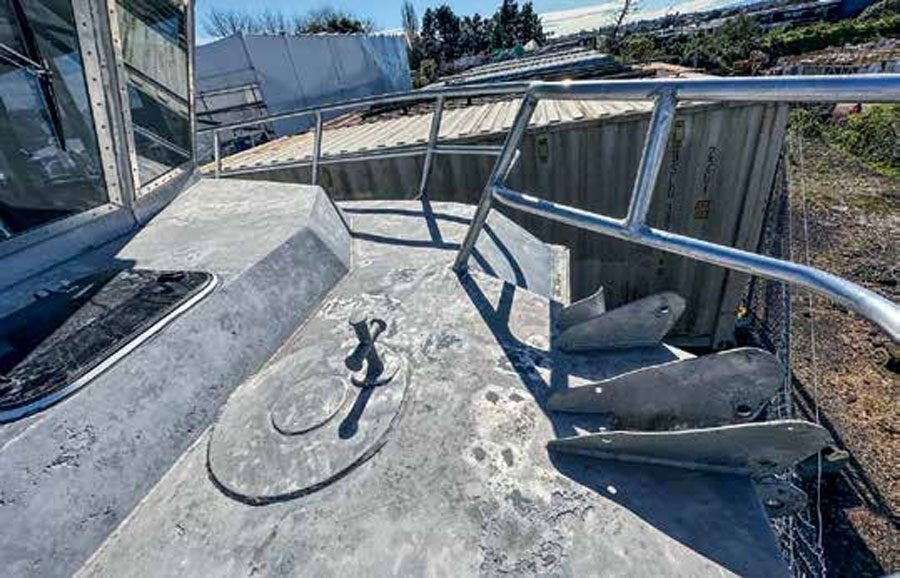
My boat Divecat originally had a grunty horizontal windlass and a massive anchor locker measuring 75cm on all sides. This held a couple of hundred metres of 20mm rope and matching chain, but also occupied a substantial section of the forward cabin. Since I am reconfiguring the boat with twin double berths in the forward cabin, I wanted to reclaim that interior space. A drum winch was the logical choice, aided by the fact that a stepped forward deck provided a perfect location to install it without impinging on the skipper’s view forward.
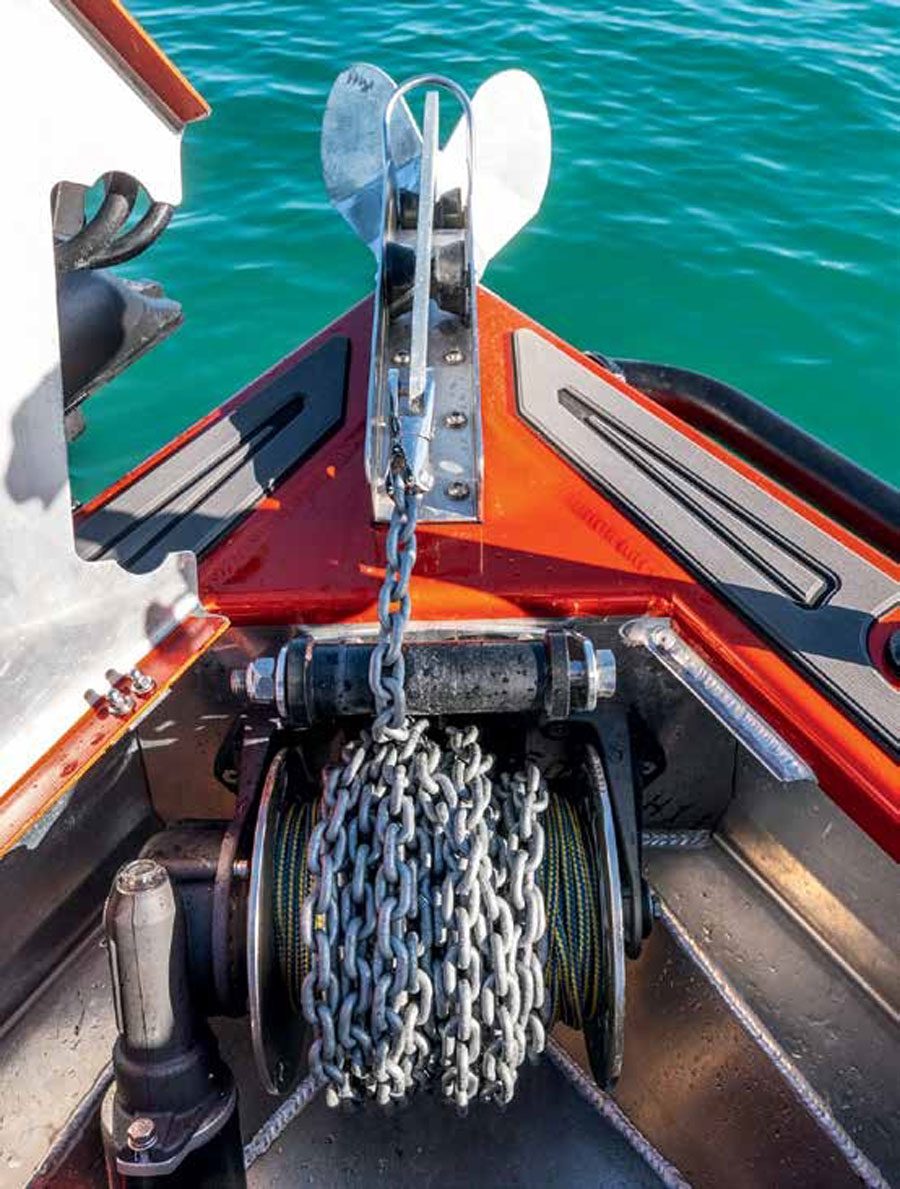
Because the boat measures around 11m, I need a substantial anchor and chain on my rode. This naturally means I need a winch that has both the drum capacity and the winching power to be able to lift it. Using one of the online calculators I had established that a Manson Boss anchor of 16kg was appropriate, with at least 11m of 8mm chain. The chain weighs 1.4kg per metre, so together the anchor and chain will weigh 32kg. A common rule of thumb is to multiple this by three or four to get the required working load of the winch, or in my case 96kg to 128kg.
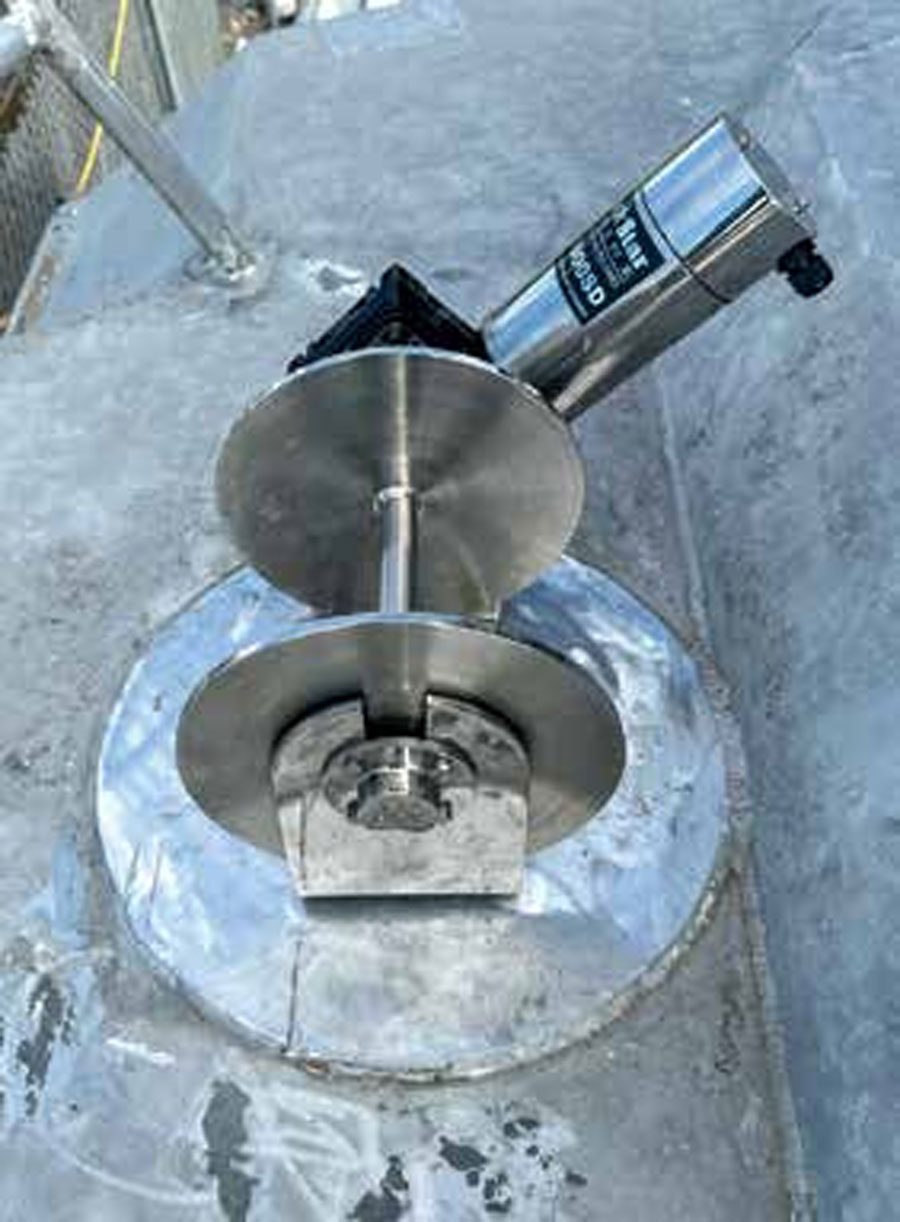
Looking at various manufacturers’ specs I find that this is just below the upper capacity of a 1000W motor, although a 1500W model would be better. The decision was made for me when I found a local retailer doing a stock clear-out on a brand new, but older model, all-stainless 1000W unit. The price was too good to turn down, so I snapped it up. This model has a maximum recommended working load of 110kg, so about 3.5 times my winching load. The maximum pull on a full drum is also specified at 362kg, so there is plenty of reserve there. After all, the purpose of the winch is to raise the anchor, not to try and pull the boat forward!
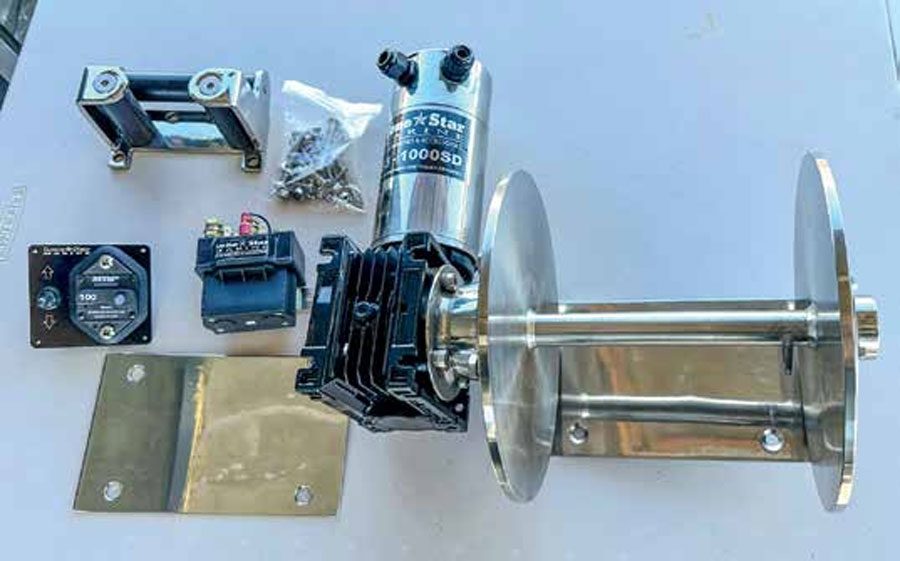
This winch came with the required solenoid and helm switch plus circuit breaker, and comprehensive instructions. The only thing missing from the kit was a bow roller, but I easily sourced a suitable unit from my local chandler. I chose to get the option with side rollers, to prevent any chance of the rode slipping off when it was winding towards the edges of the drum.
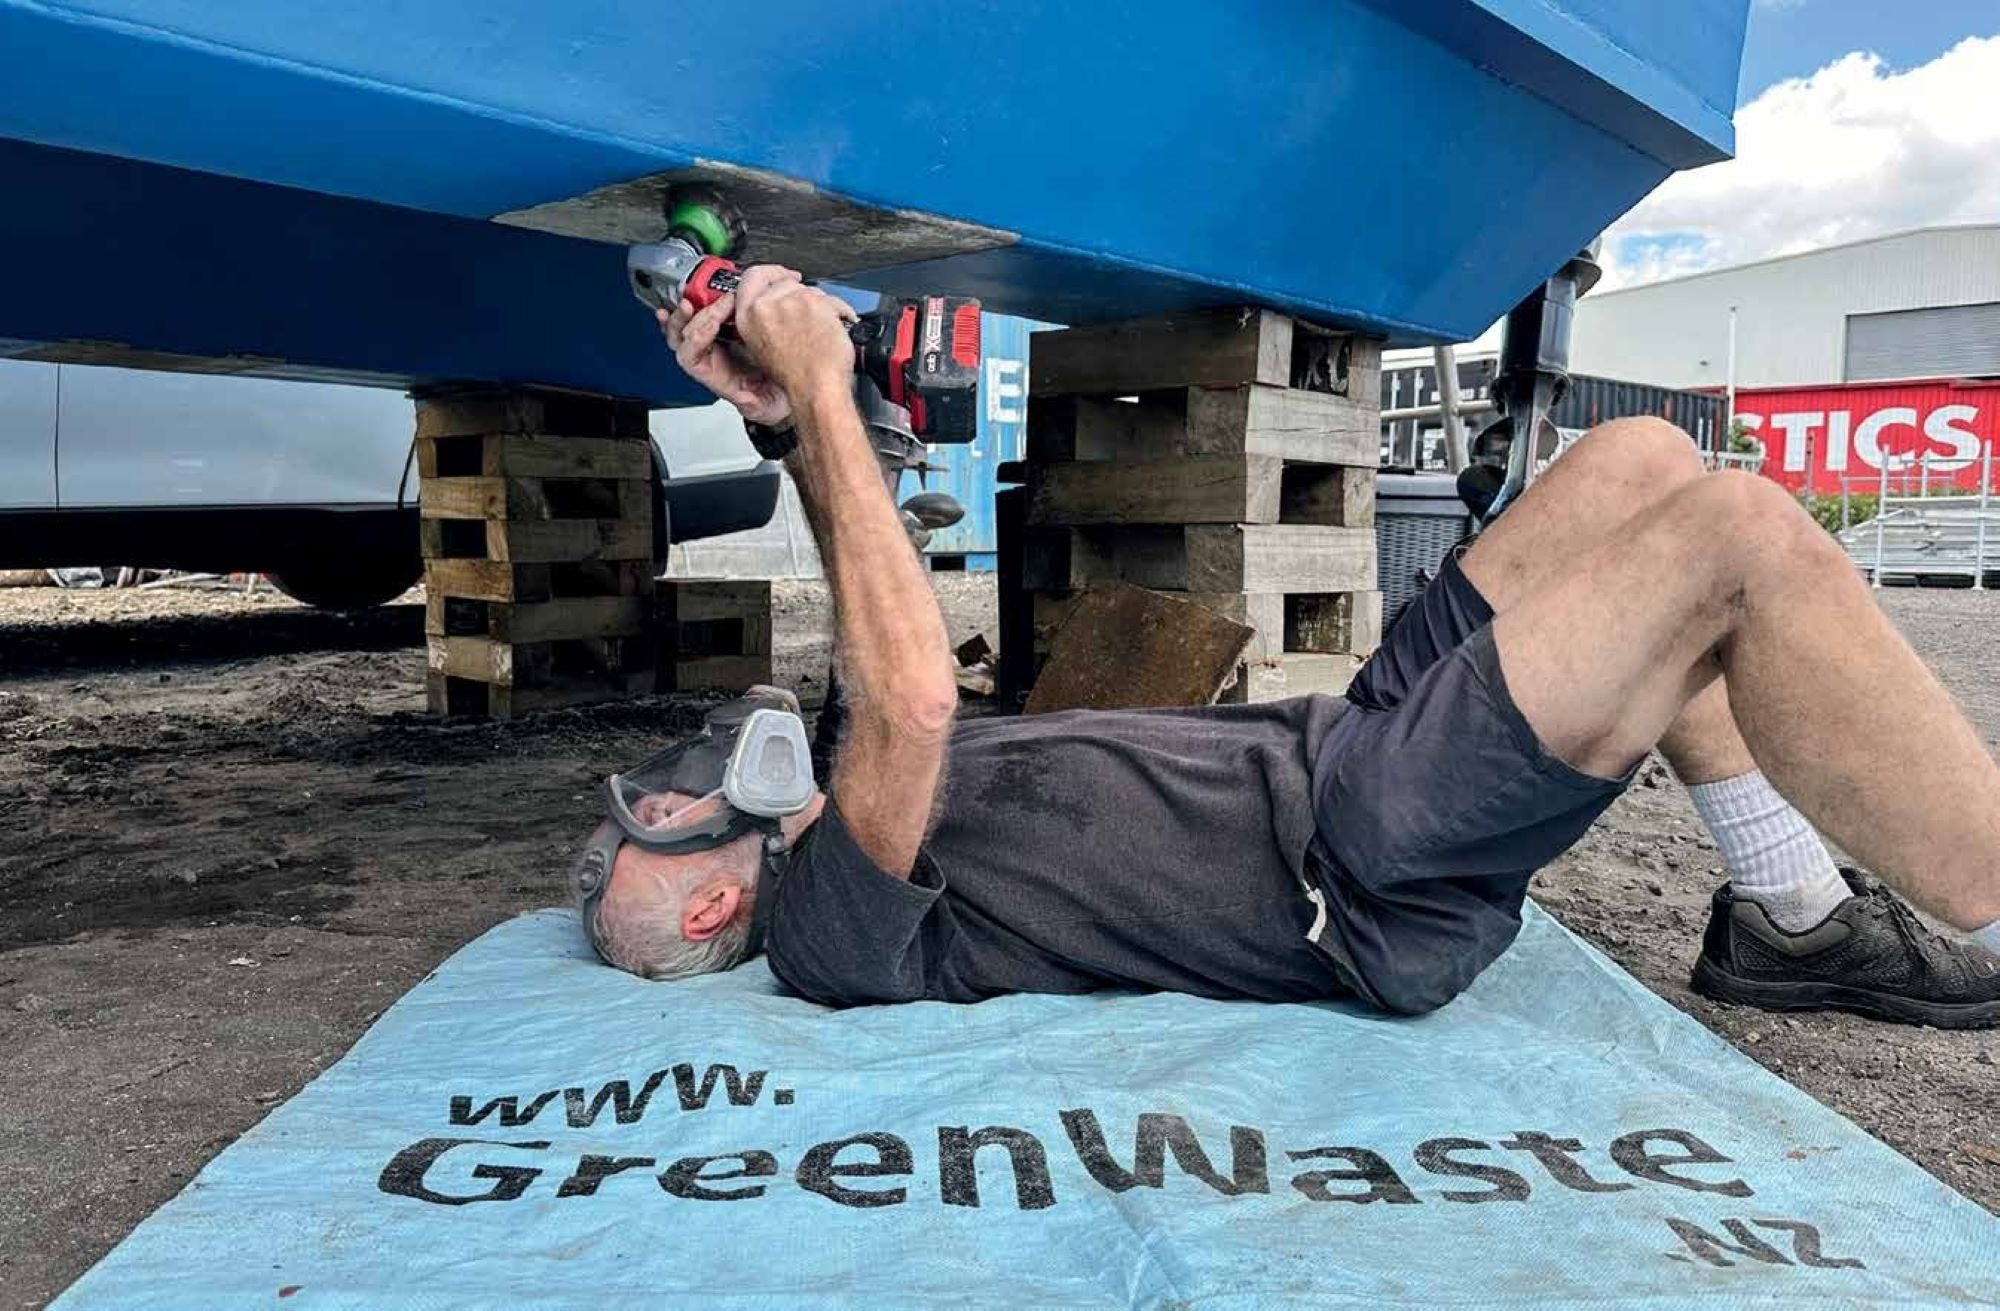
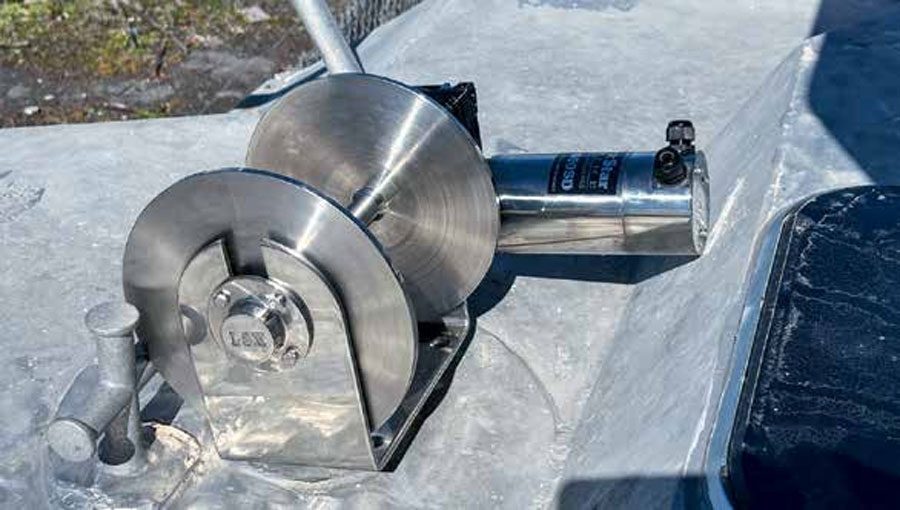
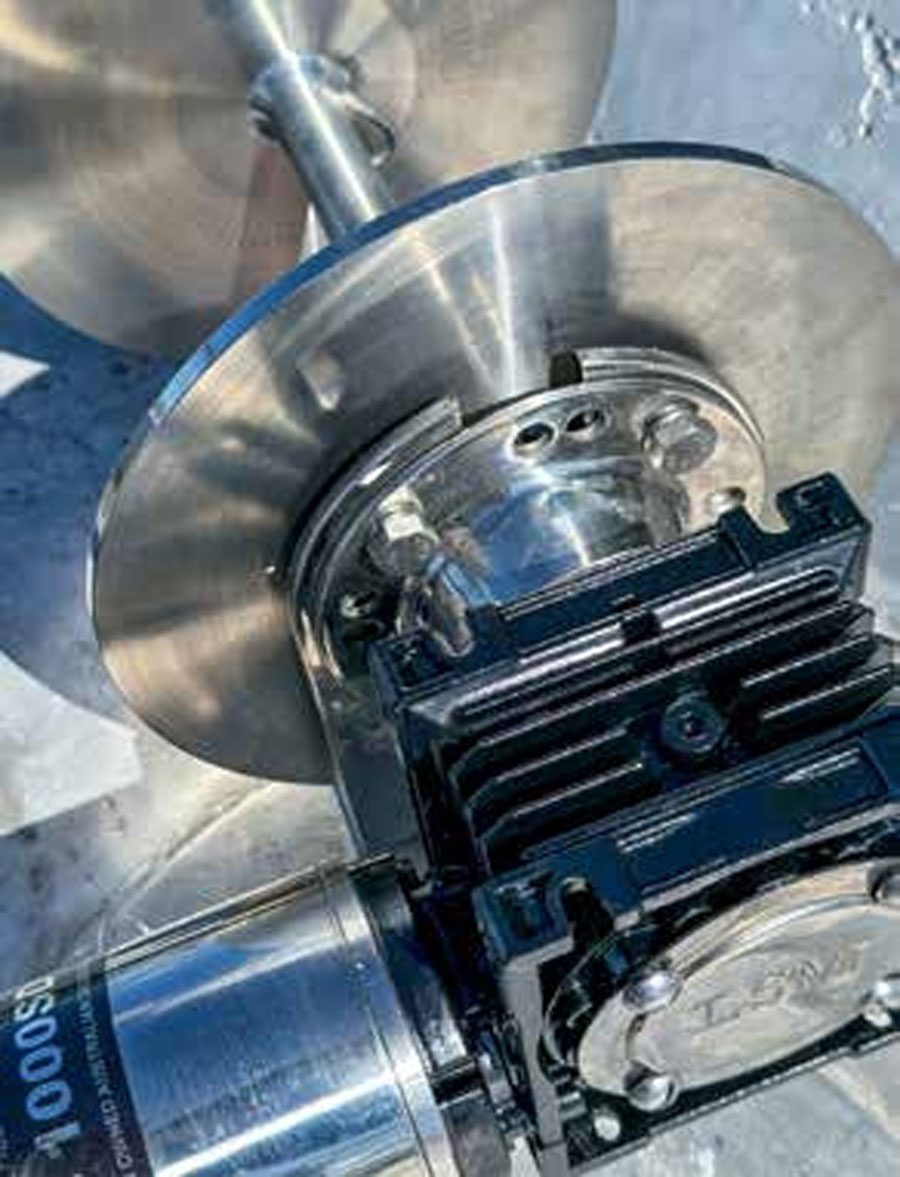
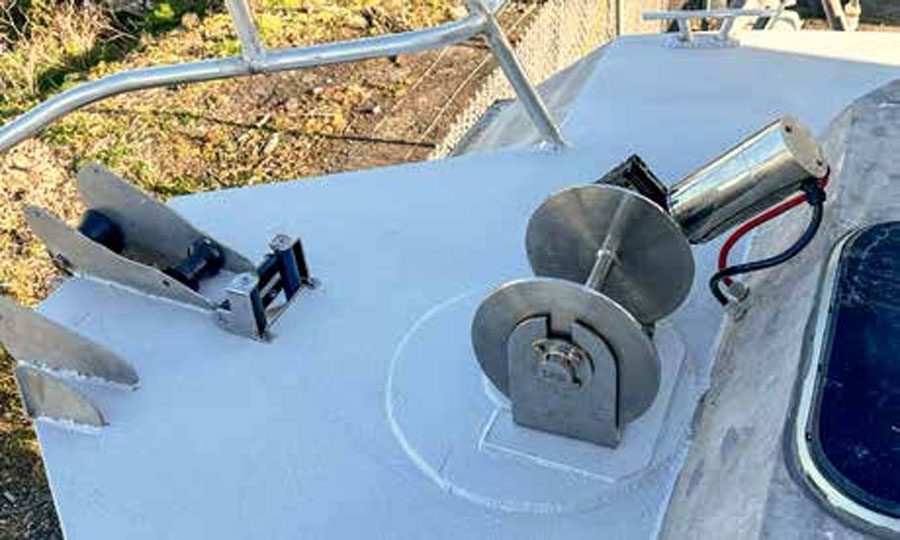
So, with brand new anchor, winch and bow roller in hand, it was time to install everything. And this is the beauty of a drum winch – you literally just bolt it into place on the deck and connect the cables. I had to tilt the motor to 45° on the side of the unit to fit it snugly in the centre of my mounting position, and also rotate the motor so the cables exited the bottom (rather than the top) of the housing. Both were simple tasks following the instructions provided in the installation manual.
After that it was just a matter of drilling some holes and bolting everything through the deck with appropriate sealant. Similarly, fitting the bow roller required another four holes and bolts with sealant right through the deck. At the same time, I also fitted new rollers into the original fairlead at the bow and completed another task I had been meaning to do – covering the deck with Kiwigrip non-slip coating.
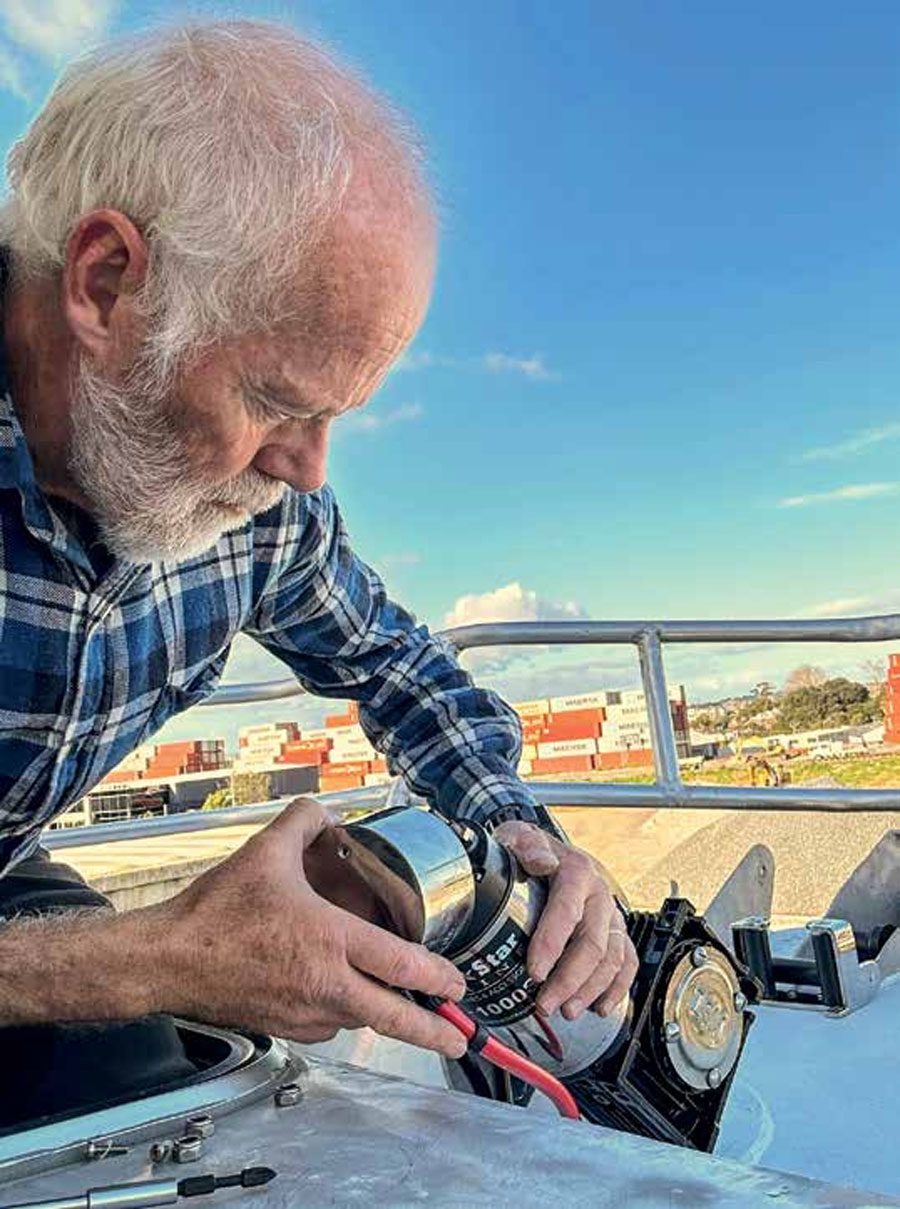
The electrical installation was slightly more complex. Since the motor is exposed to the elements on the foredeck and will get drenched with salt water from time to time, everything needs to be very carefully sealed. Again, the instructions that came with the kit were comprehensive and I fitted the required heavy-duty cable through the watertight glands on the motor cover.
The thickness of cable required depends on the current load and length of cable. A 1000W motor will draw about 85 amps at 12 volts, and a 16mm2 cross-section cable will nominally handle 96 amps. My cable run will be about 5m to the house battery, so to prevent any future issues I decided to go with the next biggest cable of 25mm2. This is rated for 150 amps, so should have not overheating problems.
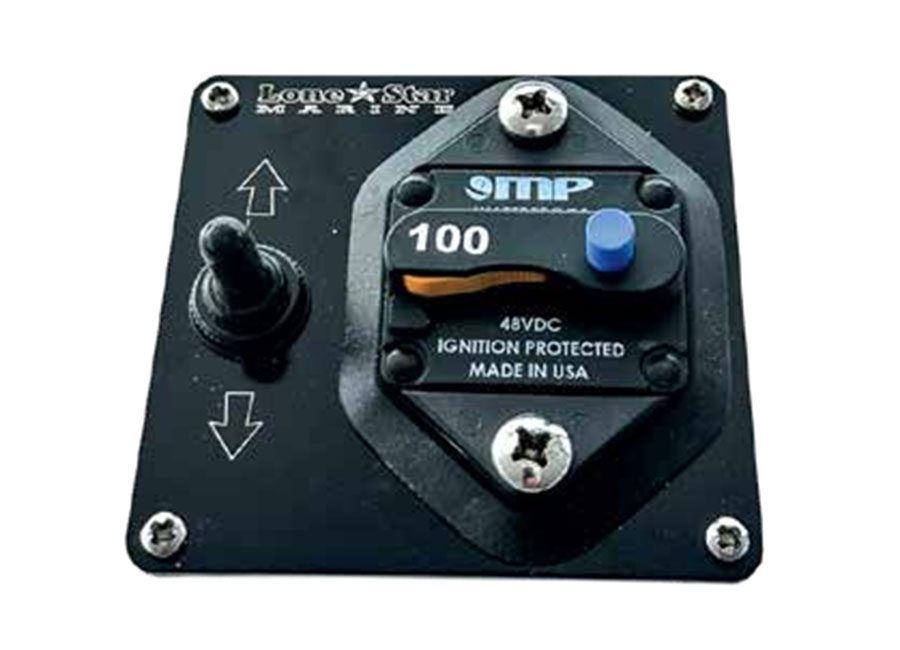
I had to buy another pair of watertight bulkhead fittings to pass the cable through the forward cabin wall, under the bunks and into the helm station. Fitting the switch panel in the helm was easy, using the supplied template as an outline to cut the required hole. The switch includes an integrated circuit breaker, which is great – there is nothing more frustrating than having to scramble around trying to find the circuit breaker if it trips out under heavy load.
The solenoid was mounted onto my main cabin bulkhead behind the helm. A number of heavy-duty cable connections were crimped on, and the winch connected to the battery. Running the main cable and fitting the connections was the slowest part of the whole job, since that heavy cable is hard to work with. A quick test confirmed everything worked perfectly, and I even managed to get the up and down toggle the right way around first time.
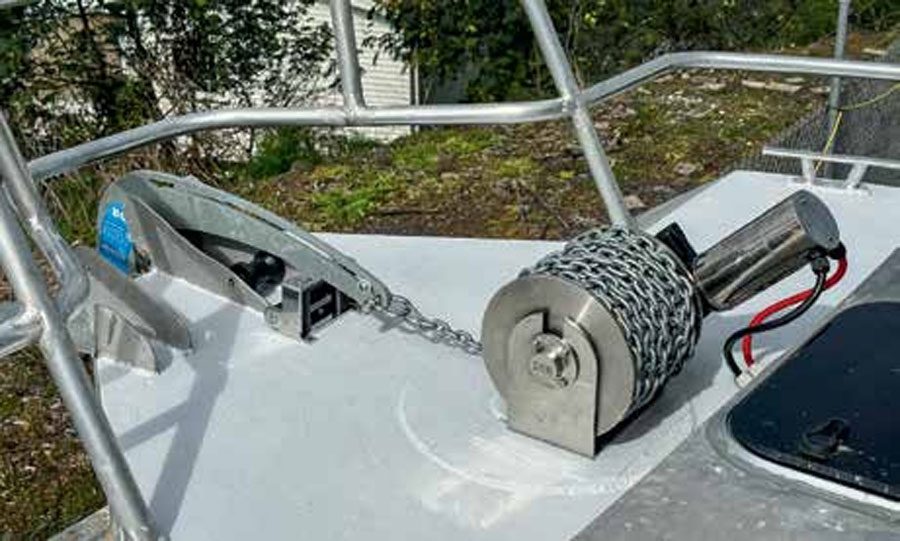
The last part of the job was to wind up the rode onto the drum and position the anchor in the fairlead. For now, I have used some rope that I had on hand, but later I will purchase 100m of the correct drum warp to provide the best strength and shock load capacity. I will then splice the rope to the chain, and also fit a swivel between the chain and anchor. The whole job took about five hours, of which about half was fitting the heavy cable between the winch motor and the solenoid, switch and battery. BNZ