The marine environment generally contains a profusion of life. Nothing can be left immersed in salt water without it quickly becoming covered in marine growth of one sort or another.
Luckily there are not many wooden ships around, so shipworms eating the timbers is no longer the curse that it was for sailors of old. Shipworm is still out there – when I salvaged my boat, all the solid wooden joinery was eaten through and looked like a piece of sponge.
It was the need to prevent shipworm damage that led, in the 1750s, to the discovery that copper sheathing prevents anything growing on or in the hull of a vessel. Modern antifoul was born from that discovery, and copper-based compounds have, in one form or another, been the basis of most commercial antifouling products. Not only shipworm infestation, but indeed almost all types of marine encrustation, are greatly reduced (not entirely prevented) by using an antifouling paint formula below the waterline.
For most boats made of wood, fibreglass or steel, there is not too much issue. Different antifoul formulations have different characteristics, and it is a relatively simple matter of choosing the right formulation for high speed planing hulls, intermediate speed, or displacement hulls.
In general terms, the softer the surface of the antifoul paint the more effective it is, since the organisms cannot anchor themselves to that soft surface. But these softer coatings wear away when the boat travels at speed, in a process called ablation. Hence high-speed vessels need harder less-ablative coatings, while slower displacement vessels benefit from more ablative, softer paints that better prevent marine organisms attaching.


The active compounds in all these products have changed over the years, particularly once it was discovered that high copper levels were causing widespread damage to marine life in popular waterways. More environmentally-friendly (but arguably less effective), the newer paints contain different compounds although copper is often still the chief active ingredient.
Which is a problem for aluminium boats. Copper is more ‘noble’ than aluminium, which means that if the two metals are brought together in the presence of an electrolyte such as salt water, the aluminium will corrode faster – it becomes the ‘sacrificial’ metal of the pair. This means that antifoul paints for aluminium hulls either cannot contain any copper, or else the hull must be be effectively isolated from the antifoul paint by a barrier coat between the two.
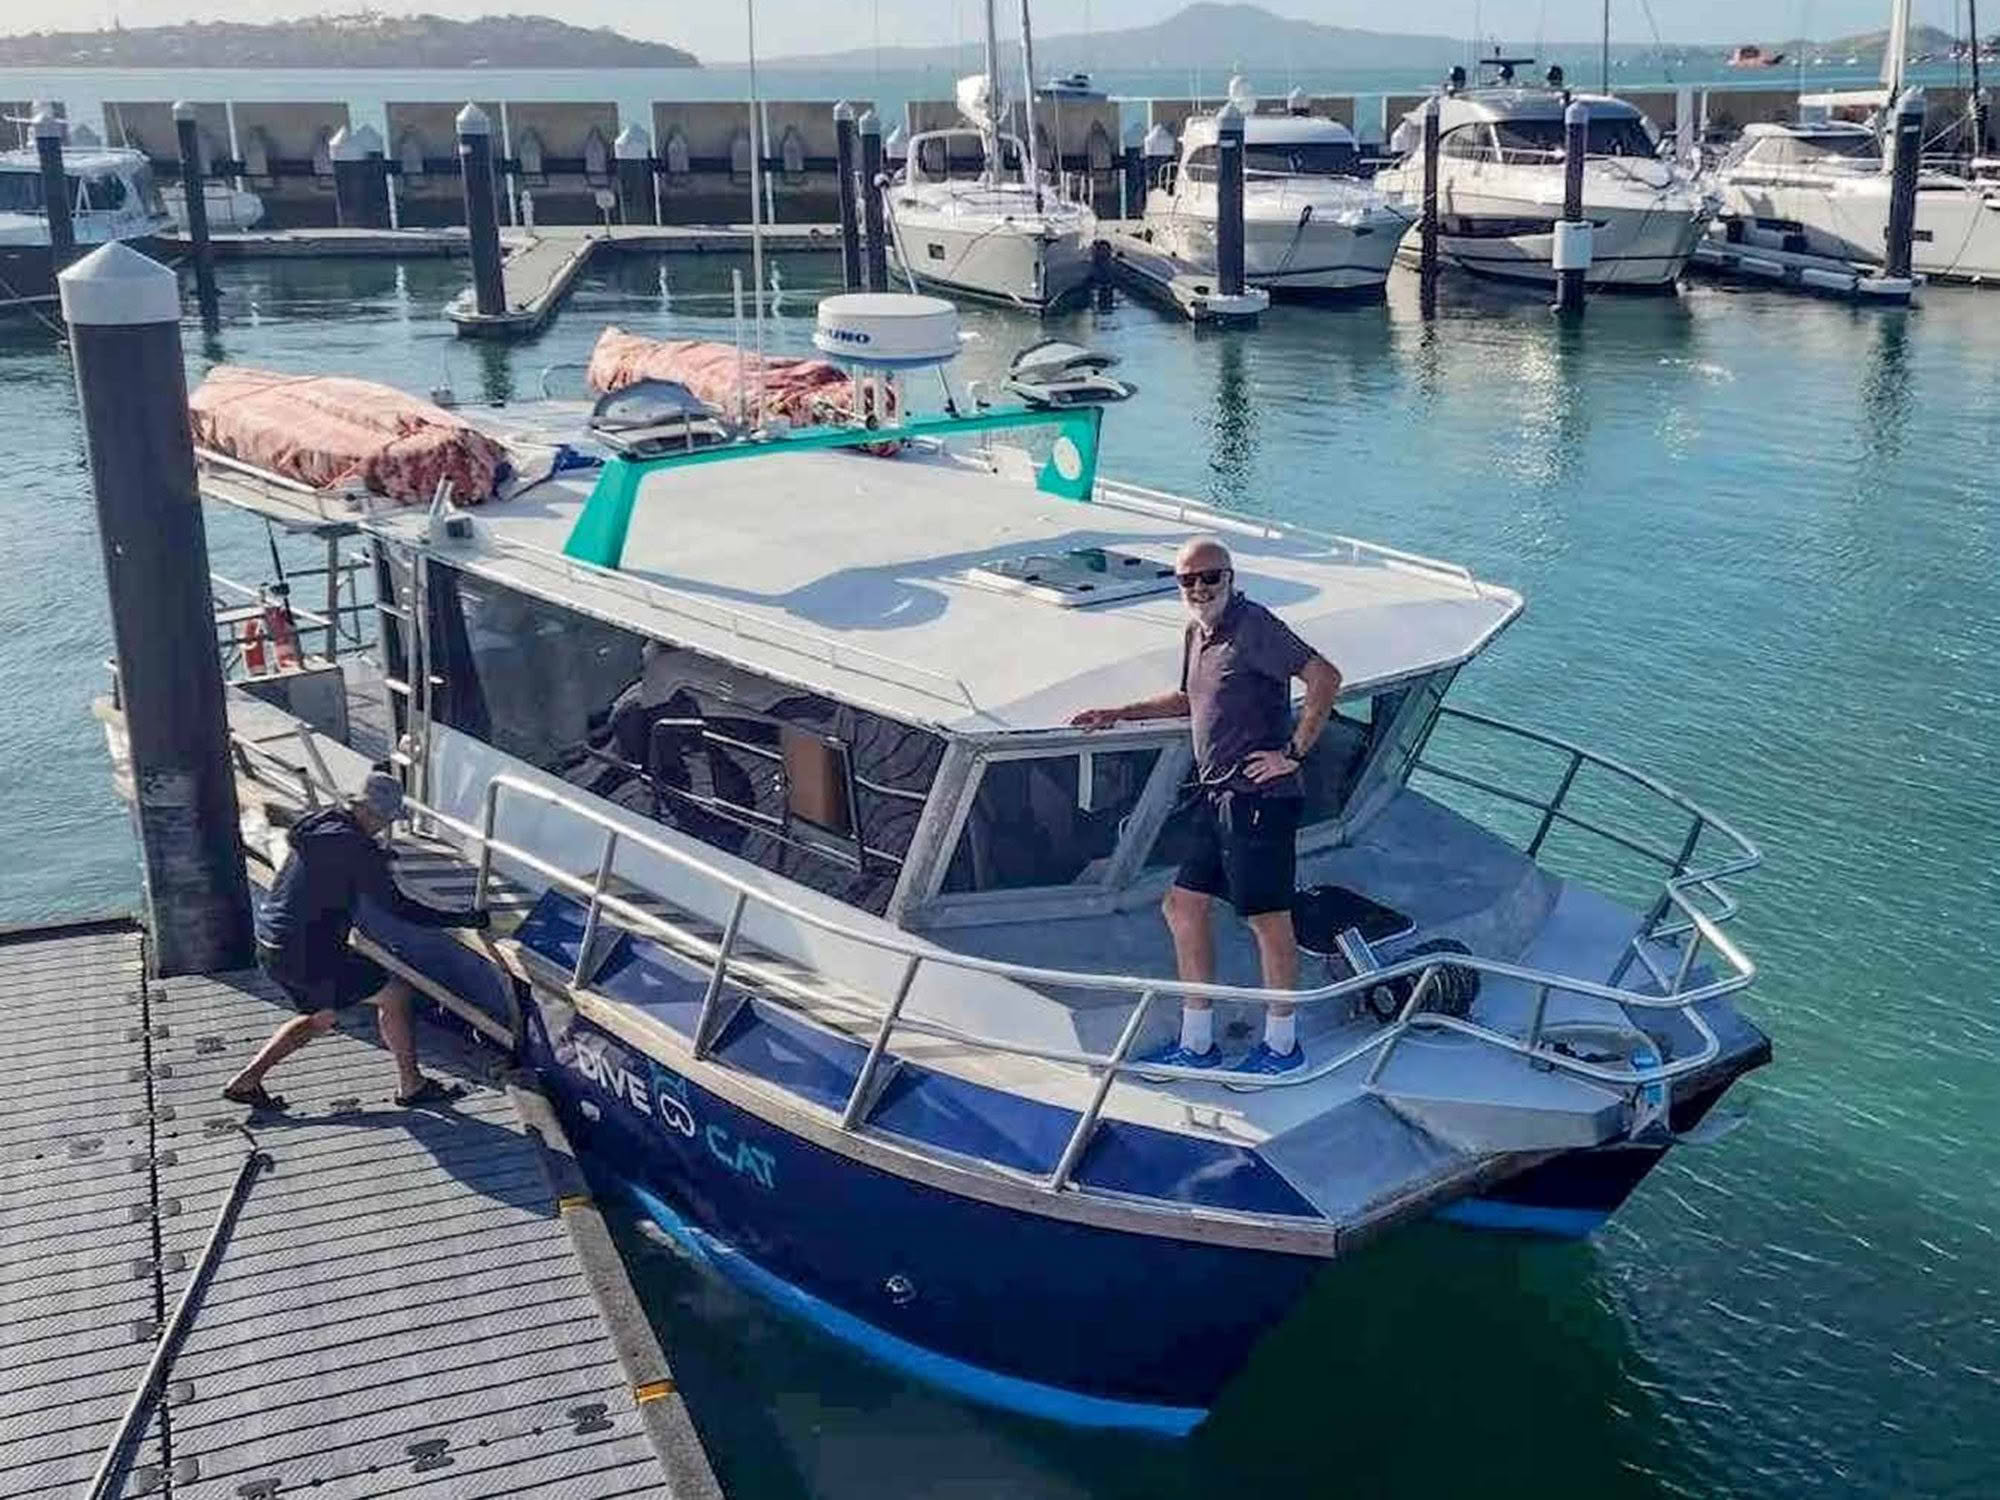
Which brings us to my boat DiveCat, with its plate aluminium hull which has survived a lengthy salt water immersion. The original coating below the waterline included a primer and undercoat, and then multiple layers of antifoul.
Although the metal of the hull itself escaped almost unharmed, the coating was not so fortunate. The hull had sat upright in the mud and sand on the bottom, and various stages of the salvage operation resulted in some of that coating being scoured clean. With the salvaged boat safely on the hard, we wet sandblasted the topsides, inside the hull and below the waterline, which was cleaned back to bare metal, although some remnants of paint and antifoul remained. Clearly, a new layer of primer was needed before we could apply another antifoul.
Removing old antifoul paint can be a tricky business. Firstly, the sanding dust is hazardous, so antifoul should always be wet sanded to minimise chances of inhaling that dust. Which then makes a heck of a mess!
Chemical paint strippers are available to remove antifoul, but their use comes with some hazards. Chemical strippers will generally remove both the antifoul and the undercoat or primer, but in most cases you will want to retain the primer if it is in good condition.
Of course technology has a solution, and there is now a product called DeFoul Anti-Fouling Paint Remover. Solvent free and biodegradable, this will strip back years of antifoul coating without damaging epoxy barrier coats or gelcoat. It also requires no mechanical abrading (scraping or sanding). The product is applied using an airless sprayer, allowed to dwell for several hours, then blasted off with a hot-water pressure washer. Due to the equipment required it is only available for professional application in New Zealand, but the amount of time and effort saved by the product could easily recoup the cost. Hullwell Advanced Marine Coating Technology, the Coppercoat people, can supply an estimate of the cost for your vessel and direct you to an approved applicator in your area.
Fortunately I only had a small area remaining to completely strip down, so could easily manage this mechanically. But an important decision at this point was to choose the coating system I would be using. While it is possible to mix compatible products from different manufacturers, it’s common sense to stick with the same brand for all the layers to ensure they are compatible. I chose the International Paints system, owned by the giant Akzo Nobel group which includes household brands such as Dulux, Taubmans, Polyfilla and Hammerite. Akzo Nobel provide excellent support locally and virtually every marine chandler in the country has a range of their products available.

First item needed was a suitable primer, and this serves two purposes: Firstly as a tie coat, to make the antifoul actually stick to the hull surface, and secondly as a barrier coat, to protect the aluminium from any chemical interaction with the components in the antifoul.
Primocon single-pack primer from International fits the bill, certified for use below the waterline to form a single-product base coat for the antifoul. Luckily my wet sandblaster had prepared the surface to the required spec, with a roughened profile to enhance adhesion. However, there was one snag – the blasting was done well over a year ago, which meant that the aluminium had already formed a new protective oxide layer. And paint does not stick to oxide.
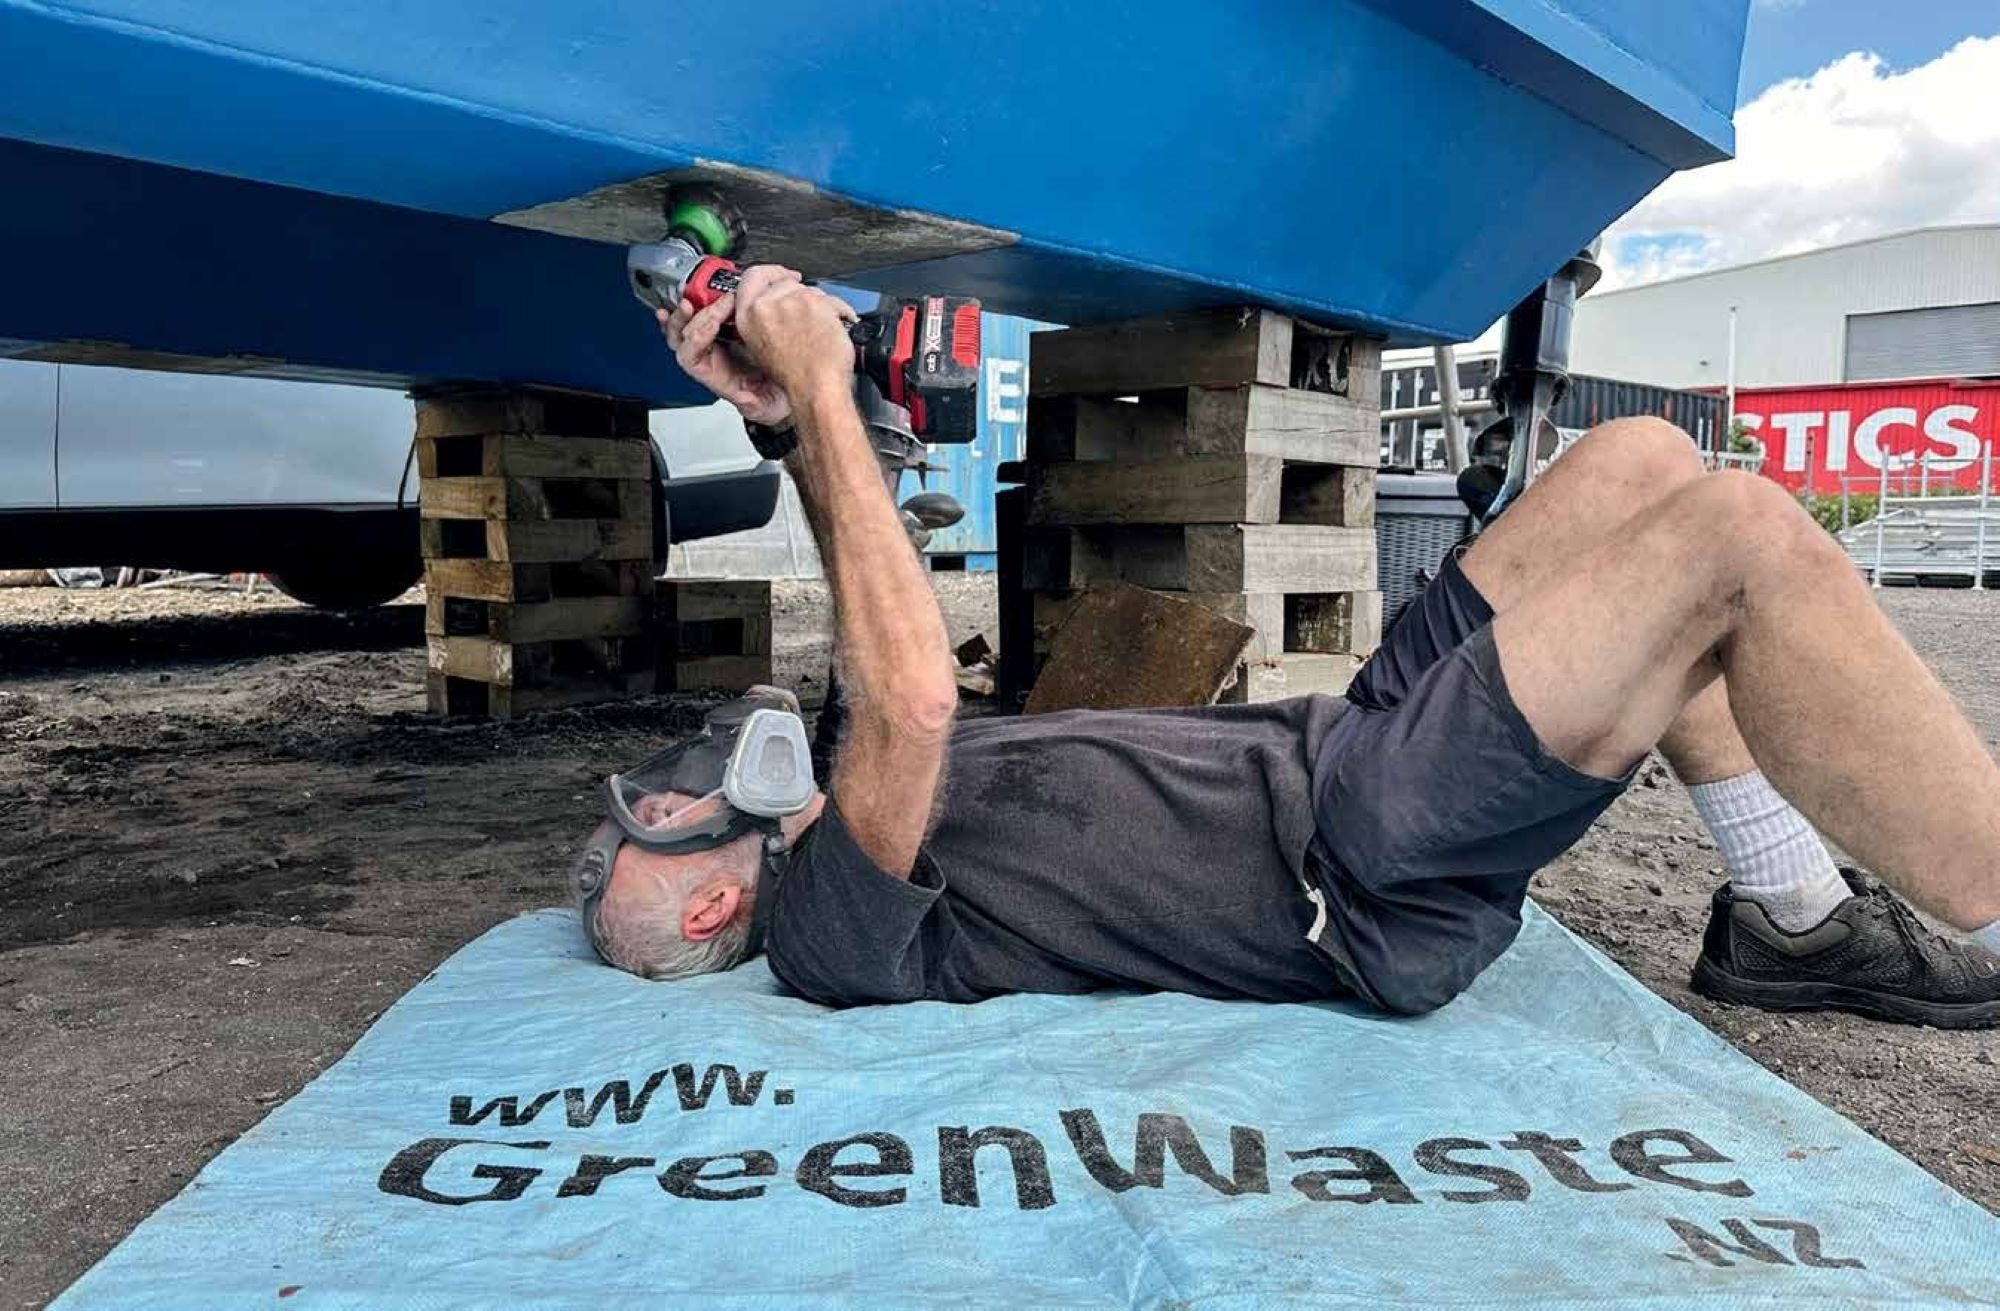
So, out with the angle grinder and a wire brush attachment to buff the entire below-waterline area back to shiny metal. The tech guys at Akzo Nobel recommended doing the hull in sections, so I could abrade, clean and paint each area within four hours before that shiny surface had a chance to re-oxidize. They also recommend not wiping the surface down after mechanical abrading but instead using compressed air to blow the surface clean. After that, the first coat of Primocon is thinned down by 20%, to get that all-important good adhesion to the aluminium surface.
The next requirement is film thickness to create the barrier coat. The target thickness is 250 microns – for comparison a sheet of A4 copy paper is about 100 microns thick. When applied correctly by roller the dried paint coat is about 40 microns, so six coats of Primocon were needed! Luckily, I had purchased a 10-litre can of the product while it was on special, and this worked out to be almost exactly the right quantity. The paint also dries very quickly and can be recoated within three hours. So four coats can be applied in a single day, which is exhausting but achievable.
Now that I had a smooth and primed surface, it was time for the antifoul. The industry standard for aluminium hulls is International’s Trilux 33, a hard antifoul that is specifically formulated for use on aluminium. It is what is termed a ‘slow polishing’ product that will remain in place when the boat is travelling at over 30 knots. The surface layer will still wear away but slowly, unlike the softer ablative antifoul compounds which wear away more quickly.


To maximise the antifoul’s performance it is recommended that the surface is also lightly buffed from time to time, something that I can easily achieve at the end of a dive trip while I am still in the water. This buffing ensures the surface contains an active layer of the biocide ingredients. Of course the net result is that the paint layer will slowly disappear as it gets used up. When it comes time to renew, the surface is simply scuffed to create a clean and slightly roughened surface, and new coats of Trilux can be applied over the top.
I chose the bright-blue colour option to offset the metallic blue vinyl wrap of the hull sides, and it certainly looked striking as I applied it. Trilux 33 is slightly ‘drippier’ than Primocon, so old painting clothes were essential for this phase of the project.
The dried film of Trilux is about 60 microns thick, and three or four coats is the recommended application. A longer drying time is also required, with a minimum of six hours between coats and at least 24 hours before the vessel goes back into the water. Also, like most antifoul products, it does not like being out the water for a long time. So the clock is now ticking to get DiveCat back in the water. Watch this space! BNZ