Take the guesswork out of estimating how much water your boat is carrying.
Most boats with an underfloor fuel tank will have a fuel gauge. Which is a good thing, given how critical it is to know how much fuel you have on board. However, the same cannot be said for water tanks. Many launches and yachts have these tanks fitted but there is often no indication of the current fluid level. Fortunately, unless you are an offshore cruising vessel, running out of water is usually just an annoyance. Conversely, having a full holding tank is easily dealt with by taking the appropriate action, depending on where you are located.
Nevertheless, it is useful to have some way to know at a glance how much water you have in a particular tank. In my launch the freshwater tank holds about 150 litres, and because of the associated weight I prefer to keep this tank only half-full unless I am heading out for an extended trip. This means that most of the time I have no idea exactly how much water is in the tank, since I seldom fill it up to the brim. The tank is hidden under the saloon step where it is not readily accessible, so I can’t even tap on the side of the tank to estimate the level. Fitting a gauge was a long-overdue improvement I finally decided to tackle.
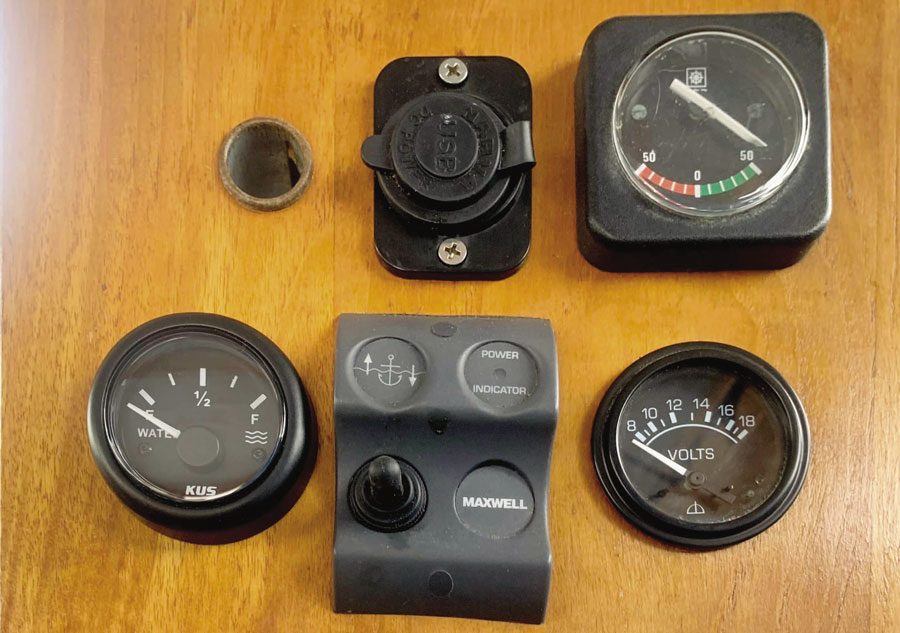
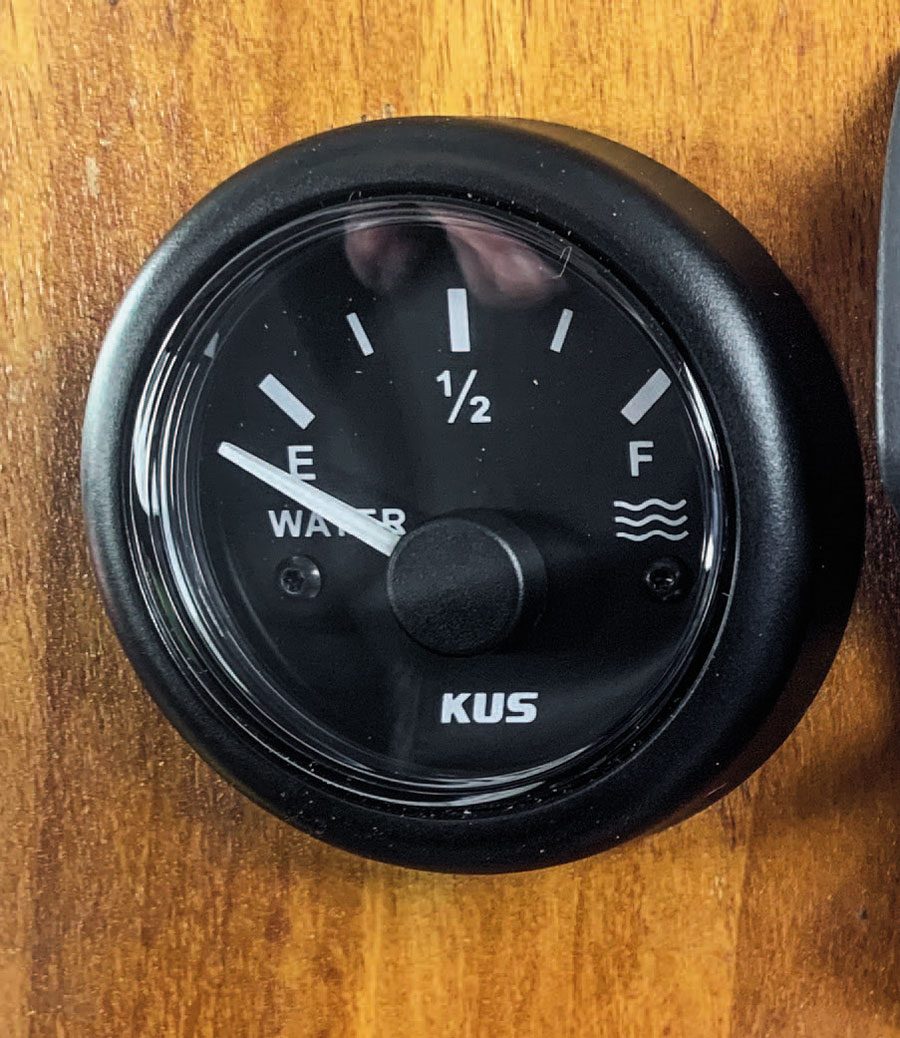
 The final layout, with the water gauge fitted.
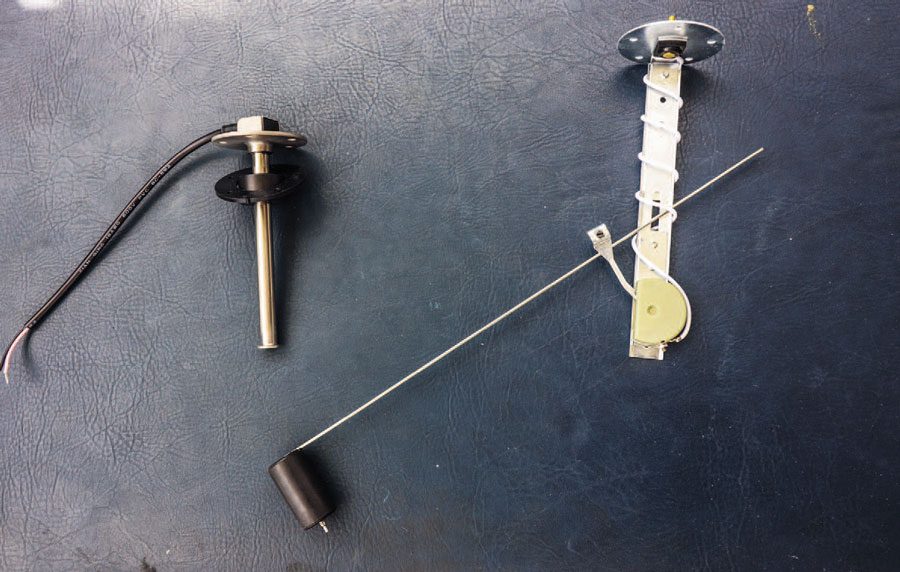
The most important part of the installation is getting the right sender, which is the part that goes into the tank to sense the fluid level. Most fuel senders are variations of a standard design and come in one size, with a multi-way adjustable float arm that can be set to suit the tank depth. However, these are generally NOT compatible with water tanks, because they contain two or three different types of metal and that old foe, corrosion, would soon attack the connections. For any system containing water you need either a fully-sealed magnetic tube sender or a noncontact ultrasonic type system.
Ultrasonic sensors work much like a fishfinder’s transducer, bouncing a sound wave down and measuring the ‘echo’ off the surface of the liquid. They have the advantage that they have no moving parts and do not even normally come into contact with the water. The downside is that these sender units are quite bulky and protrude above the top of the tank. In my case we have only about 15mm gap between the tank and the saloon floor panel.
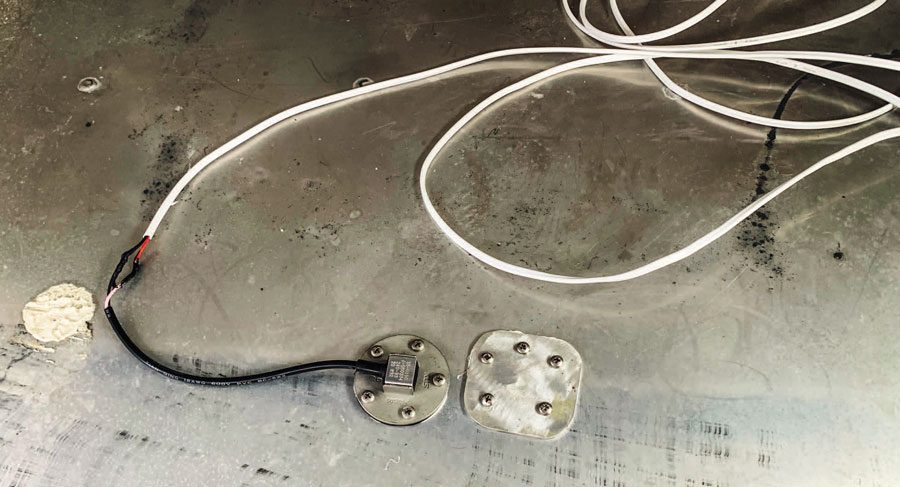
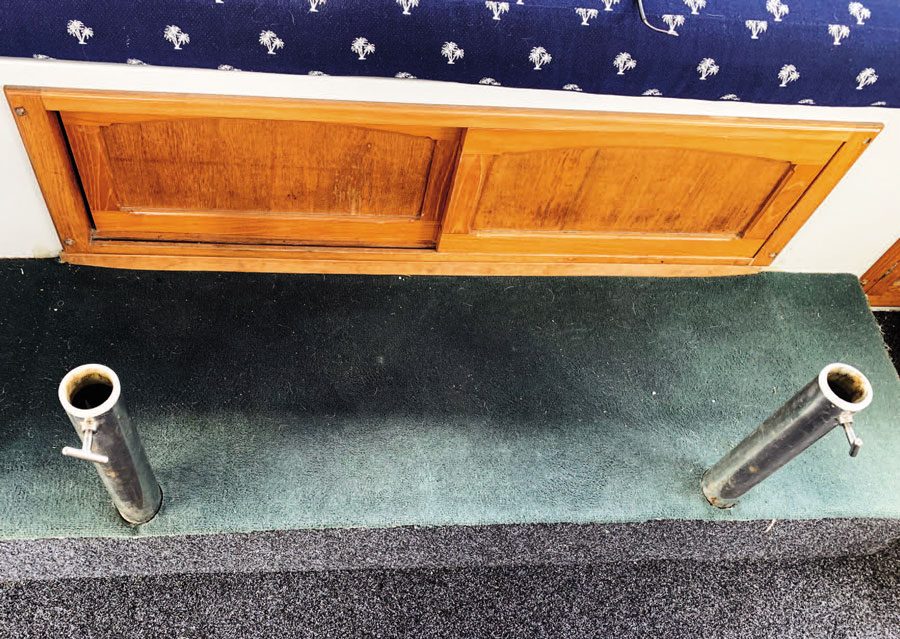 Reed tube sender on the left, a conventional float sensor on the right; The water tank is under here!
Hence, I opted for a reed tube sender, made by KUS and available from most marine chandlers. Inside the sealed stainless tube is a line of small reed switches, and a floating magnetic collar around the tube turns the switches on and off as it moves up and down. The top of this unit only sticks about 10mm above the tank and would be clear of the floor panel above it. The downside of this type of sender is that they are non-adjustable and thus you must install the correct length unit to suit the dimensions of your tank. We matched the sender with a KUS water level gauge, again available from most chandlers with a choice of black or white bezel.
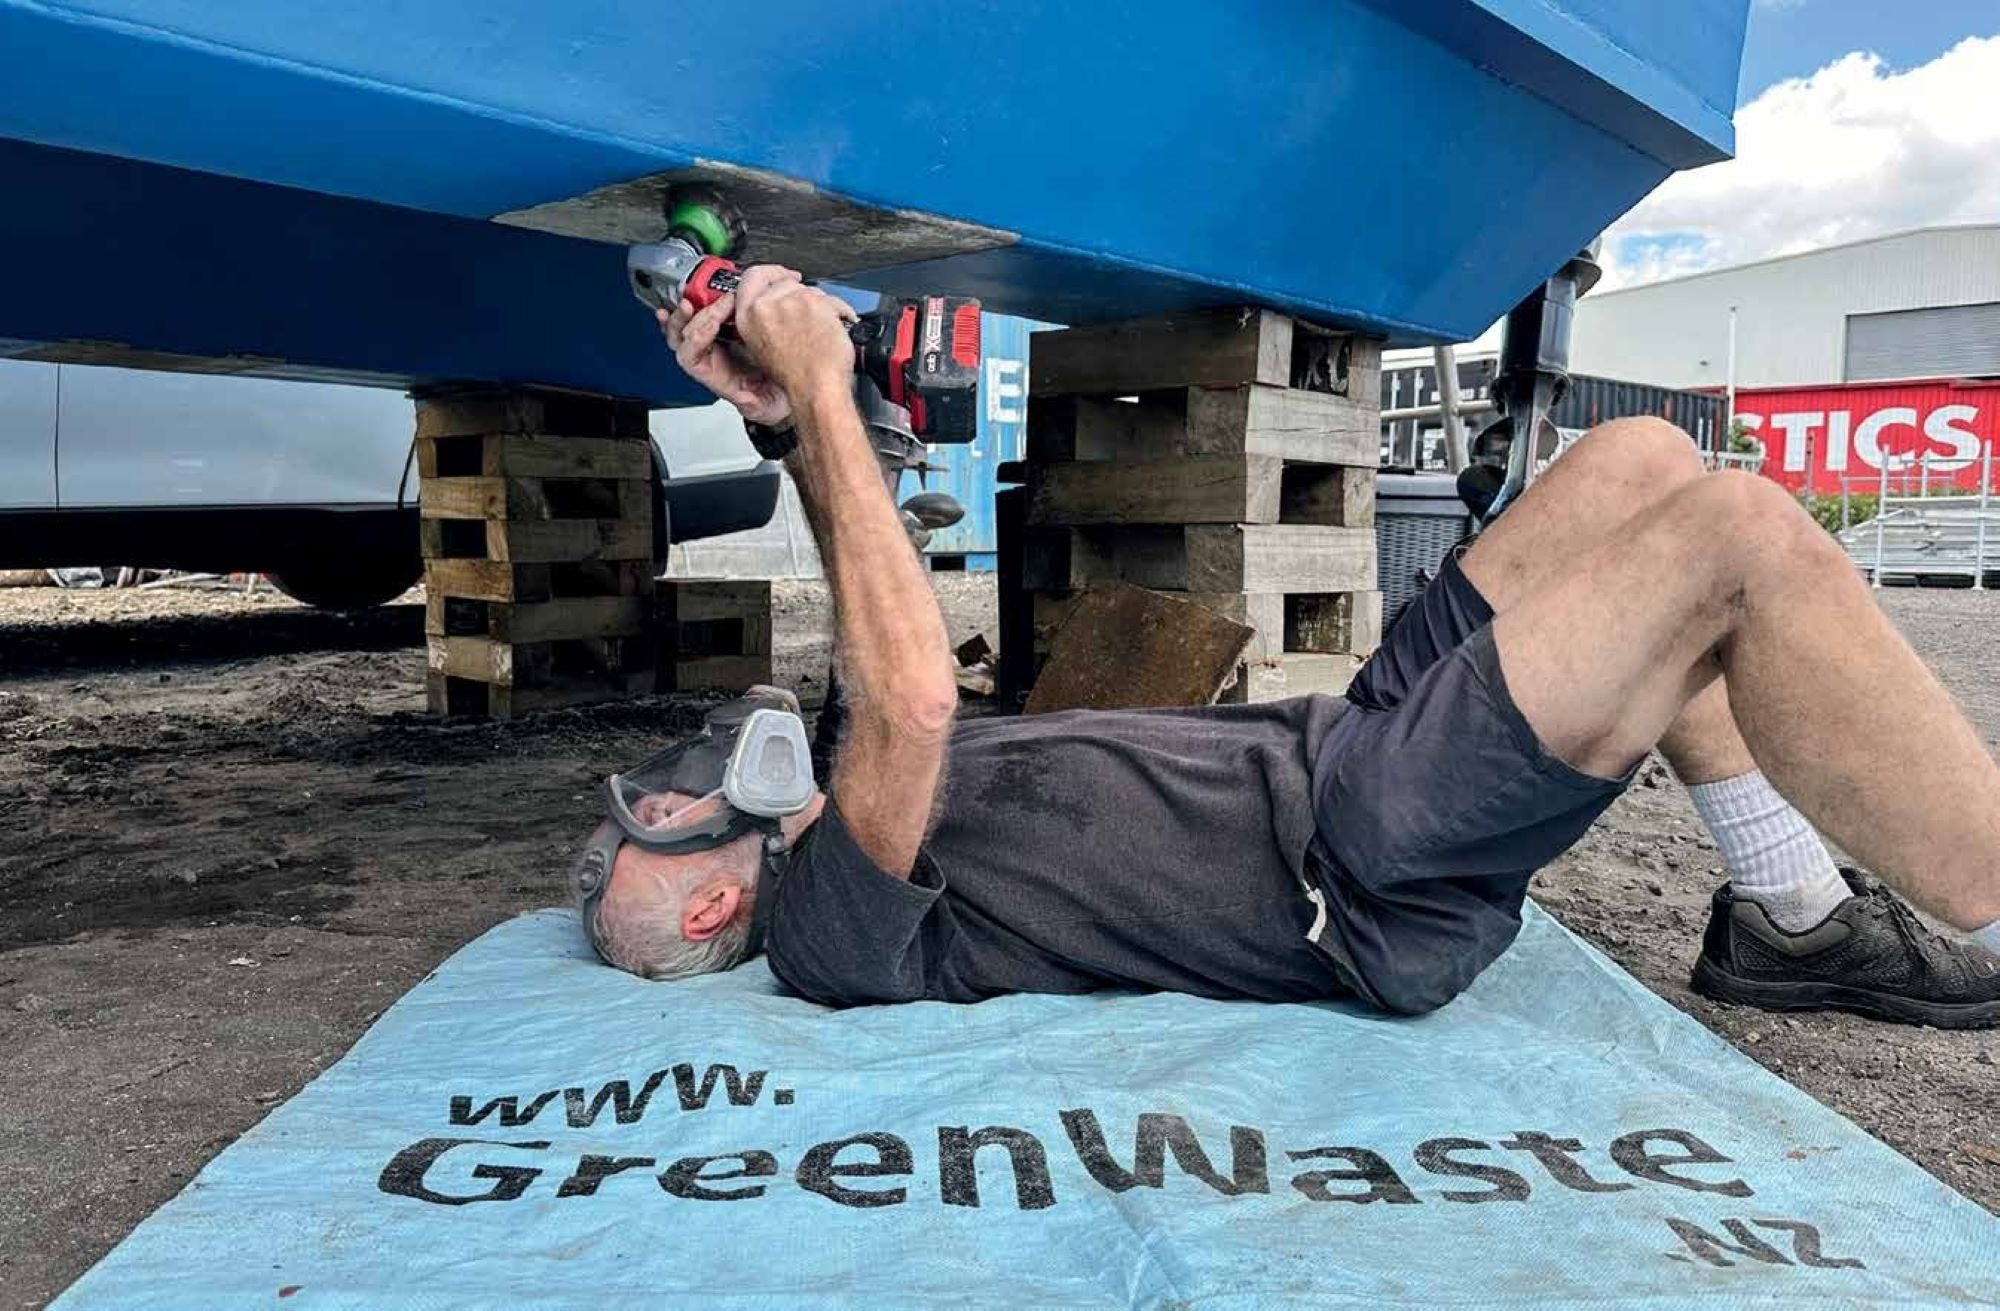
The job initially looked like it would be easy, but like many such projects it proved to have a few challenges. Accessing the tank was the first issue, which required removing the saloon table and carpet, then dismantling the cupboard door and surrounding trim. Once this was out the way I could lift and remove the large aluminium floor panel to gain access to the water tank.
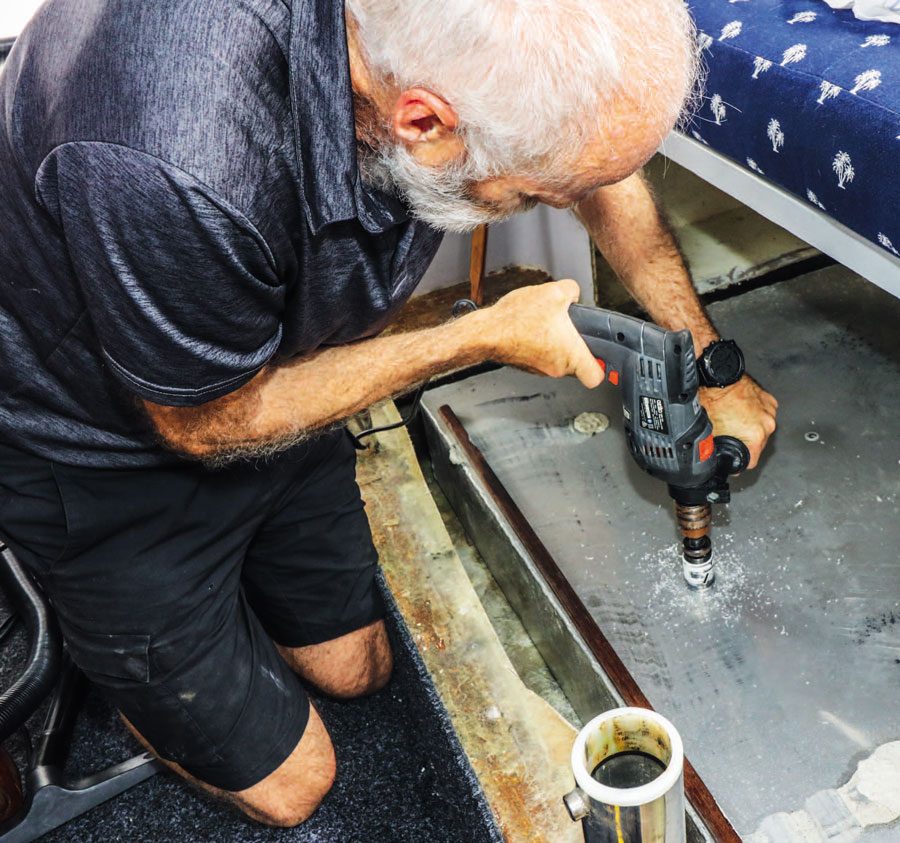 Cutting the hole in the top of the tank.
Disappointingly, this had no provision made for a sender. Many manufacturers pre-cut the standard sized hole and fit a blanking plate over it, but this looked to be a custom-made tank. Hence cutting a suitable hole into the tank was required. Since this is a water tank it was safe to do while still in the boat – see the sidebar above on working with fuel tanks. After draining the water from the tank, to make it easier to clean the metal shavings afterwards, I used a metal hole saw to cut the correct-sized opening.
This was my first snag – all tanks have vertical strips called baffles, to stop their contents sloshing around. There was no obvious indication on the top of the tank as to where these were, and by sheer bad luck my first hole was directly over a baffle. Grr! So, I had to cut a second hole clear of the baffles, and fit a sealed blanking plate over this first one.
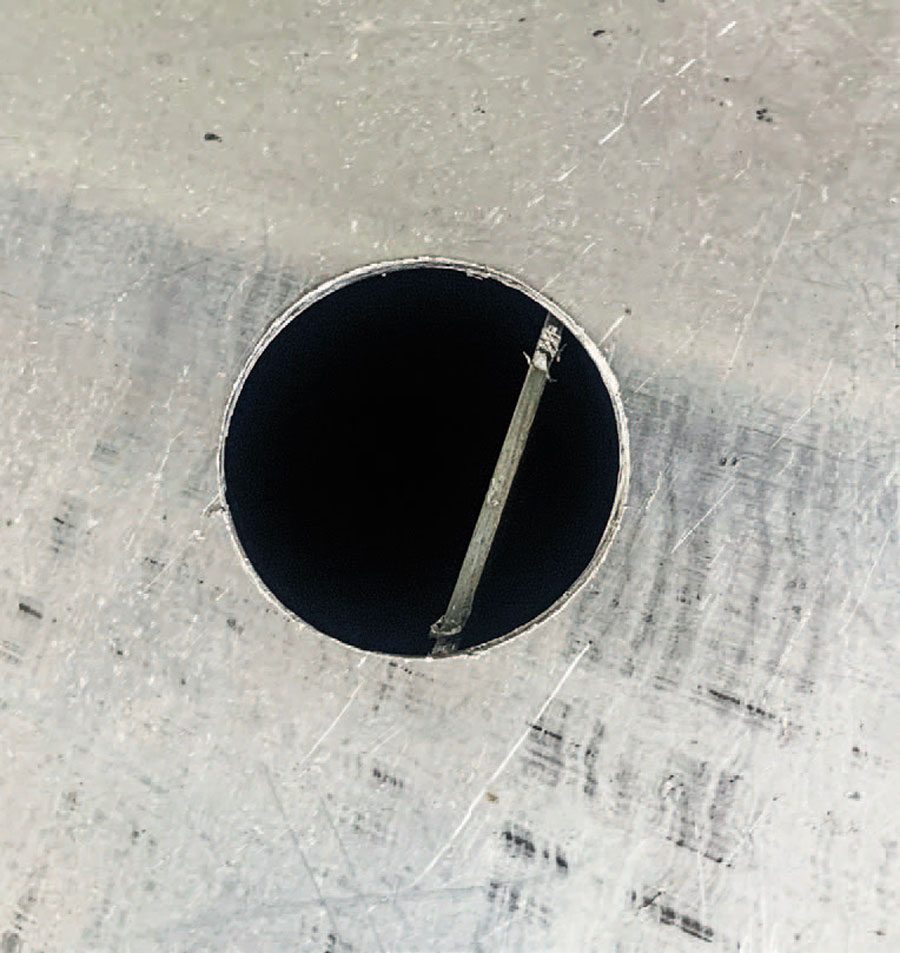 The first hole. Dang it! There’s a baffle right there!
One other advantage of the reed tube sender is that the direction the unit is facing does not matter. The floating-arm type of sender used in fuel tanks requires sufficient clear space inside the tank for the float arm to move up and down, hence it must be angled clear of any of those internal baffles or the sides of the tank. The reed tube has no such issues, but it also pays to know that the five screws around the top of the sender are not symmetric – the unit can be screwed in one position only, based on the pattern of screw holes that were drilled.
After cleaning the metal shavings from the tank, and using the opportunity to also remove some old gunge from the bottom of the tank, I fitted the sender using the supplied rubber gasket and screws. A length of two-core tinned cable was connected and fed back up into the wiring channel in the boat. Lastly, the cabin could be reconstructed – the floor plate refitted, cupboard surround and door reinstalled, and the saloon table returned to its mounting pedestal.
 The sender fitted and wired with the cable attached.
At this point the next issue became apparent. Well, not really an issue but something of a pain. The tank is located on the port side, and the helm is on the starboard side. Because the boat is a catamaran and there is no mid-cabin channel connecting the hulls, I had to feed the cable all the way to the bow, then across the width of the boat through the wiring channel there, then back through the channel on the starboard side and finally up into the helm. This took over an hour of fiddling and feeding wires through tight spaces.
Fitting the gauge itself to the helm was easy enough, and after checking clearance at the back I simply used the hole saw to cut a suitable opening near the other gauges. Apart from the two wires from the sender, the gauge needs a 12v supply and then an optional, separate switched supply for the backlight. It was easy enough to just daisy-chain these off the matching wires on the other gauges, and a quick test showed everything seemed to be working as required.
 Installed and ready for calibration. I found there were still about 20 litres remaining in the tank when the gauge showed empty.
After cleaning up, the last step is getting an understanding of the approximate gauge calibration. I filled the tank up in increments of 20 litres. Because the tank is 170mm deep and the closest reed tube length available was 150mm, the gauge only started to register a water level once I had added about 20 litres. After 60 litres it was showing just under half full, which for my purposes is the optimum level for a day trip. I continued to fill it up to confirm the readings when ¾ full and also when completely full, then drained about half the tank out again. Now I know that when it gets close to empty I have 20 litres or less and should put some more water in before my next trip out.
Job done. Total time was about 5 hours, thanks to the complexity of accessing the tank through the floor and then feeding the cable all the way around to the helm. The sender cost $69.99, the gauge was $79.99 and I used about $20 of marine-grade twin-core cable. Total cost just under $170. I considered fitting a similar gauge to my holding tank, but decided it was not worth the effort and cost at the moment. Perhaps a future project? BNZ
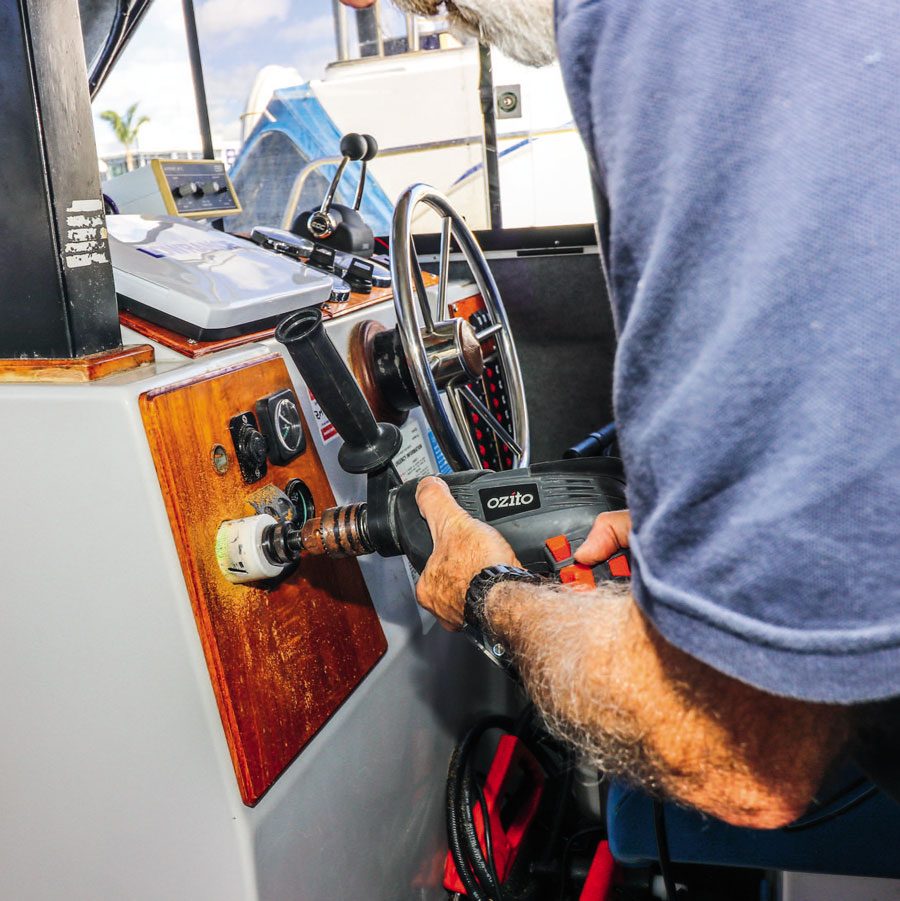 Using a hole saw to cut the hole in the wooden fascia for the gauge.
FITTING A SENDER TO A FUEL TANK
Note that cutting or drilling into any sort of fuel tank is extremely hazardous. Even diesel fuel can ignite, and the spark from a drill or hole saw can be enough to trigger an explosion in petrol tanks. Without specialist gear there is only one safe way to do this: Empty all the fuel out, then completely fill the tank with water right up to the overflow tube. You must ensure there are no air bubbles, potentially containing fuel vapour, anywhere in the tank.
Obviously, this is more easily done if you can remove the tank from the boat. Another recommendation is to use a battery-powered drill, to reduce the risk of an electrical shock once the bit gets through and starts spraying water around. Once the main hole and correctly-spaced screw holes are cut and tapped for the securing bolts you can then use a file to remove burrs or sharp edges. Then, and only then, can you drain the water completely out and dry the inside of the tank off before reinstalling into the vessel.