One of the benefits of stripping a boat back to the bare hull is that you can redesign the layout to correct any annoying shortcomings in the previous design.
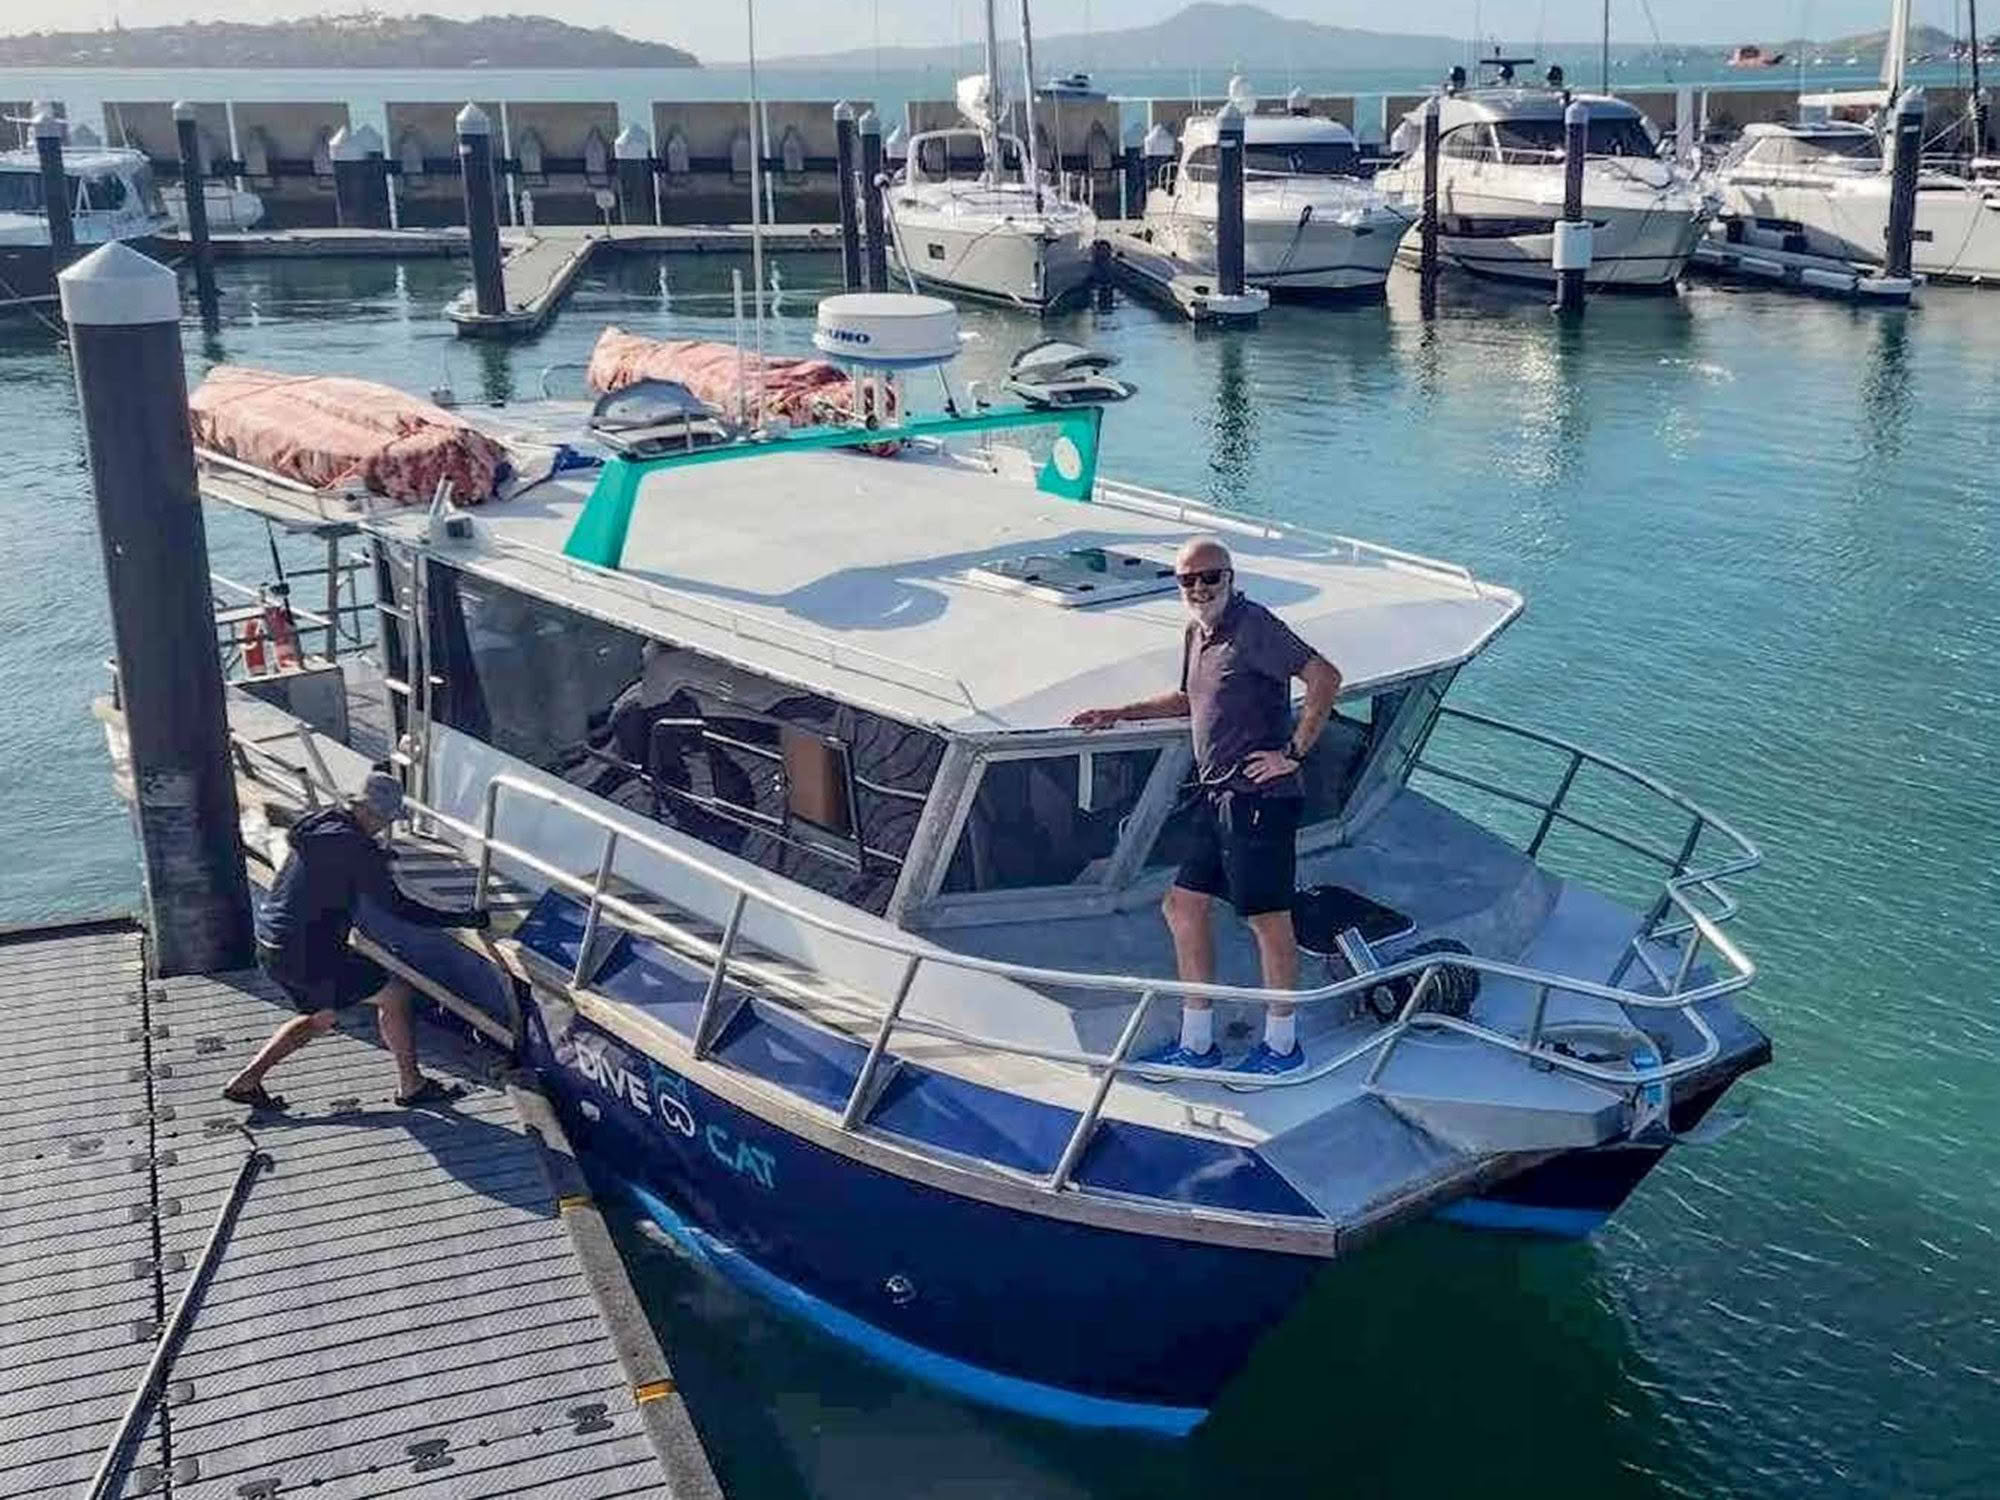
One of the things we found frustrating with the original configuration of Divecat was the very limited rearward visibility. The skipper could only see through the open door in the middle of the cabin’s rear bulkhead, and both port and starboard stern quarters, including the outboards, were completely hidden from view. This caused real issues when coming alongside the dock, because it was difficult for the skipper to tell how close it already was.
On the port side there was a gas califont and the fire hose fittings attached to the exterior wall, with galley cupboards on the inside. These could have been moved and a window cut through the wall, although the gas and water hoses would have required some complicated re-routing. But the main obstacle was on the starboard side where the head and shower compartment was located. For obvious privacy reasons, there could be no windows, and due to the installation of a shower as well as the toilet, it needed to be full head-height.
However, the original boat design made almost no use of the space below decks, with only fuel tanks, freshwater tanks and the holding tank located inside the hulls. Experience with other catamaran designs showed that a shower/head compartment could easily be dropped halfway down into one of the hulls, allowing full head-height within the unit, but not blocking the view aft from the main cabin.
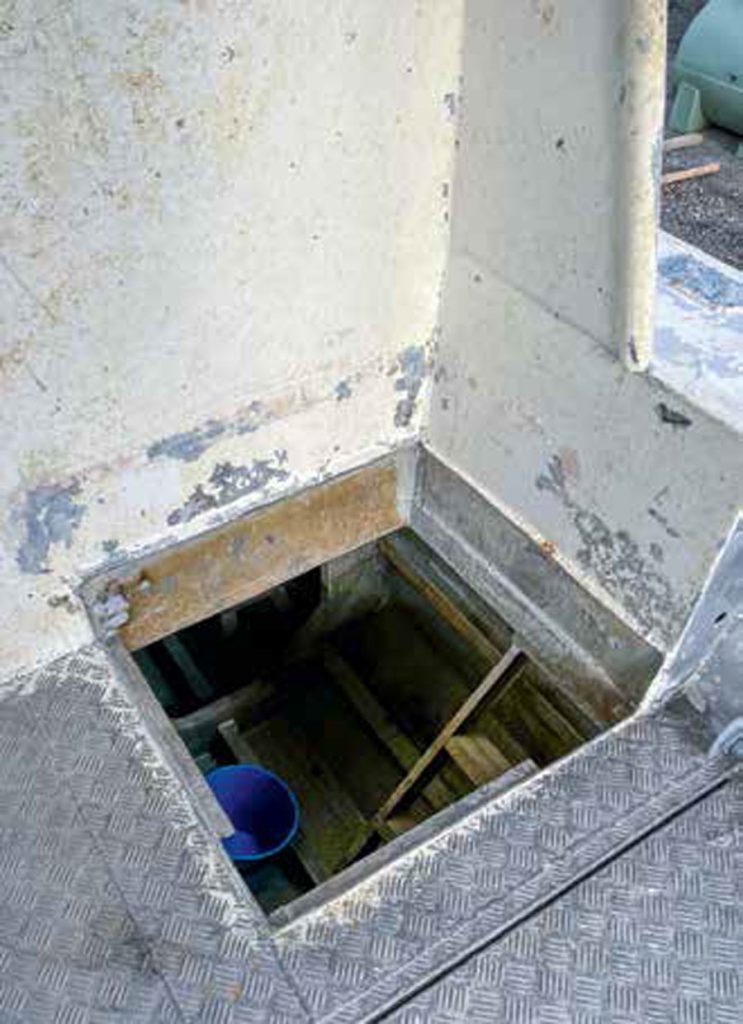
Anyone wanting to use the facility would then go down a couple of steps into the compartment, and suitable pumps would take care of the waste. Of course, with the toilet bowl now much lower and closer to the waterline, an appropriate airlock would be required to prevent siphoning, and the holding tank would require similar precautions. An existing deck hatch opening into one of the hull compartments was located exactly where I wanted to fit the new head cubicle, so this was a good start.
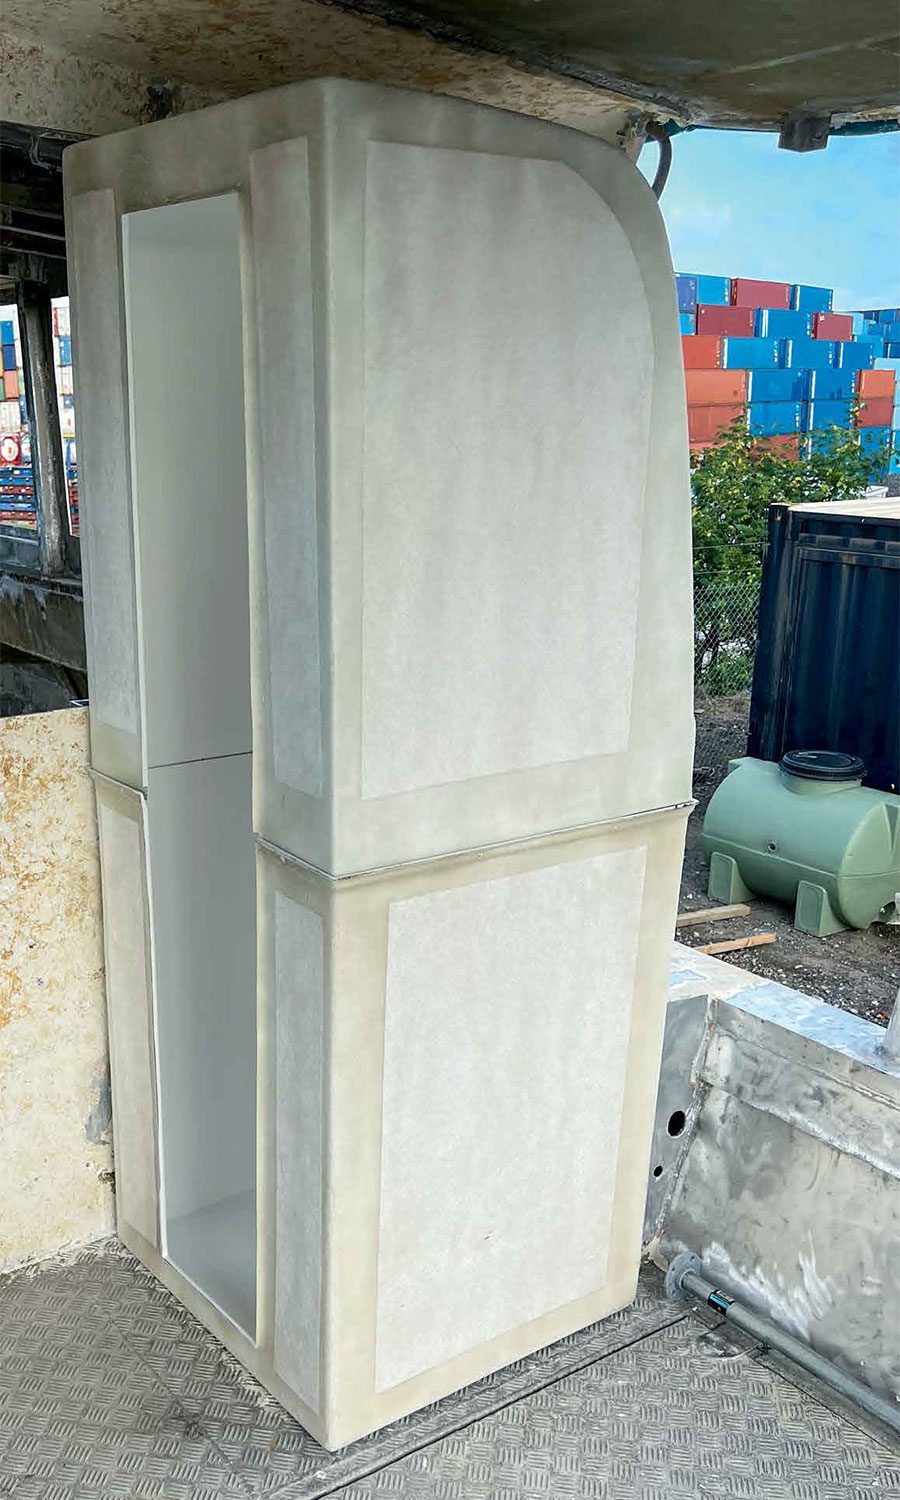
On the other hand, building a neat and watertight shower cubicle in a restricted space is slightly tricky. Rather than having to first waterproof, then fair and smooth the inside, I wanted something ready-made that was easy to install. I knew that there is a whole industry set up for converting small busses into camper vans and one of the companies servicing this market would surely have something suitable. A quick Google search of ‘Shower Cubicle, Fibreglass’ brought up a couple of options.

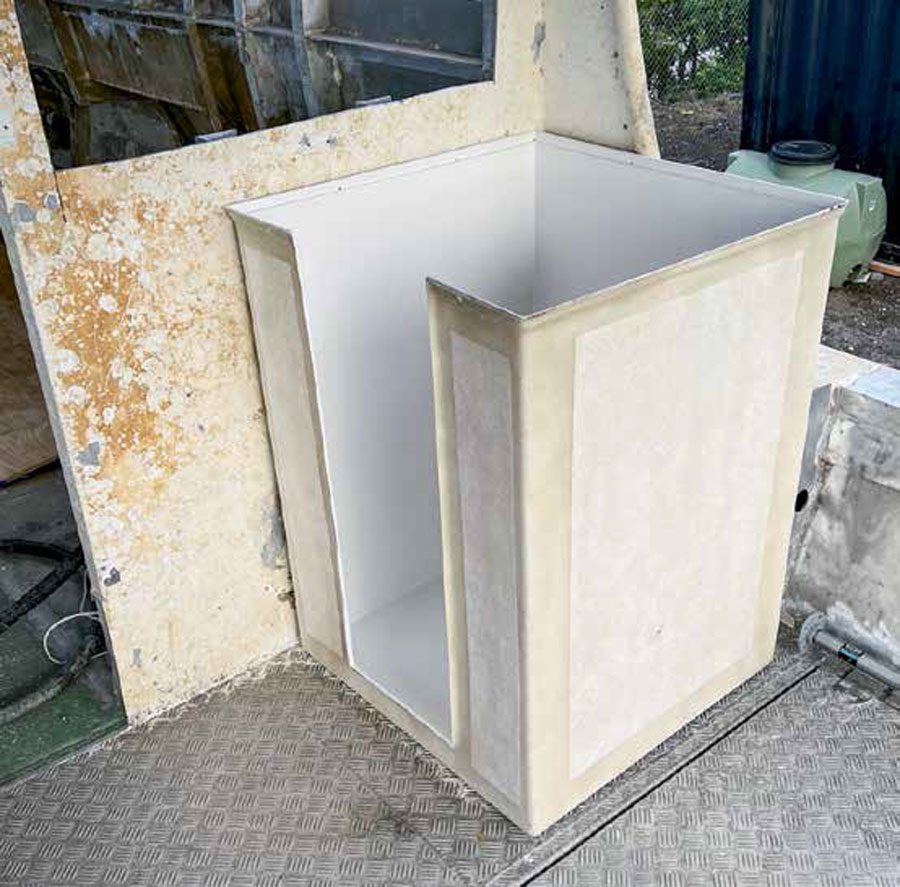
Gecko Fibreglass in Bombay south of Auckland had a model that seemed to exactly fit the constraints of my hull, so I got in touch with them. They could not have been more helpful, sending me a full-size paper template so I could physically verify it would fit before ordering. They have a couple of sizes, but my hull shape meant that the smallest one, measuring 70cm by 70cm, would drop perfectly into an existing hatch opening. And the price of $795 was very reasonable when compared to the amount of work that would be required to make a shower box myself.
After confirming the required ceiling height for the finished unit, I placed my order and paid a deposit. They said it would take up to four weeks to build but in fact less than 10 days later I headed out there to pick up my finished unit. For ease of handling, I requested that the two halves remained unattached, but they gave me clear instructions on how to seal these together during installation.
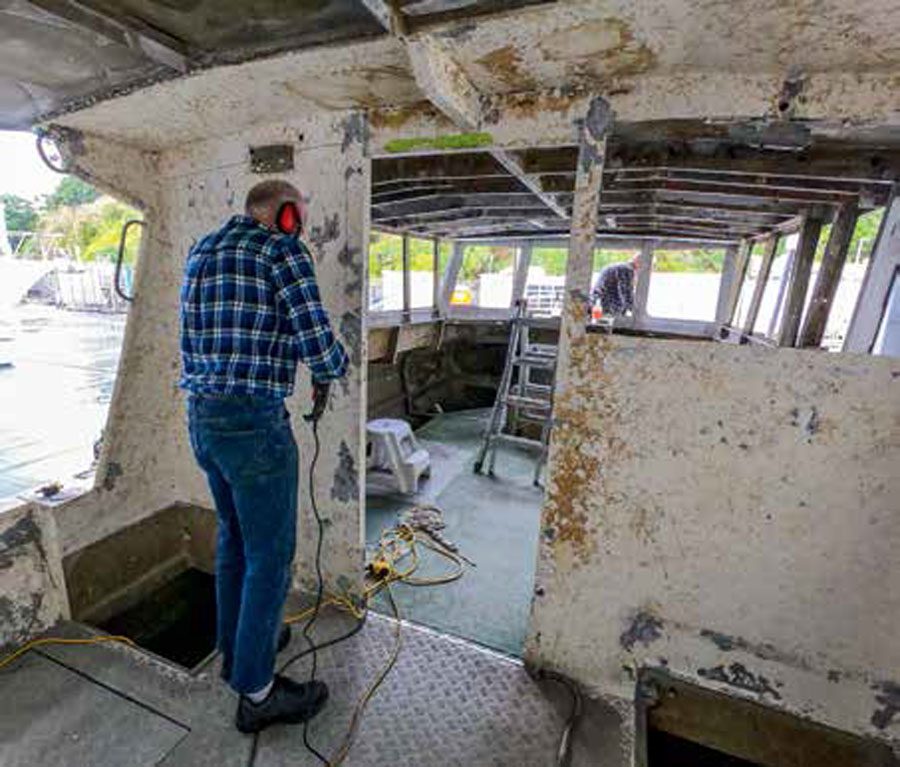
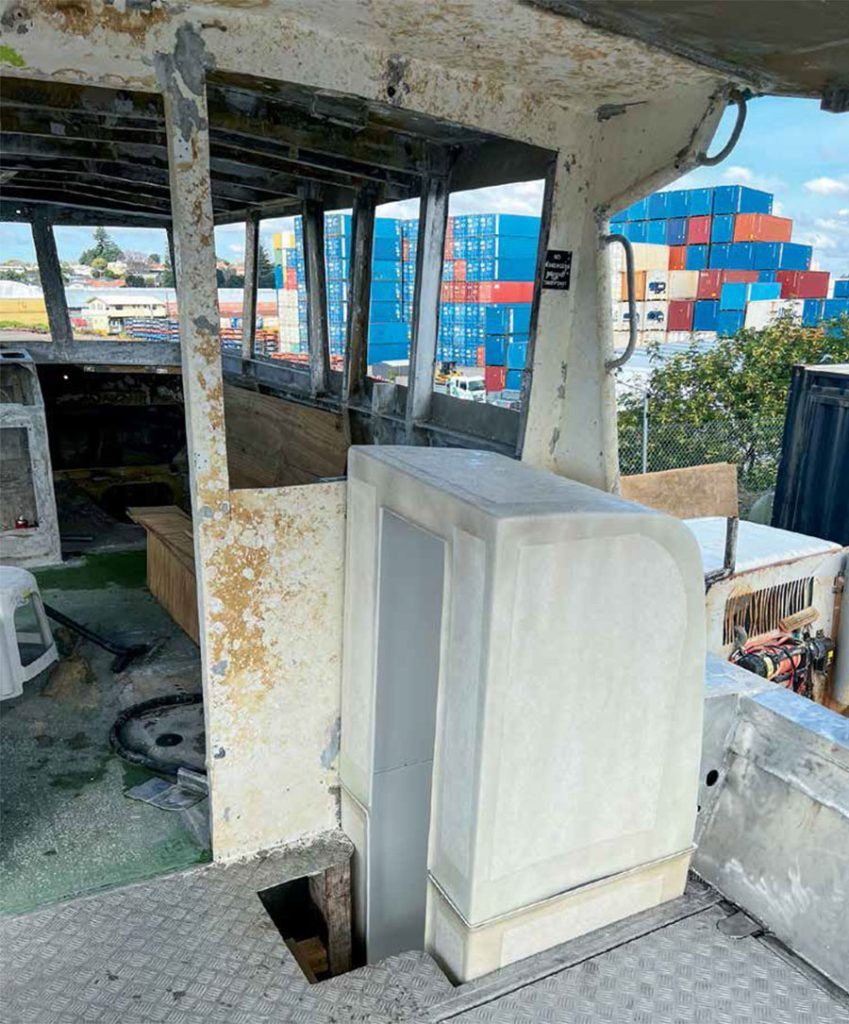
In between ordering and collecting the unit I went a bit wild with my angle grinder and cut large new windows in the rear bulkhead. I had already removed the old shower cubicle, and with these new openings, the changes transformed the boat. The cabin went from dark and dingy to bright and airy, with full 360° views. The side supports are still substantial, so there is no issue with structural integrity of the roof and I now have several options for rear windows.
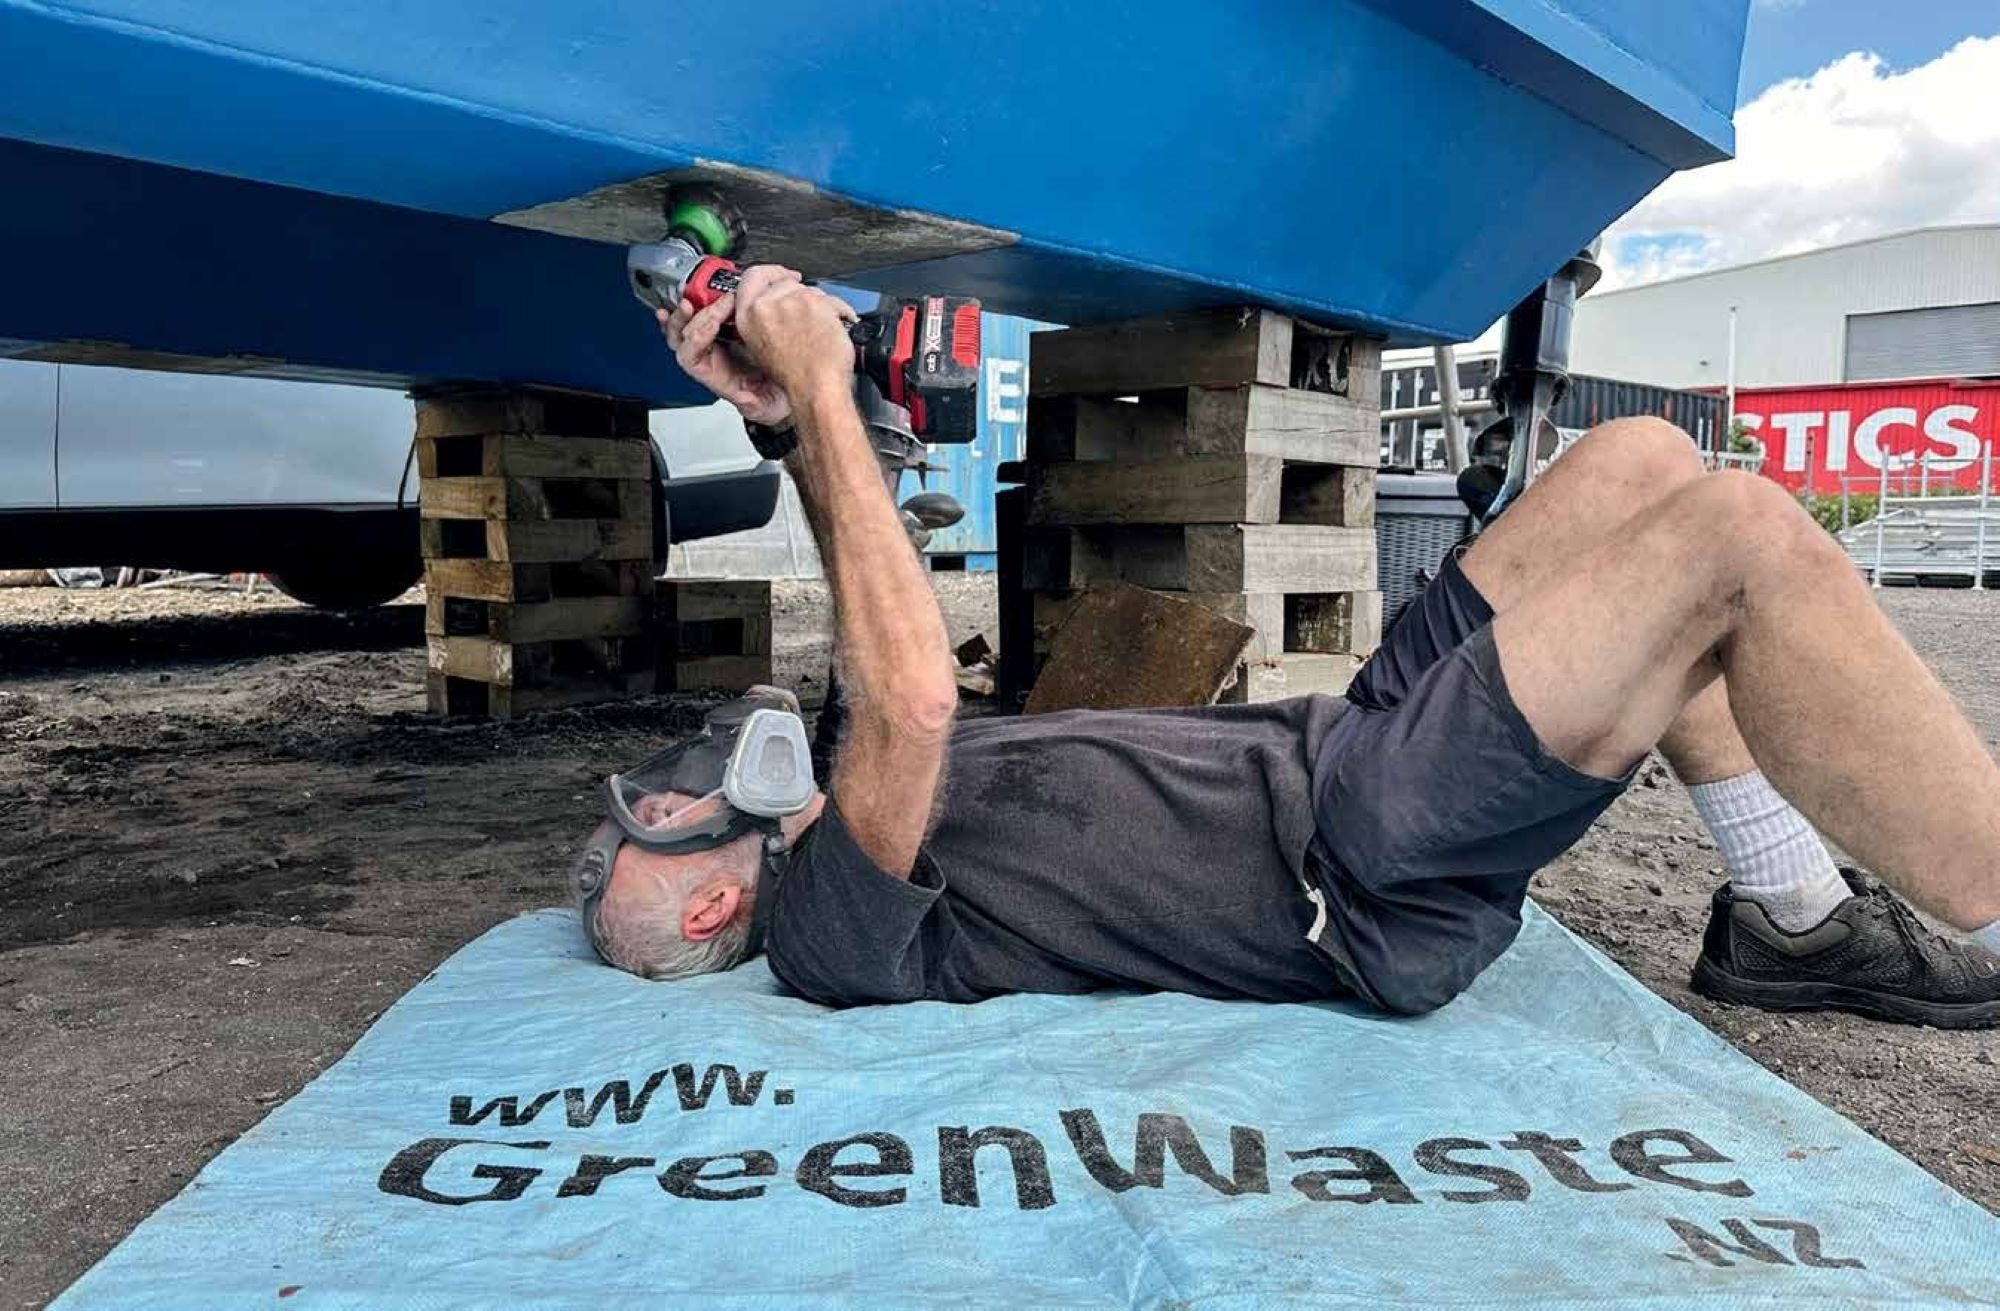
Once I had the cubicle back at the boat, my first trial fit revealed that the deck opening needed to be widened slightly, so I got the angle grinder out again and cut the sides slightly bigger to match the outside dimensions of the fibreglass. I also discovered a few unused brackets inside the hull that would prevent the cubicle dropping all the way down, so also cut these off. From painful past experience, I knew I had better carefully smooth off the sharp edges I had just created – these have a way of finding bare skin! So, safety first, and I ground off all the edges as soon as I had cut them through.
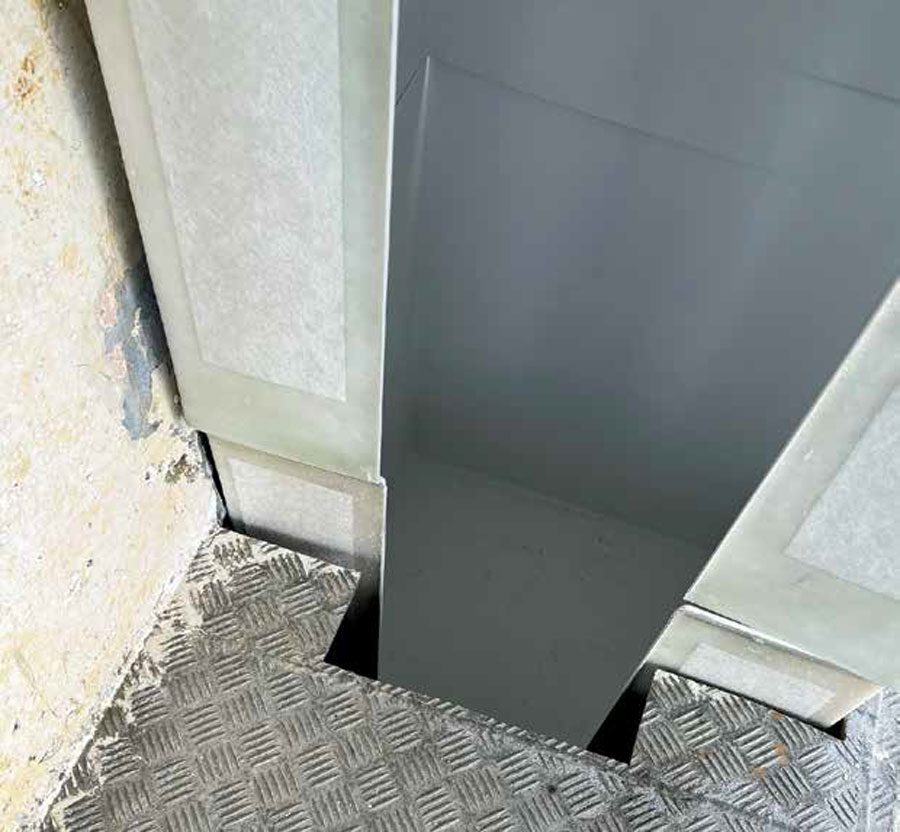

A second trial-fit allowed the section to drop all the way in until it was resting on the stringers along the bottom of the hull. I then slotted the top half of the unit in and fitted the temporary blocks to hold it in place. Stepping back to view my handiwork, I could now see the height was pretty much perfect. I will build an enclosure around the cubicle, with a counter over the top. The skipper at the helm can now see completely around the vessel, including those important stern quarters where the outboard motors are located. And even the passengers, sitting in the (still to be built!) lounge seating will be able to see the cockpit of the boat.
Because the bottom of the unit is relatively thin fibreglass it needs to be fully supported. The stringers along the base of the hull have plenty of strength, so I cut a few new cross-beams from aluminium, matching the angle of the stringers. A 4mm aluminium plate completes the supporting platform, and this will be tack-welded into place.
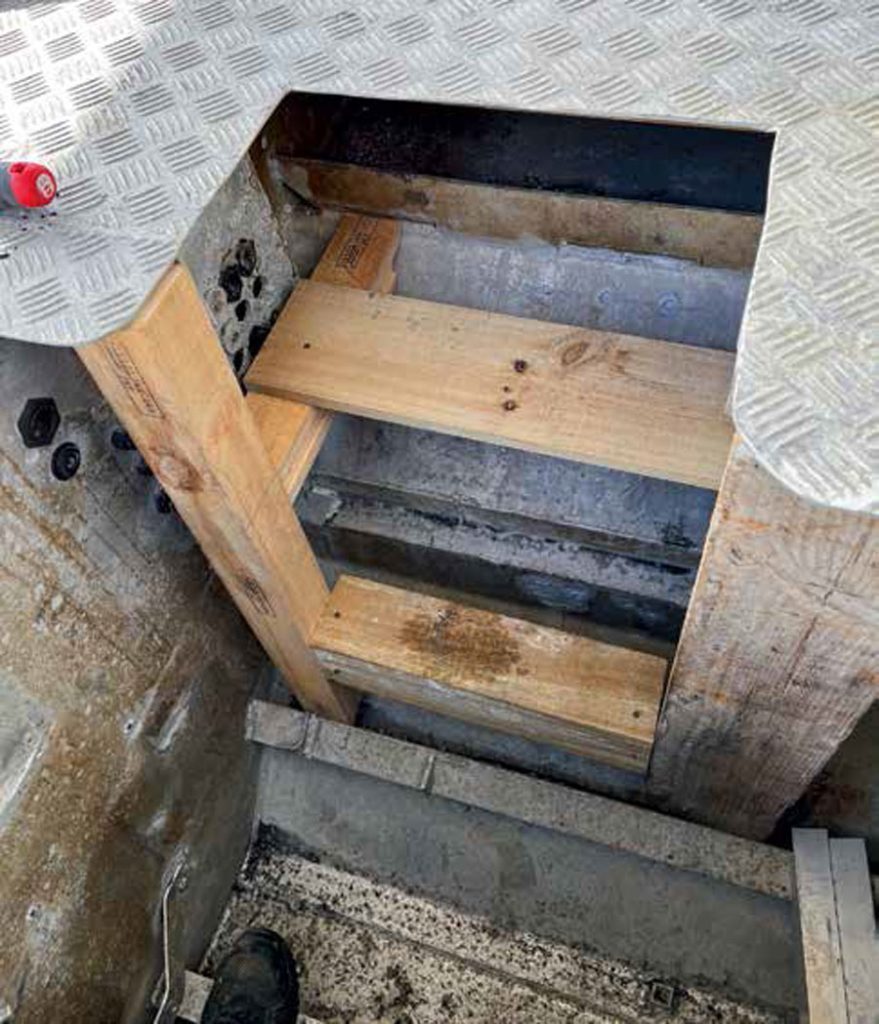
Now it was time to plan the steps. I started off cutting an opening for the steps that was the same width as the narrow door of the cubicle. After using a couple of wooden blocks inside the hull to test the comfort of stepping down, I realised the steps needed to be slightly wider than the door. Out with the angle grinder yet again and I soon had a layout that ‘worked’. I screwed the wooden blocks together to act as a temporary set of steps and fixed them into place.
At this point the project has come to a temporary halt. I am awaiting my aluminium welding contractor to come and weld up the new steps, as well as weld a watertight patch over a hole that exists in the bottom of the hull. That was from the through-hull fitting of the previous washdown pump and will be inaccessible once the shower is fixed in place. I am getting it welded up and will position a new washdown inlet further along in the compartment.

The other item I now need to source is the new toilet. I have my eye open for one of the regular sales at my favourite chandlery, at which point I will buy the toilet bowl, shower sump and shower head. Then I can plumb it all in with the freshwater tank and holding tank, both of which were salvaged and fully cleaned out. A future stage to the project! BNZ