Steering leaks are messy and can result in the total loss of steering control, writes Norman Holtzhausen.
In this column last year, we covered the types of steering systems commonly used in boats, including the ubiquitous hydraulic system. Hydraulic steering systems are efficient, reliable and relatively low maintenance. An annual check of the hydraulic fluid is usually all that is needed to keep everything in good working order – until the system does not work anymore.
Well… actually, hydraulic steering usually gives an indication all is not well before it fails completely. The most common symptom is excessive ‘play’, where the wheel can be turned in either direction for a fair way before the outboard, drive or rudder actually starts to turn. The other common symptom is a shuddering as the steering is turned hard, as if the system is grabbing, then releasing, then grabbing again. Both are caused by insufficient hydraulic pressure between the helm pump and the steering piston.

The first course of action is always to top-up the fluid level at the helm filler plug, using the approved hydraulic fluid. If you have not done this for a long time and fluid levels have become low, it may completely solve your problem. But if you have topped up recently and the level is still low, you have a leak somewhere. We discovered this problem just before Christmas – not the greatest time to have a mechanical problem with your boat!
Hydraulic leaks only need to be very tiny to cause a problem. Because the pressure in the system is often over 100PSI/6.90 Bar – roughly three times the pressure in your car’s tyres –even a pinhole-sized leak can cause fluid to rapidly escape. The most common causes of leaks are perished and broken hoses or worn and leaking seals.

On most systems the hoses do not flex when the steering is turned, as the steering cylinder is attached to the engine mount and the piston rotates the body of the engine. On other models, the piston is fixed and the cylinder moves to shift the engine, causing repeated hose flex. In both cases, however, tilting an outboard produces some twisting or flexing of the hoses. That’s why the spot where the hydraulic hose attaches to the cylinder takes the most wear.
This repeated bending and straightening can result in hose failure, and in that case, there is no option but to replace the entire hose. Hose failure is most likely to cause complete and sudden steering failure, although if you are ‘lucky’ you may get some indication it is starting to leak before it ruptures completely.
In our case, though, the leak was slightly more subtle. We had topped up the steering fluid only about two months ago but once again we experienced a shuddering when turning under load. Checking the level showed that it was again too low, which clearly indicated a leak. Using a clean white paper towel, we carefully wiped underneath each of the hose connections to find any oil, to no avail. So, it was not a hose or connection problem.

Repeating this paper towel wipe at the bottom of the helm pump also came clean.
But the steering cylinder attached to the outboard was a different story. Although there was no visible evidence of a leak, a fingertip wiped under the shaft end of the cylinder came up wet with hydraulic fluid. One of those seals was worn and leaking! Because the cylinder sits over the water, the drips had gone unnoticed. A strip down and replacement was needed.

This procedure is one of those DIY jobs that needs to be tackled with caution. The inside of any hydraulic system needs to be kept absolutely clean – it is not a beachside repair job. Indeed, if you don’t have a proper workshop, bite the bullet and get the professionals to service the cylinder. However, if you are confident and have the facilities, then the job is not particularly difficult.
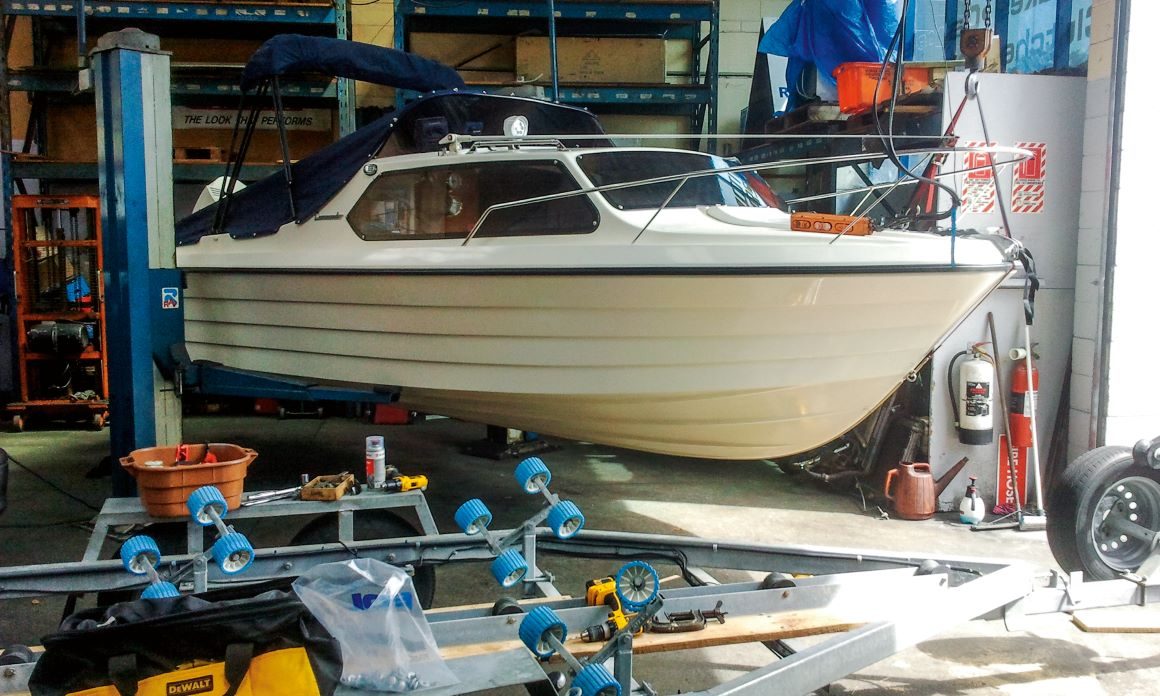
First on the agenda: source the correct replacement kit for your specific model cylinder. Since this happened the week before Christmas, I was not confident of getting it sorted in a hurry. The parts had to be couriered from the suppliers who were out of town, but in a minor “miracle before Christmas” it duly arrived on the 24th of December. A few days later, once we had all recovered from Christmas hangovers, it was time to tackle the job. I removed the cylinder from the boat, carefully sealing off the end of the disconnected hoses to prevent any contamination.

Back in the workshop the work surface was covered with a single large sheet of clean corrugated cardboard. This serves several purposes: it is a clean, dust-free surface, it rapidly absorbs any spilled hydraulic fluid, and it is easy to see the parts laid on it.
I started by opening the kit and fully reading the instructions (yes, I do read the manual first!). Then I laid the parts out on the cardboard in the order I thought I would need them.
Removing the end caps from the cylinder was easy using the tool provided in the kit, and I carefully pulled out the whole piston shaft assembly. A clean rag was used to wipe off the excess hydraulic fluid and the main piston seal with its supporting collars were quickly replaced.
As the old parts were removed from my arranged sequence they were placed in a small pile at the corner of the cardboard. This way, by the end of the job there should be no unused parts still laid out and I would be confident I had replaced everything.
One of the end caps contained two different seals, one an O-ring and the other a stiff oil scraper. A hooked sewing pin was the easiest way to extract these from their slots in the end cap, and the new ones were eased back into place. Note that wetting the seals with clean hydraulic fluid helps with fitting them. Once all the parts were installed, it was easy to reassemble the cylinder, again with the assistance of plenty of clean fluid to lubricate the seals.

After confirming that all the new parts had been fitted (in other words, no parts left on the cardboard!) I then checked the motion of the piston in the shaft. Everything was operating smoothly, so I tightened up the end caps as per the instruction sheet. Time to fit it back onto the boat, and since bleeding the system really is a two-man job, I called on my buddy to come and assist.
The kit came with a small tube of Locktite, to be used on the bolts holding the cylinder to the engine frame. This was duly applied and the bolts tightened up. The piston was fully pushed to the left of its range of motion, the hydraulic hoses were attached, and a transparent plastic tube attached to the bleed nipples on each of the cylinder’s hose attachments. The open ends of those tubes were put into a clean receptacle and the nipples were opened.

Now we needed to pump fluid and eliminate air bubbles from the hose. Using a funnel, firmly fitted to the helm pump filler hole, we topped up the fluid. We turned the steering to the right (opposite to where we had located the piston) and continued to turn that way until no air bubbles were visible in the bleed tube. We then closed that bleed nipple and continued to turn the helm to the right, causing the cylinder to now fill with fluid and move across to the other side.
The opposing bleed tube allowed the air from inside the cylinder to escape. Once the piston was fully to the right, we then carefully started turning the steering back again to the left. Initially more air, then fluid with bubbles, came out of that bleed tube. Again, once we had no bubbles, we closed the nipple. Now we could operate the steering forcefully, lock-to-lock in both directions. We did this a couple of times.

If the steering is still ‘spongy’ it indicates there are still small bubbles trapped in the system. The ideal is that it should be hard, with almost no play when swinging from left to right. If necessary, turn lock-to-lock half a dozen times then repeat the bleed process.
In our case we managed to avoid any major bubbles and there was no play or sponginess. We ensured the fluid level in the helm pump was at the recommended level, then removed the funnel and replaced the filler plug. Job done!

Actual time required was less than two hours, although having to take the cylinder off and then later in the day arrange a helper to bleed the system meant it took up more than half a day. The cost was $175 for the kit and $25 for a new bottle of hydraulic fluid. Plus, we were soon back out on the water at a time of year when getting it sorted by a professional would have been a very hard ask.