An overheating boat engine can have many causes, but one of the first things to check is the health of the heat exchanger.
Boat owners with an inboard engine will know the symptoms – the engine, which normally runs perfectly at the right temperature, has recently started to run a bit hotter. This may only be evident when you push the throttles hard – the temperature gauge slowly starts to climb. Or perhaps even at cruise speed, near the end of a long run, when you find the needle is sitting a bit higher than it used to.
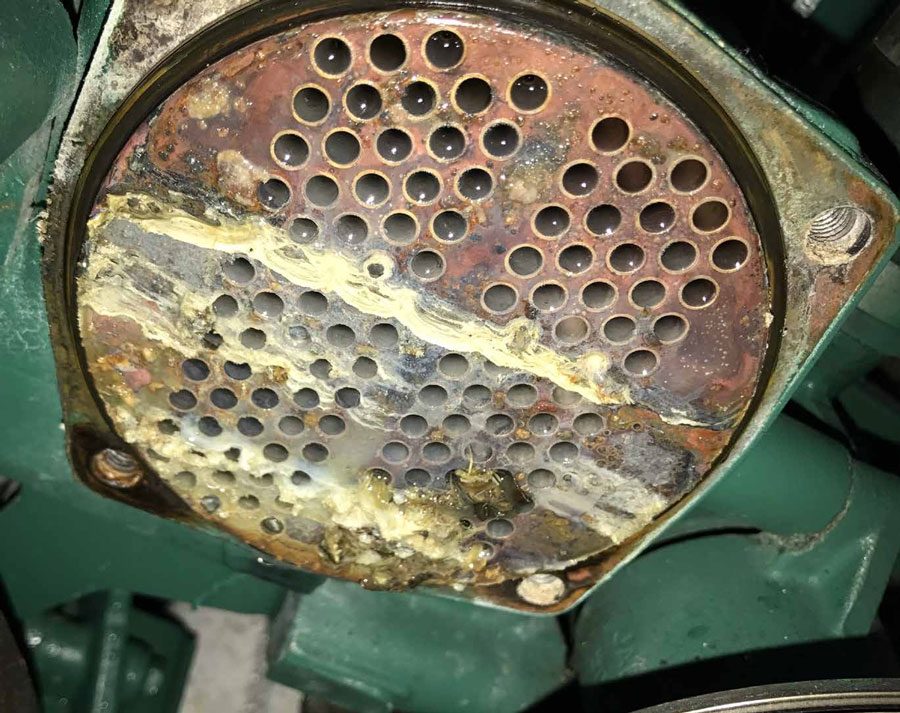
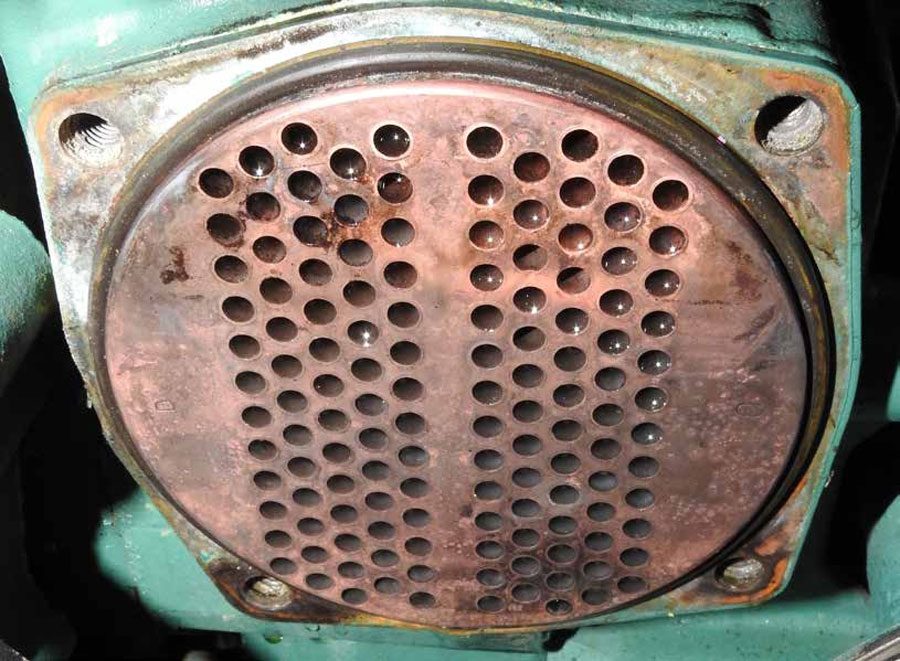
The reason, obviously, is that the cooling system is not as efficient as it was before. And the most likely cause is that the fine tubes of the heat exchanger are starting to get covered in calcified deposits. Of course, there could also be physical impediments like a blocked water inlet or broken rubber fingers on the water pump impeller, but those tend to result in more sudden and dramatic temperature rises, rather than a gradual increase.
Another possible cause is marine growth in the inlet – oysters and barnacles love an environment with water flow, so the through-hull fitting can have unwanted squatters living inside them and restricting the flow, so always check this out.
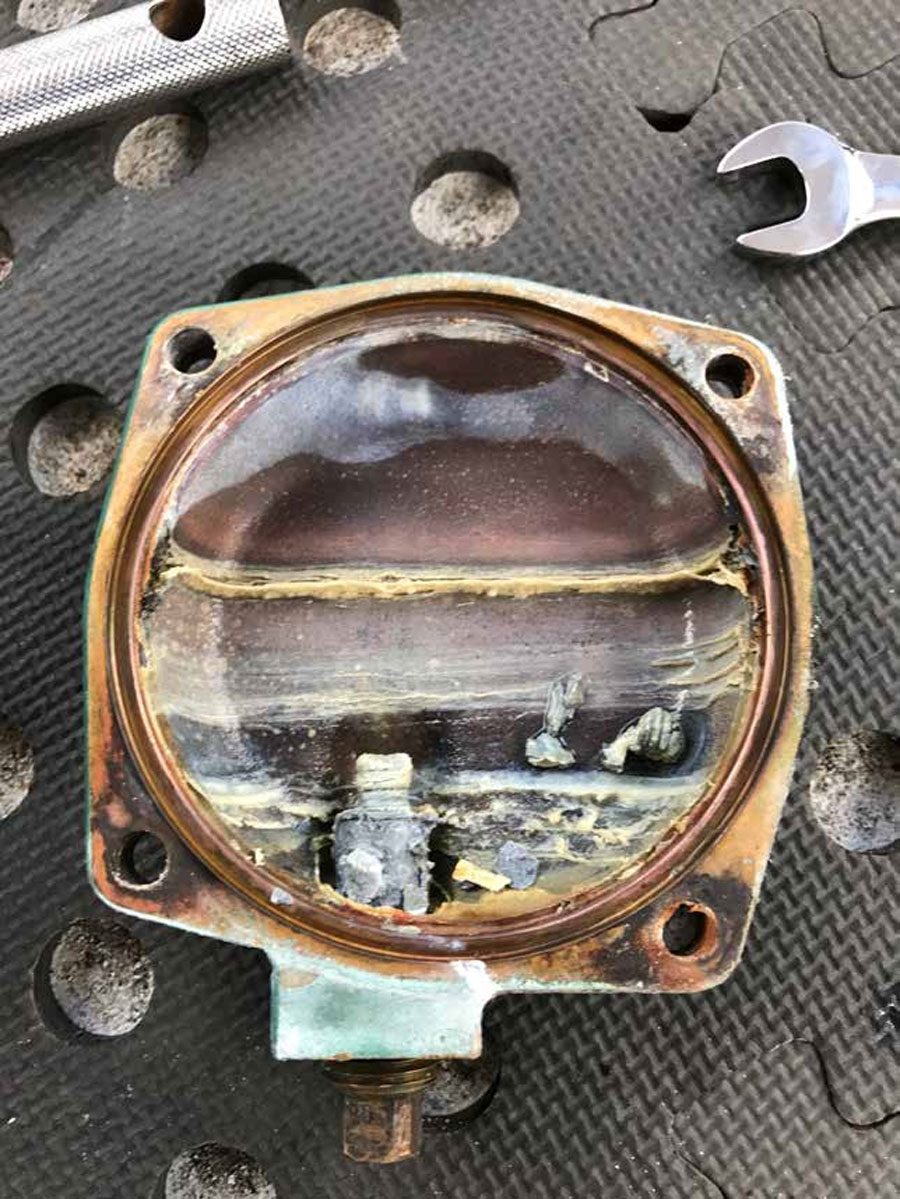
That hard calcified deposit inside the heat exchanger comes from the dissolved minerals seawater contains, including salts and calcium carbonate. When this solution is warmed up and then allowed to cool, as happens in the heat exchanger, the dissolved material can deposit as a coating which eventually can completely block the tubes. Even a very light coating can cause problems, acting as an insulator and preventing the efficient transfer of heat through the walls of the copper tubes. Note that some deposition can still occur even if you operate your boat exclusively in fresh water, such as on a lake or a river.
If you are a boat owner like me, you try and ignore the warning signs for as long as you can. You tell yourself it is just your imagination and not a problem. Eventually the evidence is so clear you can no longer ignore it, and instead you decide that as long as you don’t push her hard you won’t need to do anything about the overheating problem, at least for a while yet.
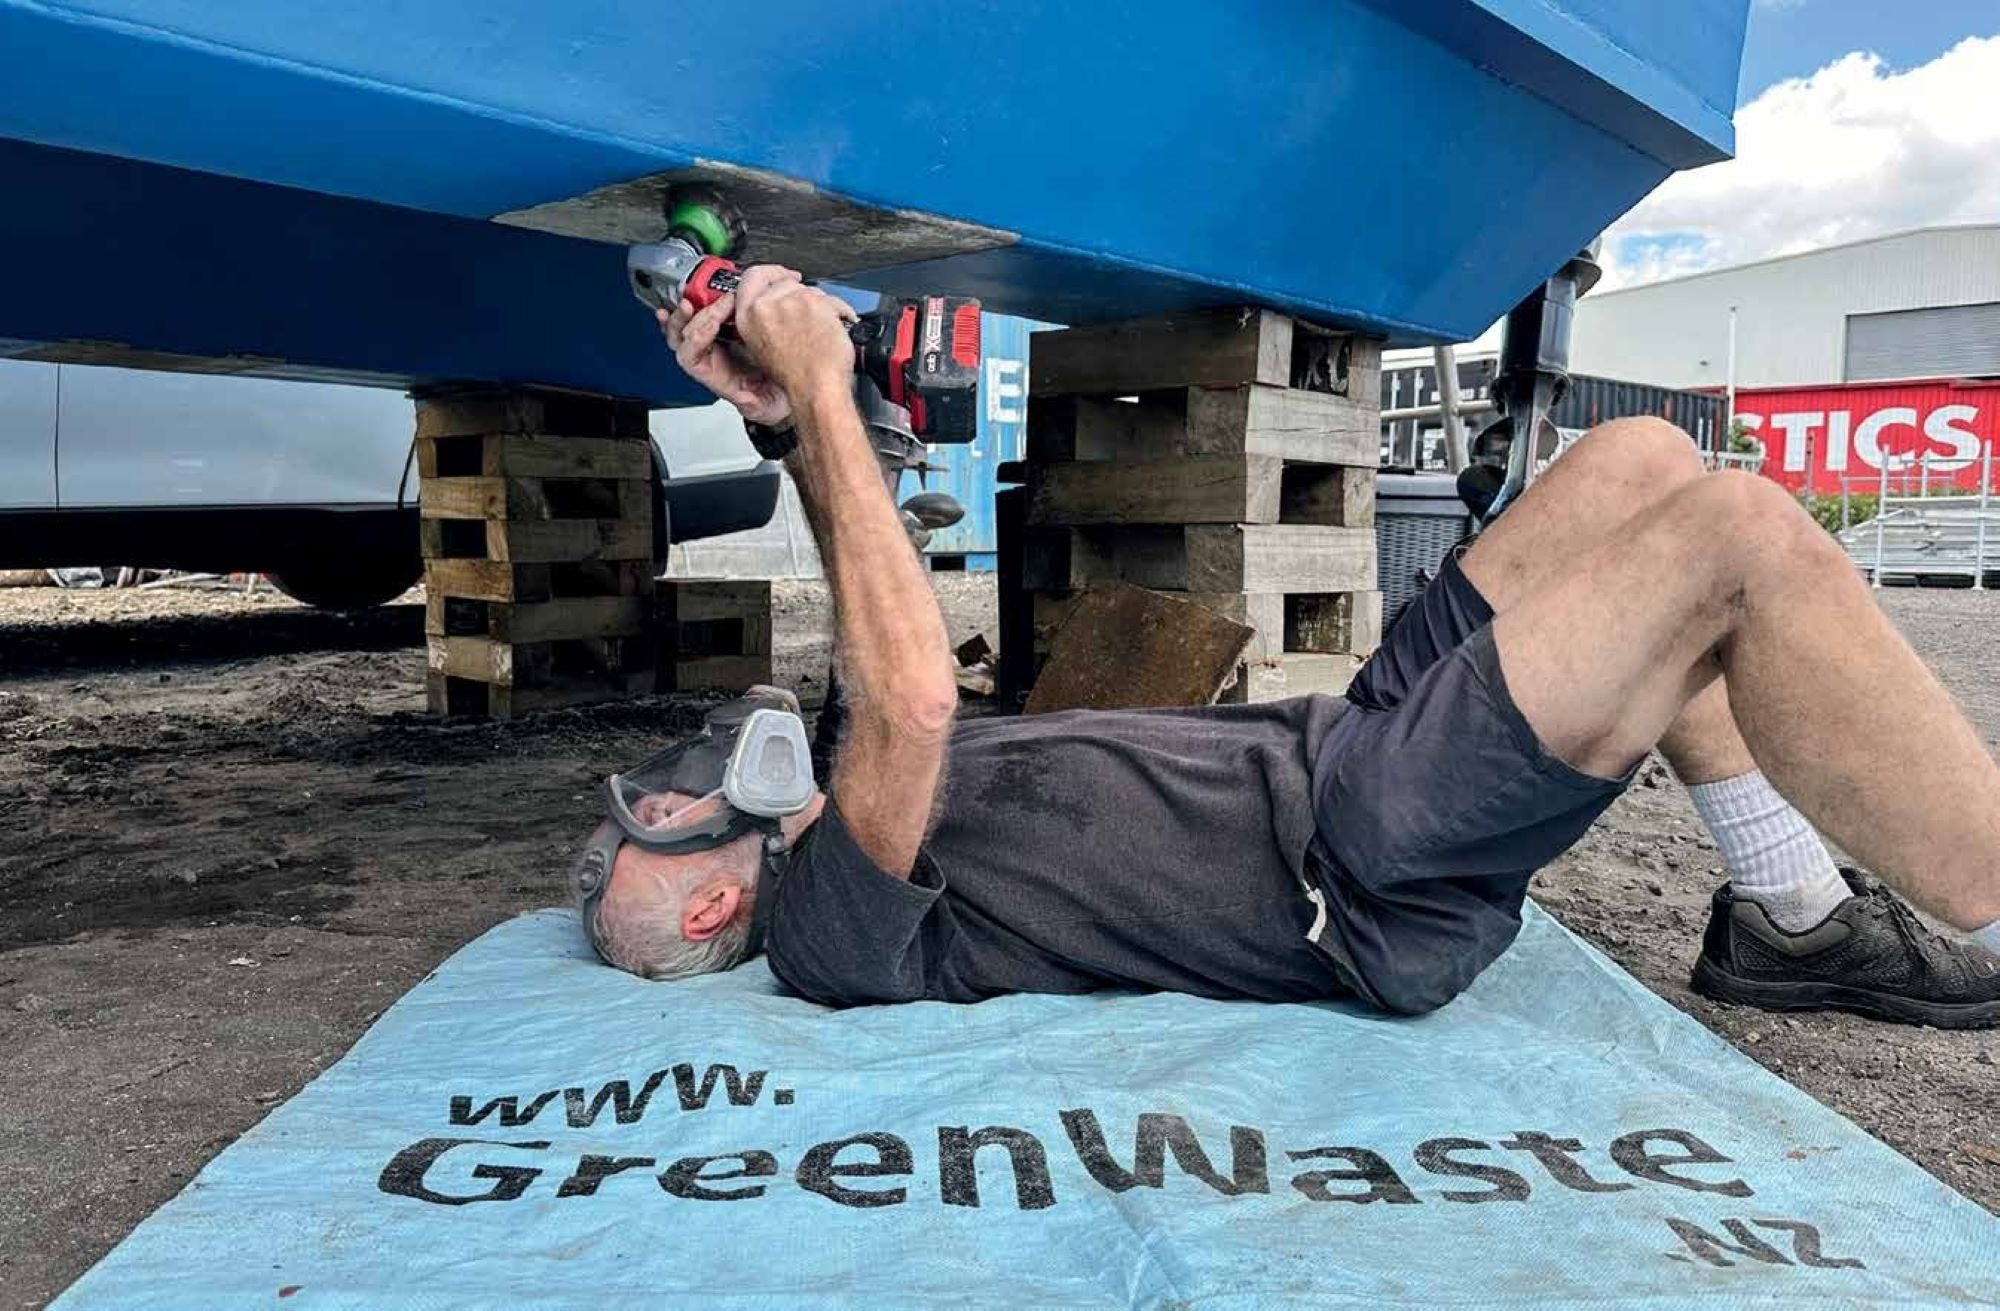
But eventually the job needs to be done! On most engines it is not too difficult, messy or expensive, but it does take some preparation, time and effort. And you absolutely should replace any in-engine anodes at the same time, so a bit of planning is required to source these and have them on-hand before you start. I always buy replacement anodes after I replace the previous set, so I know I have a set on hand ready to use.

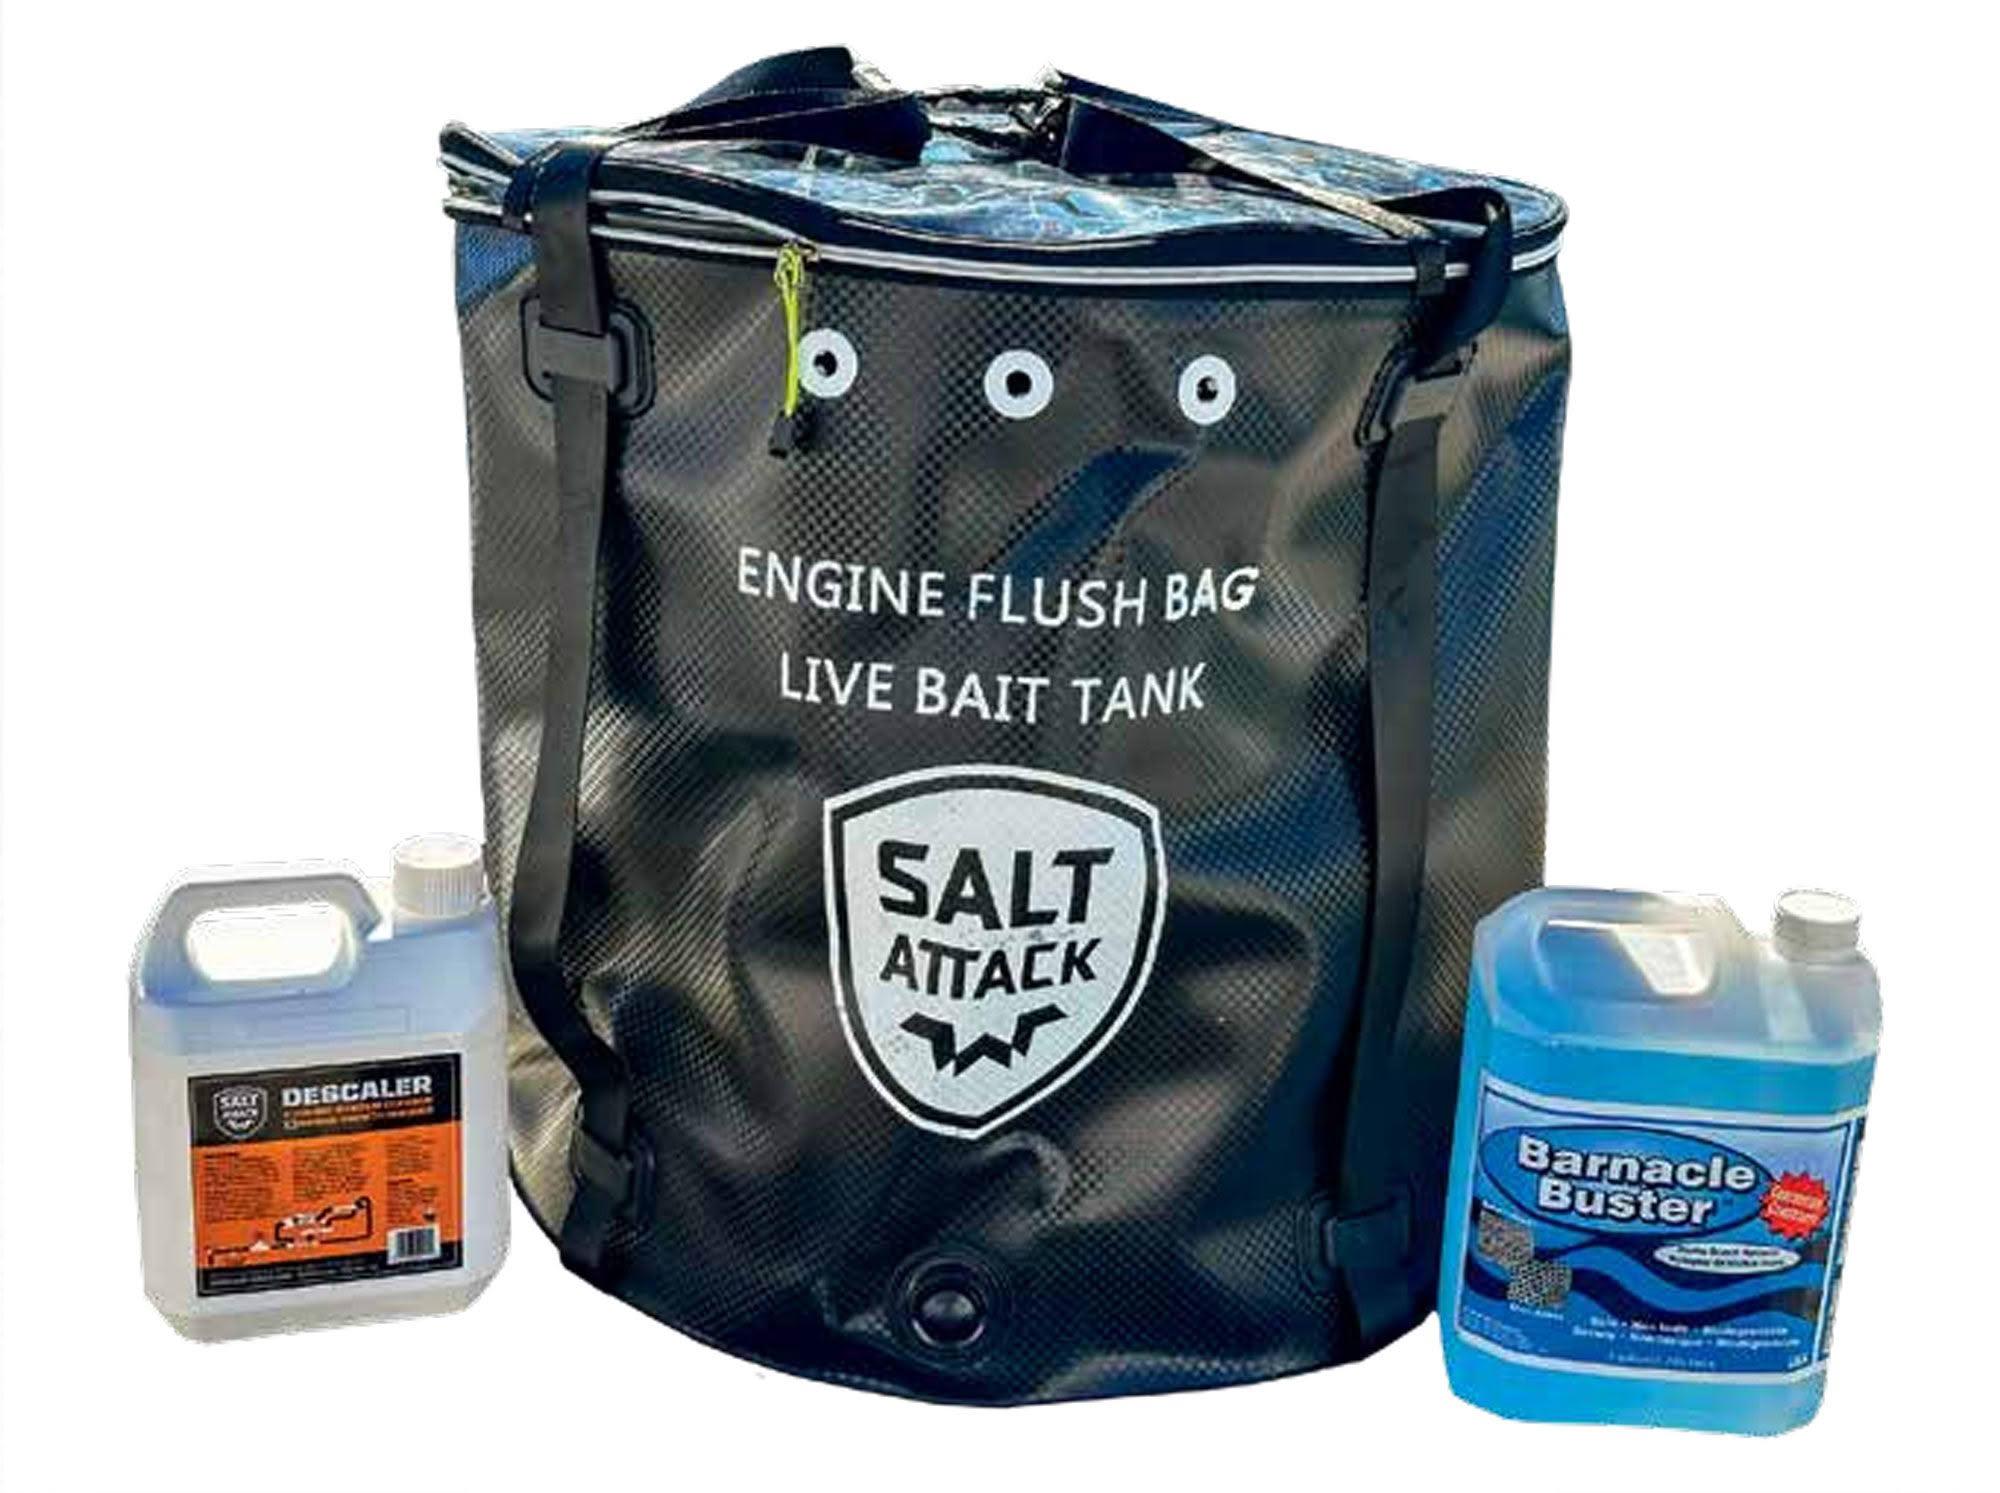
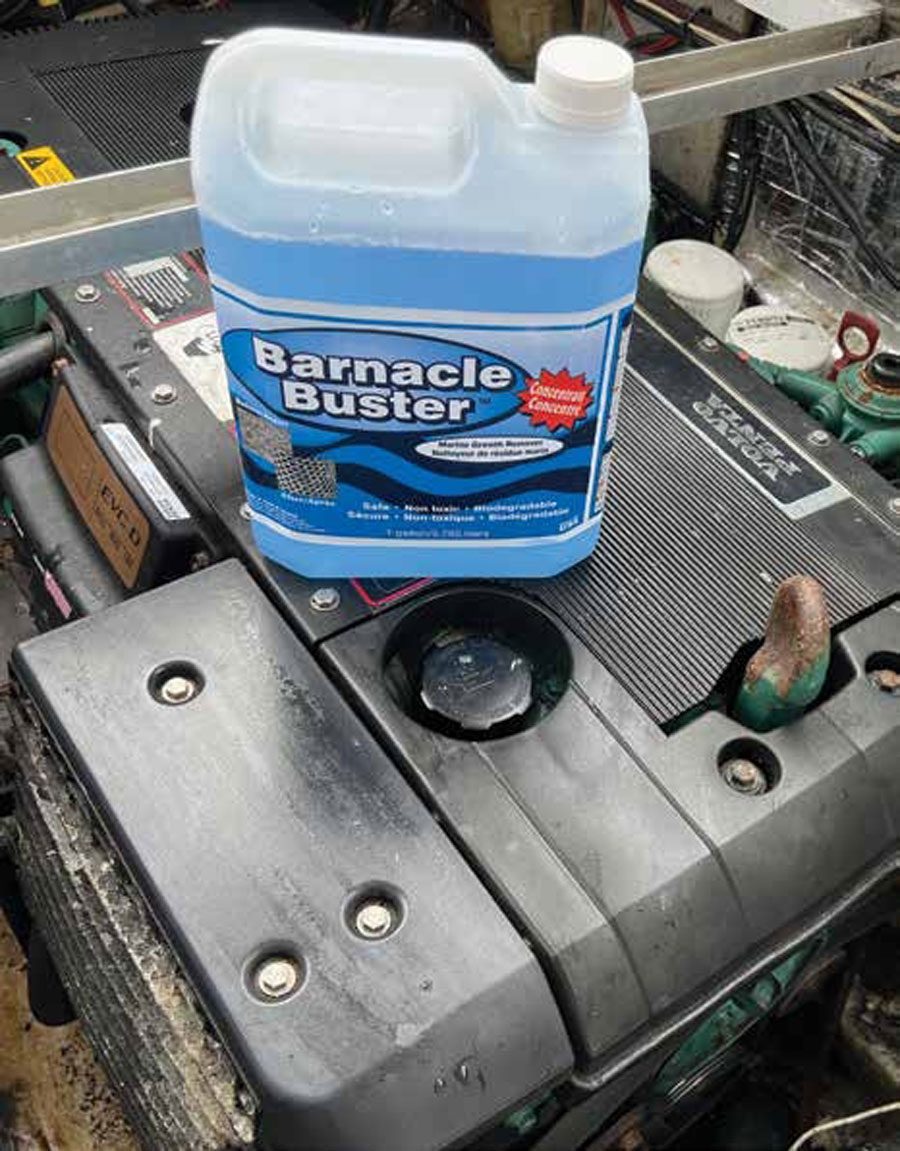
The other consumable required is an appropriate decalcification product. There are several options readily available in New Zealand, including Salt Attack Descaler, Barnacle Buster and Rydlime. Luckily, the marine industry has moved away from toxic and hazardous strong acid solutions, and all three of these products are biodegradable, non-toxic, and safe to use. Your local chandler will have one or more of these products available. This time around I sourced Barnacle Buster from Ovlov Marine in Auckland, although I have used the other products in the past without any issues.
The final item you need is some way to circulate the product through the cooling system. The specifics of this will depend on your motor configuration, but at a minimum will need a circulating pump of some sort, such as a spare bilge pump (unless you can use the raw water pump from the engine), hoses to match the inlet and outlet of your cooling system, and a large receptacle such as a 20-litre bucket. At a pinch you can simply fill your cooling system with the product and leave it to soak overnight, but this is less efficient and runs the risk of some spots not getting enough of the active ingredient. Ovlov Marine also sells a portable flushing kit, which includes a bucket, pump and hoses already configured.
It is generally NOT necessary to physically open or remove the heat exchanger to clean it, although in the case of severe heating problems you may wish to check the tubes are fully cleared. An occasion when I needed to open my heat exchanger was when one of my water pump impellers shredded, and I had to clear a bunch of small rubber pieces that got sieved out by the fine tubes.
Depending on the configuration of your motor, the process is simple (with a few options):
• Close the seacock on the raw water inlet.
• If you are going to use the engines’ raw water pump to circulate the descaler solution, loosen one end of the hose between the seacock and the raw water pump, and fit a hose extension to this. Because of the implications of causing damage to the seacock, it is recommended to loosen the hose on the engine end and fit the extra hose directly to the pump inlet. Do not try to remove the hose off the seacock.
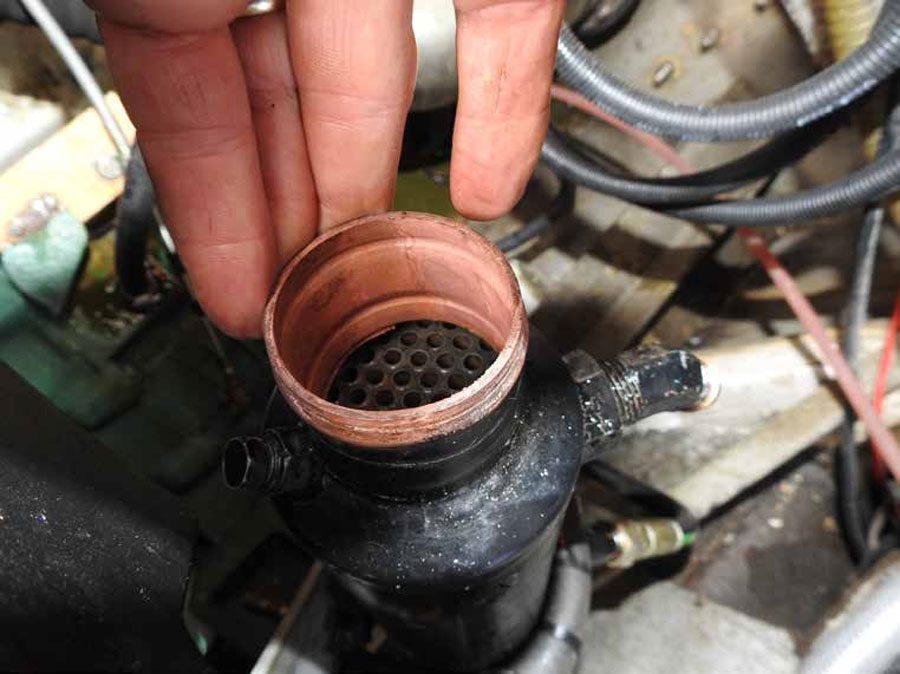
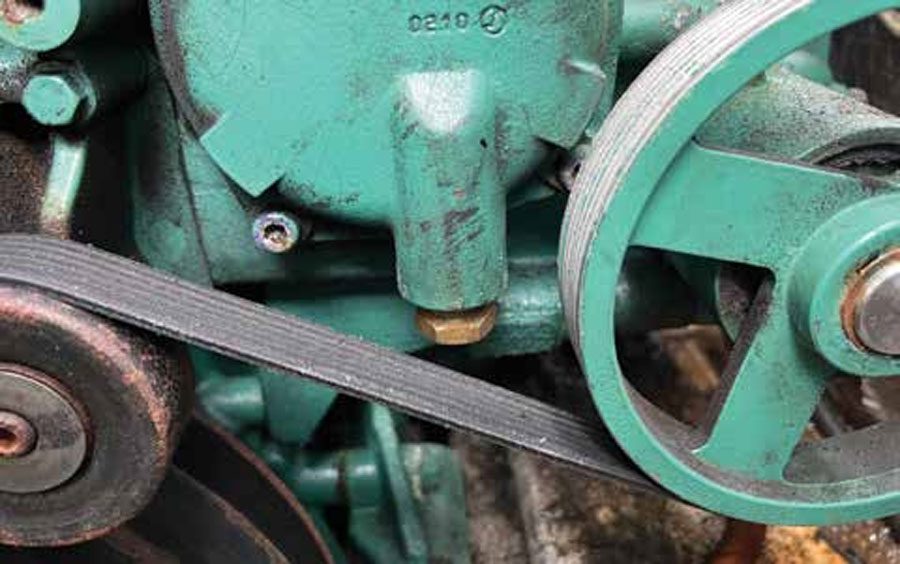
• In my case the inlet hoses are 50mm diameter, so plumbing another inlet to them is not practical. However, the anode inthe inlet side of the heat exchanger is easy to access, so I generally remove this and thread a brass hose tail fitting into the hole. My extra piece of hose is then fitted to that hose tail. Note you will need to replace your anodes after flushing, or remove them beforehand, so this is a good step anyway.
• On the exit side of the engine, find the water outlet hose, which usually plumbs into the exhaust. After checking it is above the waterline, loosen this and position the bucket so the water can run into it. Depending on space, you may need to attach another hose extension in order to run this into the bucket.

• If using a circulating pump, connect that to the inlet side of the hose. If you are using the engine’s raw water pump you circulate the solution by starting the engine. Note if you are doing this you must only run the engine for a minute or two at a time, since you no longer have water cooling the exhaust.
• Fill the bucket with fresh water and circulate a couple of times.
Rinse and repeat, to get all the salt water out of the system.
• Drain all the fresh water and replace with the descaler solution.
If using a circulating pump, you now turn this on and leave it running for as long as is recommended by the manufacturer of the product you are using – usually two to three hours, or up to six hours if badly clogged. If using the soak method without flushing, leave the solution in place overnight.
• If you are using the engine’s water pump, you need to start the engine periodically to move the solution around. When I used this method previously, I ran it for 30 seconds every 10 minutes.
• When the required time has elapsed, drain the solution and flush again with fresh water.

• At this point, replace the engine anodes. There is generally one inside each heat exchanger, although exact position and number varies by engine make and model.
• Remove the extra hoses and reconnect the raw water inlet and outlet hoses. Be sure to clamp them up correctly.
Job done! You can now run the engine again, with seawater circulating properly, to check for leaks. However, I prefer to leave it without seawater in the system until the next time I want to head out. What I do is place a big note on the starter key saying “Check cooling hoses” so I remember to check for leaks before I head out for the day.
Barnacle Buster retails at $368 for five litres of concentrate, which is diluted 4 to 1 to make 25 litres of product. A typical recreational launch engine would require 10 to 12 litres, so this is sufficient for flushing two engines. BNZ