“This boat has too many storage compartments” is not a sentence any boatie has ever uttered. Because no matter how many lockers and shelves there are, the Laws of the Universe say there are never enough places to store ‘stuff’.
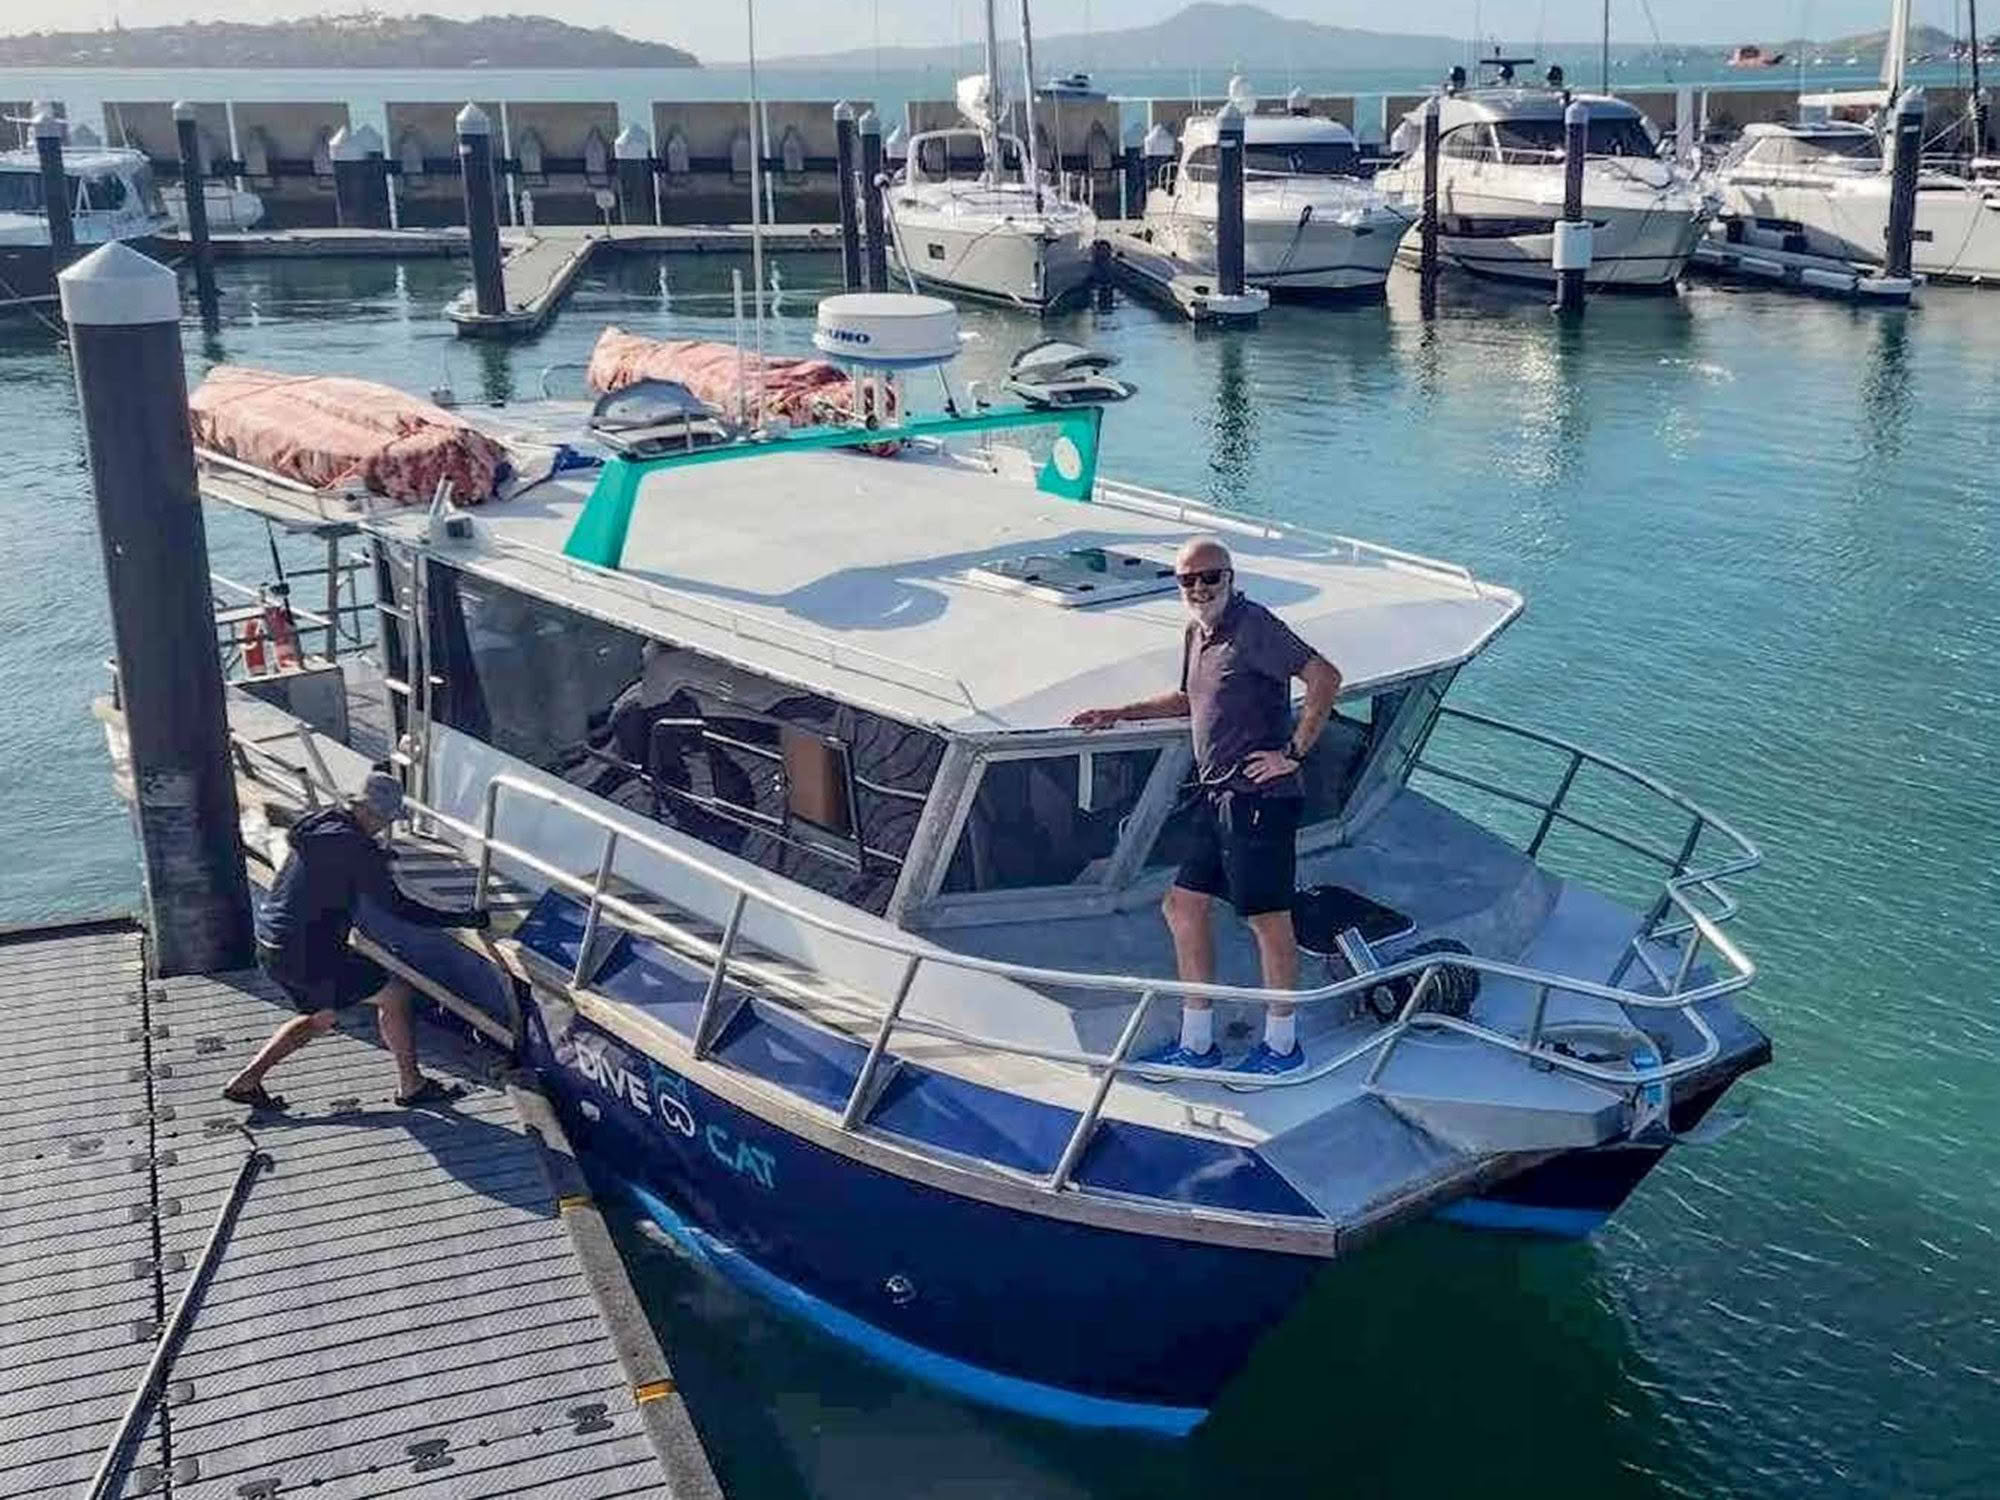
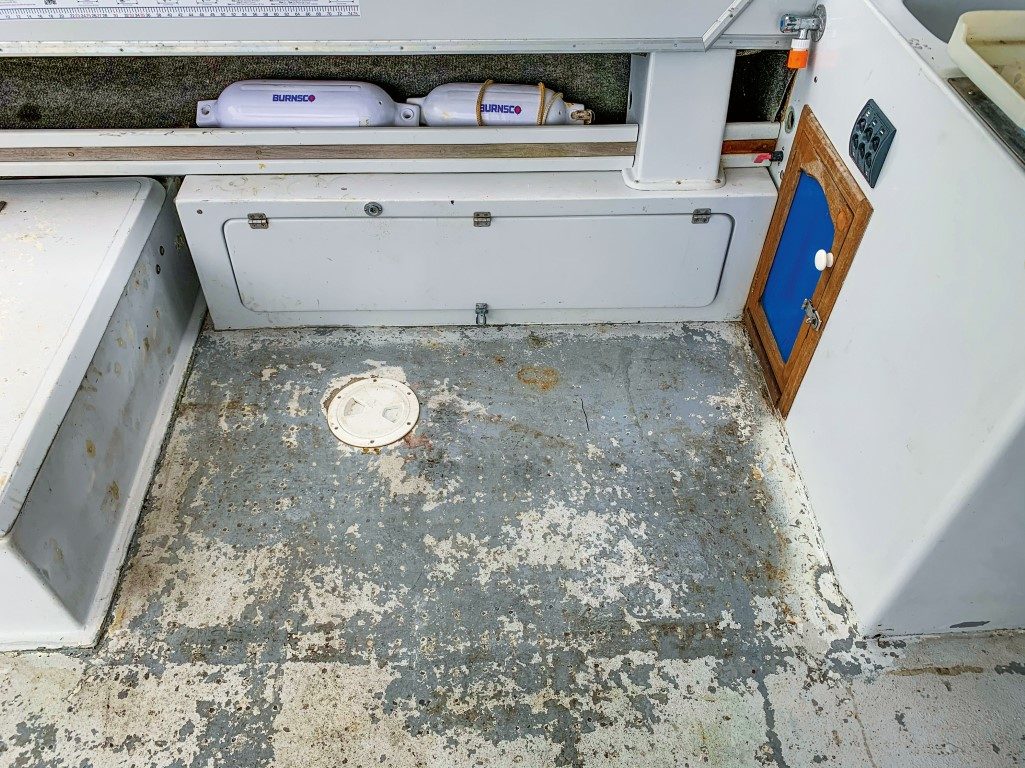
This is true even for fairly large boats. My 11.5m powercat has a fair number of lockers in the cabin area, but the rear cockpit has a dearth of storage space. Apart from a shelf running under each gunwale, and one small locker under the sink on the port side, the only wet-storage area is the cockpit floor itself!
Of course, the twin inboard diesels and gearboxes take up most of the interior hull space, and together with the 350-litre fuel tanks either side, there is precious little underfloor space that’s not already in use.
But because my boat is a production model, I know from other boats with the same hull that there is still a fair bit of unused space hidden in the twin hulls. In another version of this model I’ve seen the fuel tanks are positioned further forward, and a massive wet locker is available on either side of the cockpit.
On the other hand my boat has four unused underfloor sections on the port side, and three on the starboard side. The only below-deck section used effectively is the head and shower room to starboard, which has steps down into the hull space.
So, I knew the space was there, but could it be used safely? This is not a trivial question: cutting a hole into a watertight compartment instantly compromises the safety of your boat. If the boat has sealed buoyancy, especially if it’s filled with foam, using the space is not an option.
But if the compartment is already accessible (such as, in my case, through an inspection port) and isn’t a sealed chamber, using the space may be viable – with suitable precautions. Also, if the underfloor space is part of a larger area connected to the bilge, opening it up for access won’t affect the overall buoyancy.
Next – can an opening can be created without affecting the hull’s structural integrity? Often the hull relies on the deck (or underlying supports) for additional rigidity. So, you’ll need a clear area of deck that has no supporting cross-members or any bracing underneath, making sure that a new hole won’t seriously weaken the deck. In my case I knew there were a number of supporting struts running under the deck, forcing me to select a hatch size/position to fit between them.
Finally – what happens in the worst-case scenario when water gets into the cockpit, such as a wave over the transom? How to prevent water getting into the compartment and, if it does, how do I get it out again?
Ensuring the hatch cover is completely watertight and properly sealed is crucial, and that it’s kept firmly closed. Fitting a supplementary bilge pump is also a good idea, with an automatic float switch and alarm to activate and tell you when it starts pumping out.
Having run through these considerations, I decided to fit a number of hatches into the cockpit floor. I wanted to replace the two round inspection ports above the fuel tanks. They were old, they leaked – and were inadequate for maintenance of the fuel tank area.
Bigger hatches would provide some storage space for fuel-related paraphernalia, since there was about 15cm gap between the deck and the top of the tank. Spare fuel hoses, funnels and fuel filters could be stored there. The hatches would also allow me to properly inspect and check the fuel tanks as part of regular maintenance.
Secondly, I wanted some wet storage areas for diving and fishing gear that wasn’t used regularly. This was only feasible on the starboard side due to the length of the fuel tanks (a cockpit sink and locker obstructed access on the port side). In the end I decided to also install a hatch in the forward cabin on the port side – though it wouldn’t be a wet area.
The first item on the agenda was to work out precise placement and buy hatches to fit the space. The support beams were 40cm apart so I needed hatches with a smaller cut-out width – I found a number of hatches available of roughly 600mm x 350mm.
My research revealed that not all hatches are made equal. Some are not designed for standing on, so you need to look at the specs. The width of the cross-bracing inside the hatch cover gives you some indication – some of the budget-end hatches have ribs about 10mm deep, while those strong enough to support significant weight have ribs of about 25mm. And because I wanted hatches that were completely watertight, a hatch cover with fully-enclosed screws was also important.
WHERE TO INSTALL
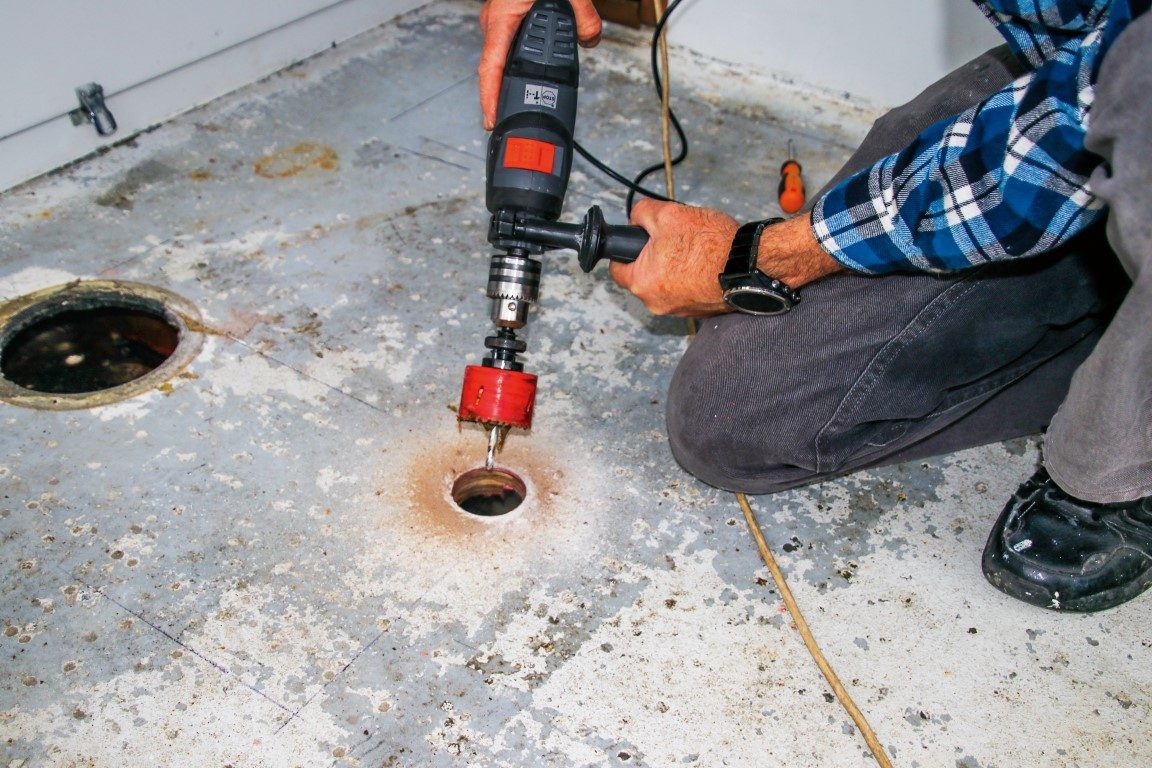
Both structural integrity and aesthetics come into play here. Because I was going to cover the deck in marine carpet afterwards, I needed to line the hatch with the edge of the future carpet section. Measure twice, cut once is the mantra to follow and, sadly, I made a mistake with the first hatch.
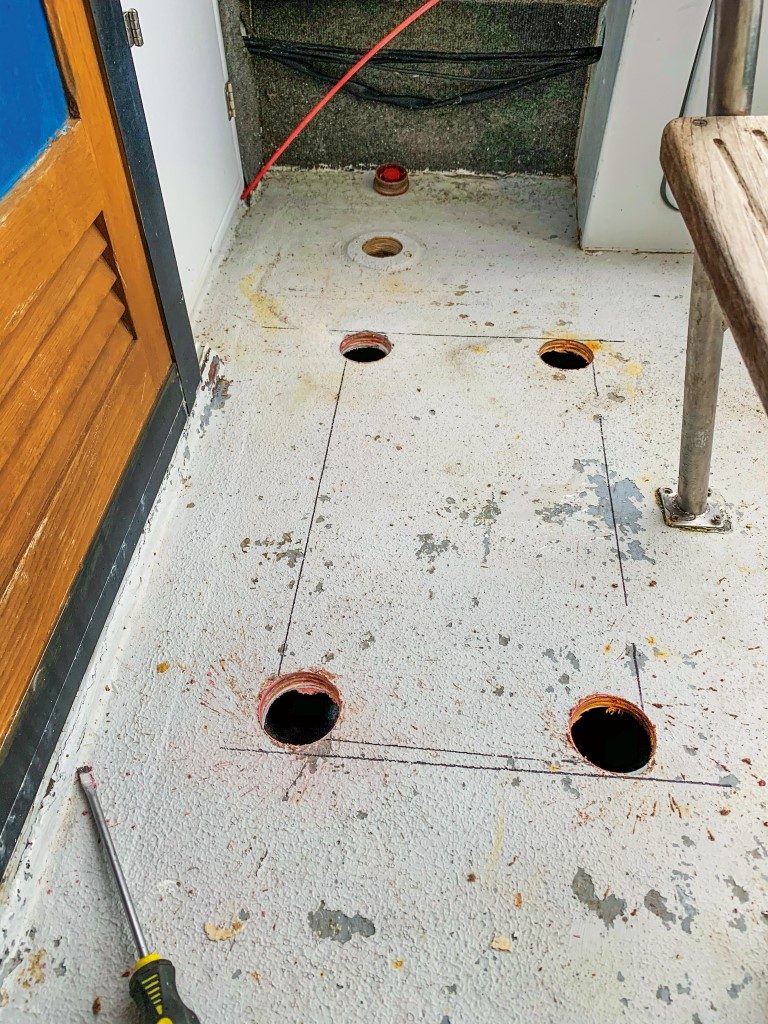
Wanting to reduce the amount of cutting, I positioned the hatch with one edge aligned to the hole of the existing inspection port. When I used a hole-saw to cut the rounded part of the corners, I discovered there was a deck support running across one edge of my cut-out.
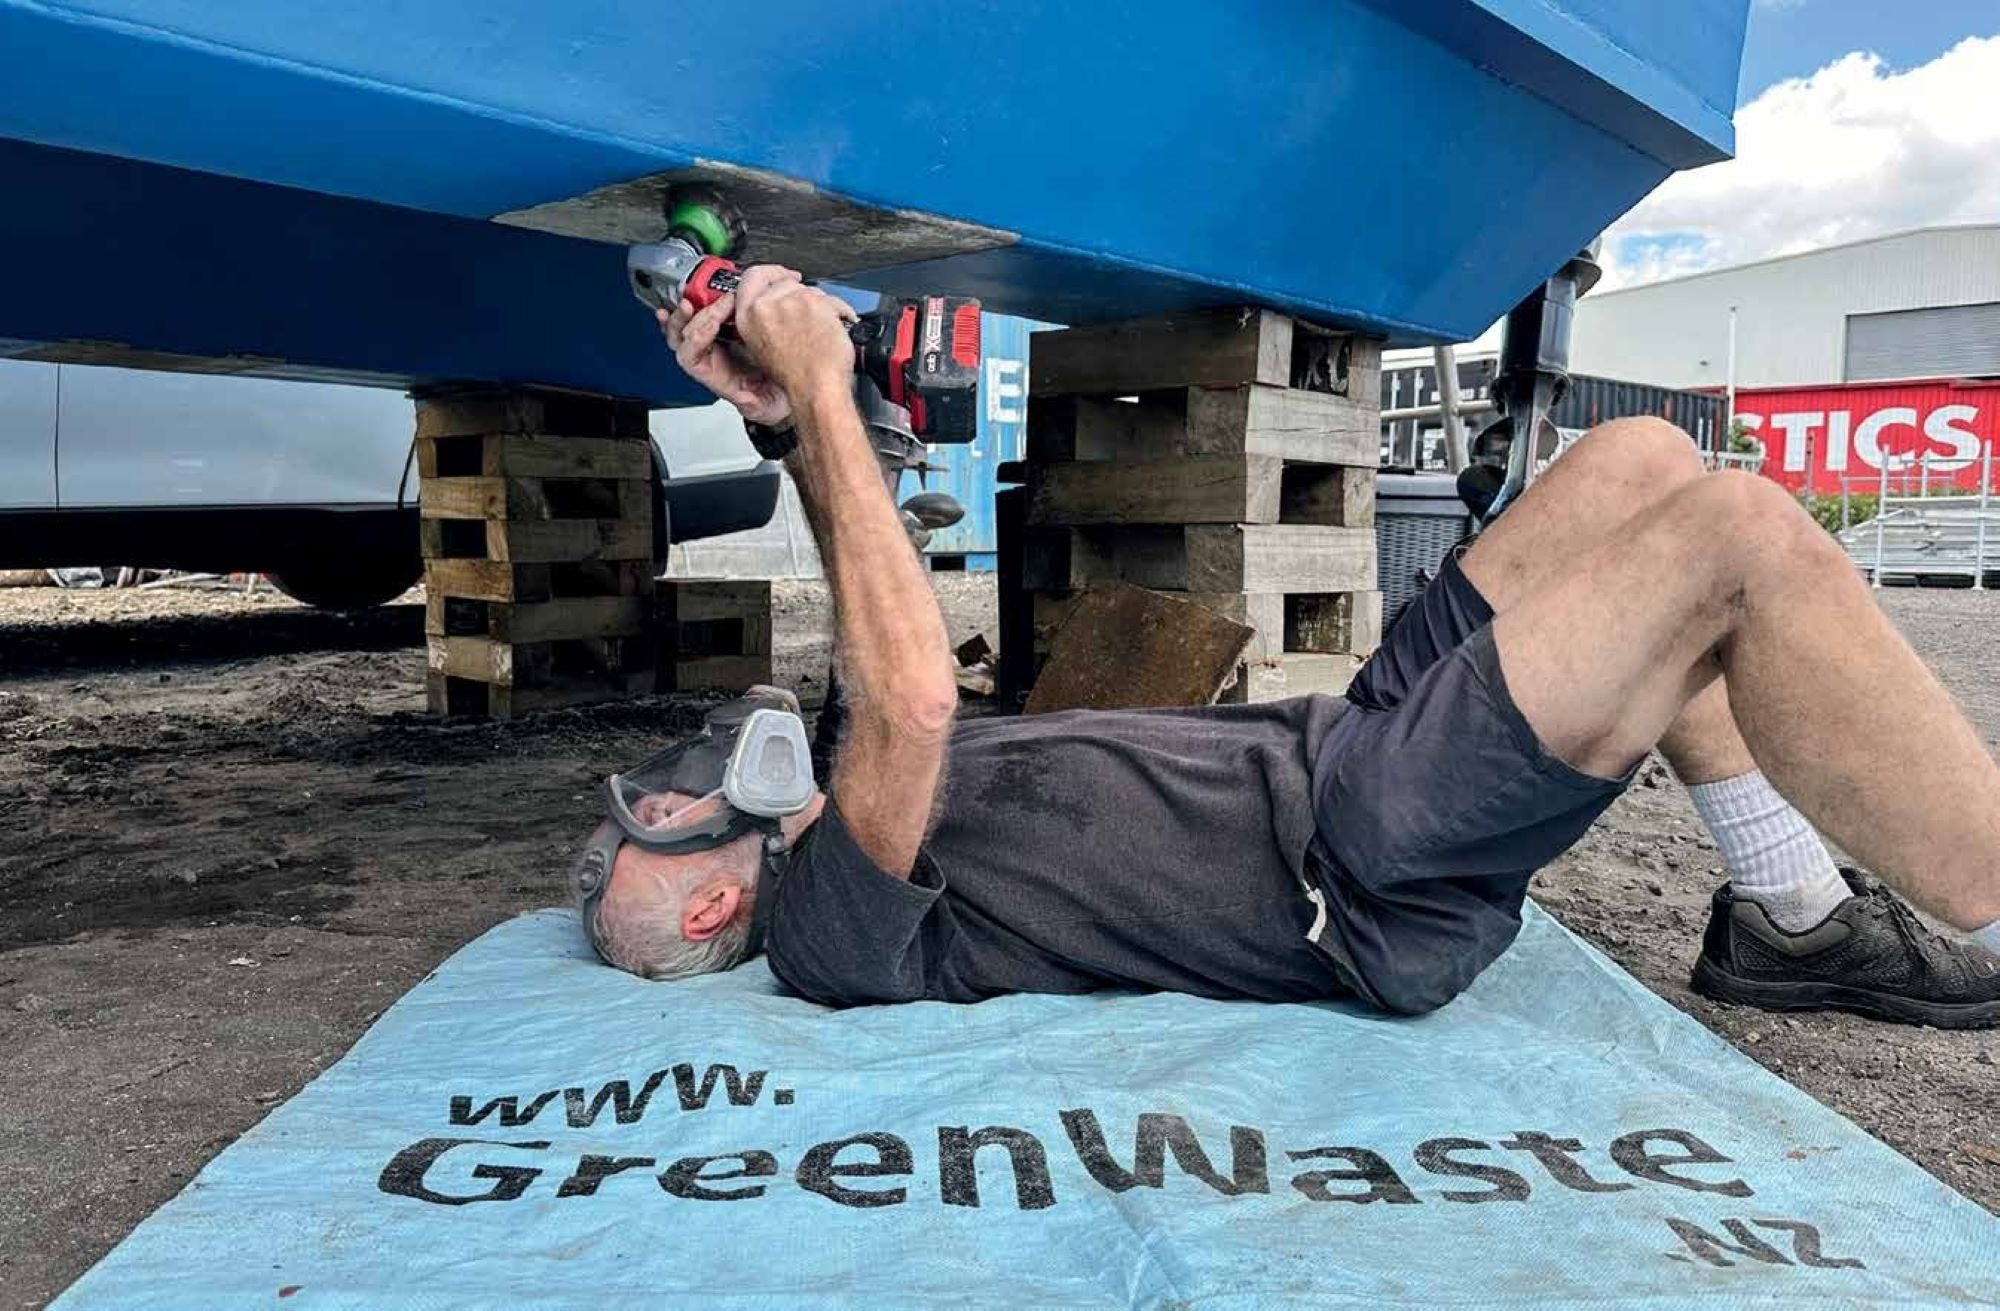
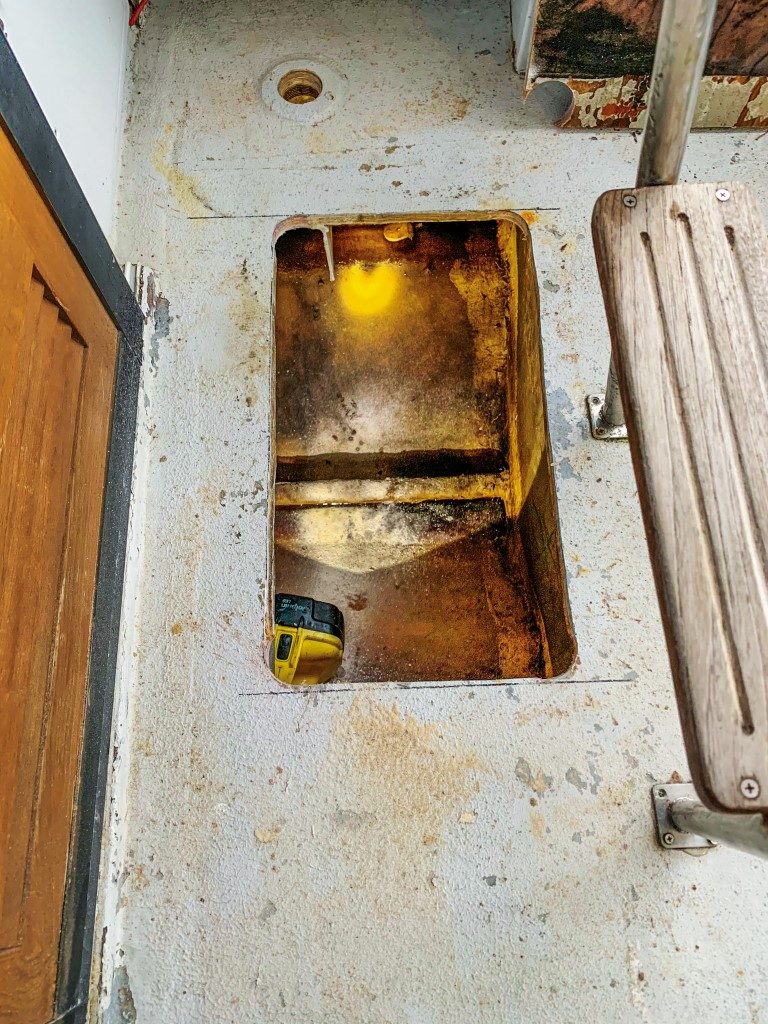
After some deliberation I decided to continue with this hatch position but would not cut through the support. Although this would slightly reduce the available opening, I could still access the edge of the fuel tank. The deck is plywood-cored fibreglass almost 2cm thick, so it was important to sand and seal the plywood to prevent water wicking into the ply in future.
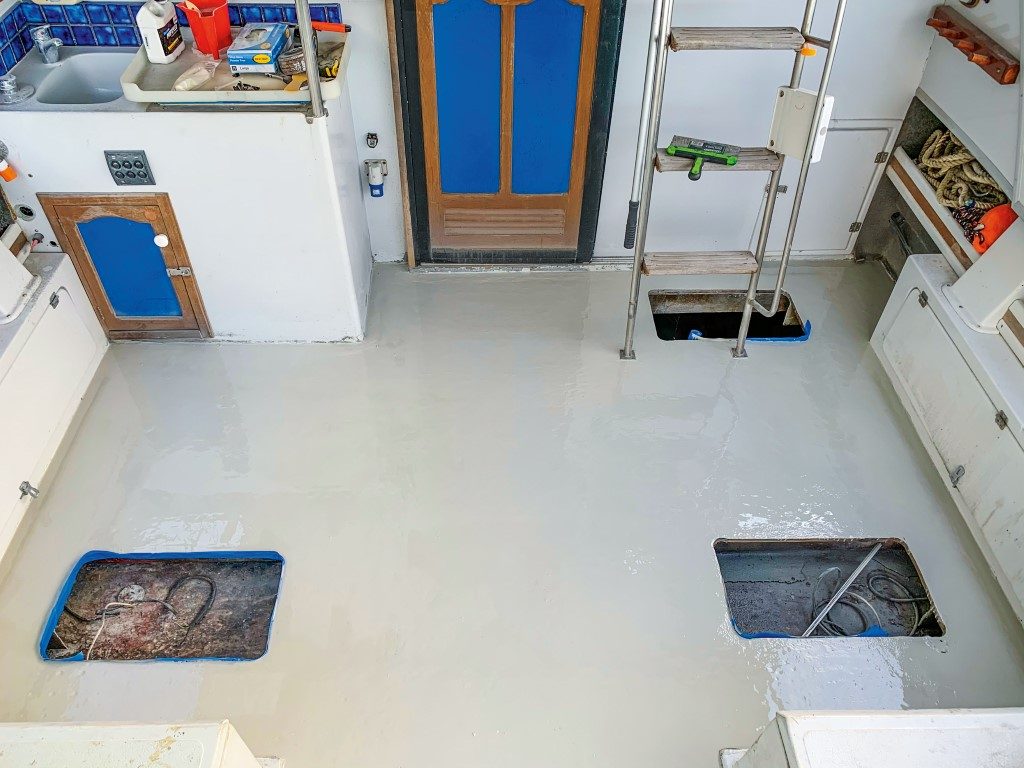
I’d also decided to repaint the deck, and it would be easier to do before the hatches were in place. So the hatch project took a slight diversion while I scraped, sanded and sealed the surface, then applied a two-pot epoxy deck covering. Finally, I was ready to install the hatches.
I ran a thick bead of marine sealant all along the underside of the hatch before bedding it firmly in place. Appropriate securing screws were inserted, each bedded in a further blob of sealant. Because of the deck’s thickness, I was able to use screws that did not penetrate all the way through to the inner compartment, removing the possibility of water ingress through the screw hole. On a thinner deck a bolt with washer and nut on the inside may be required, again with lots of sealant.
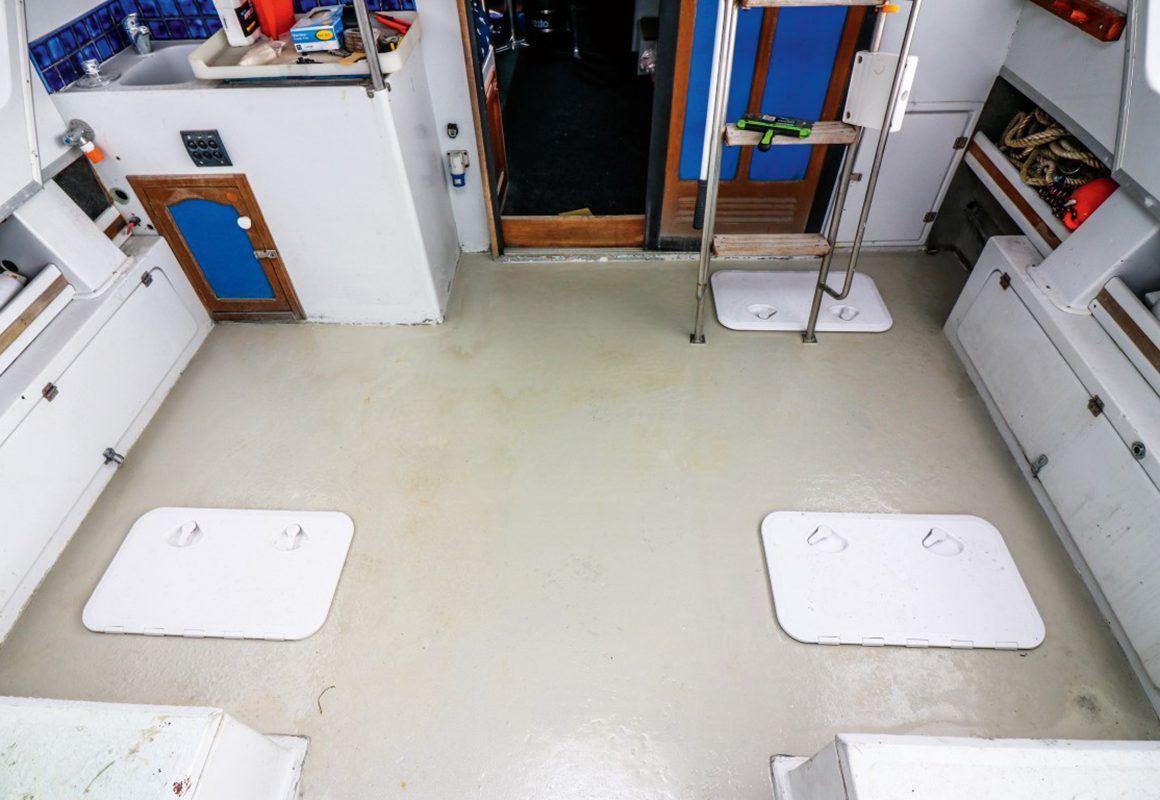
The finished job achieved most of what I had hoped for. I can now access those below-deck areas, and keep them watertight. I have an automatic bilge pump to install into the wet-storage locker, since that is the only one which may be opened while out on the water.
Cutting out and installing the hatches took less than an hour per hatch and has considerably increased the storage capacity in the cockpit area. My only disappointment was not being able to create an accessible wet locker on the port side as well.
This upgrade is part of a bigger project to improve the finish of the cockpit and boarding platform. Having also applied the epoxy sealant on the cockpit floor the next step is fitting those carpets and decking the boarding platform.
Another project for another day!