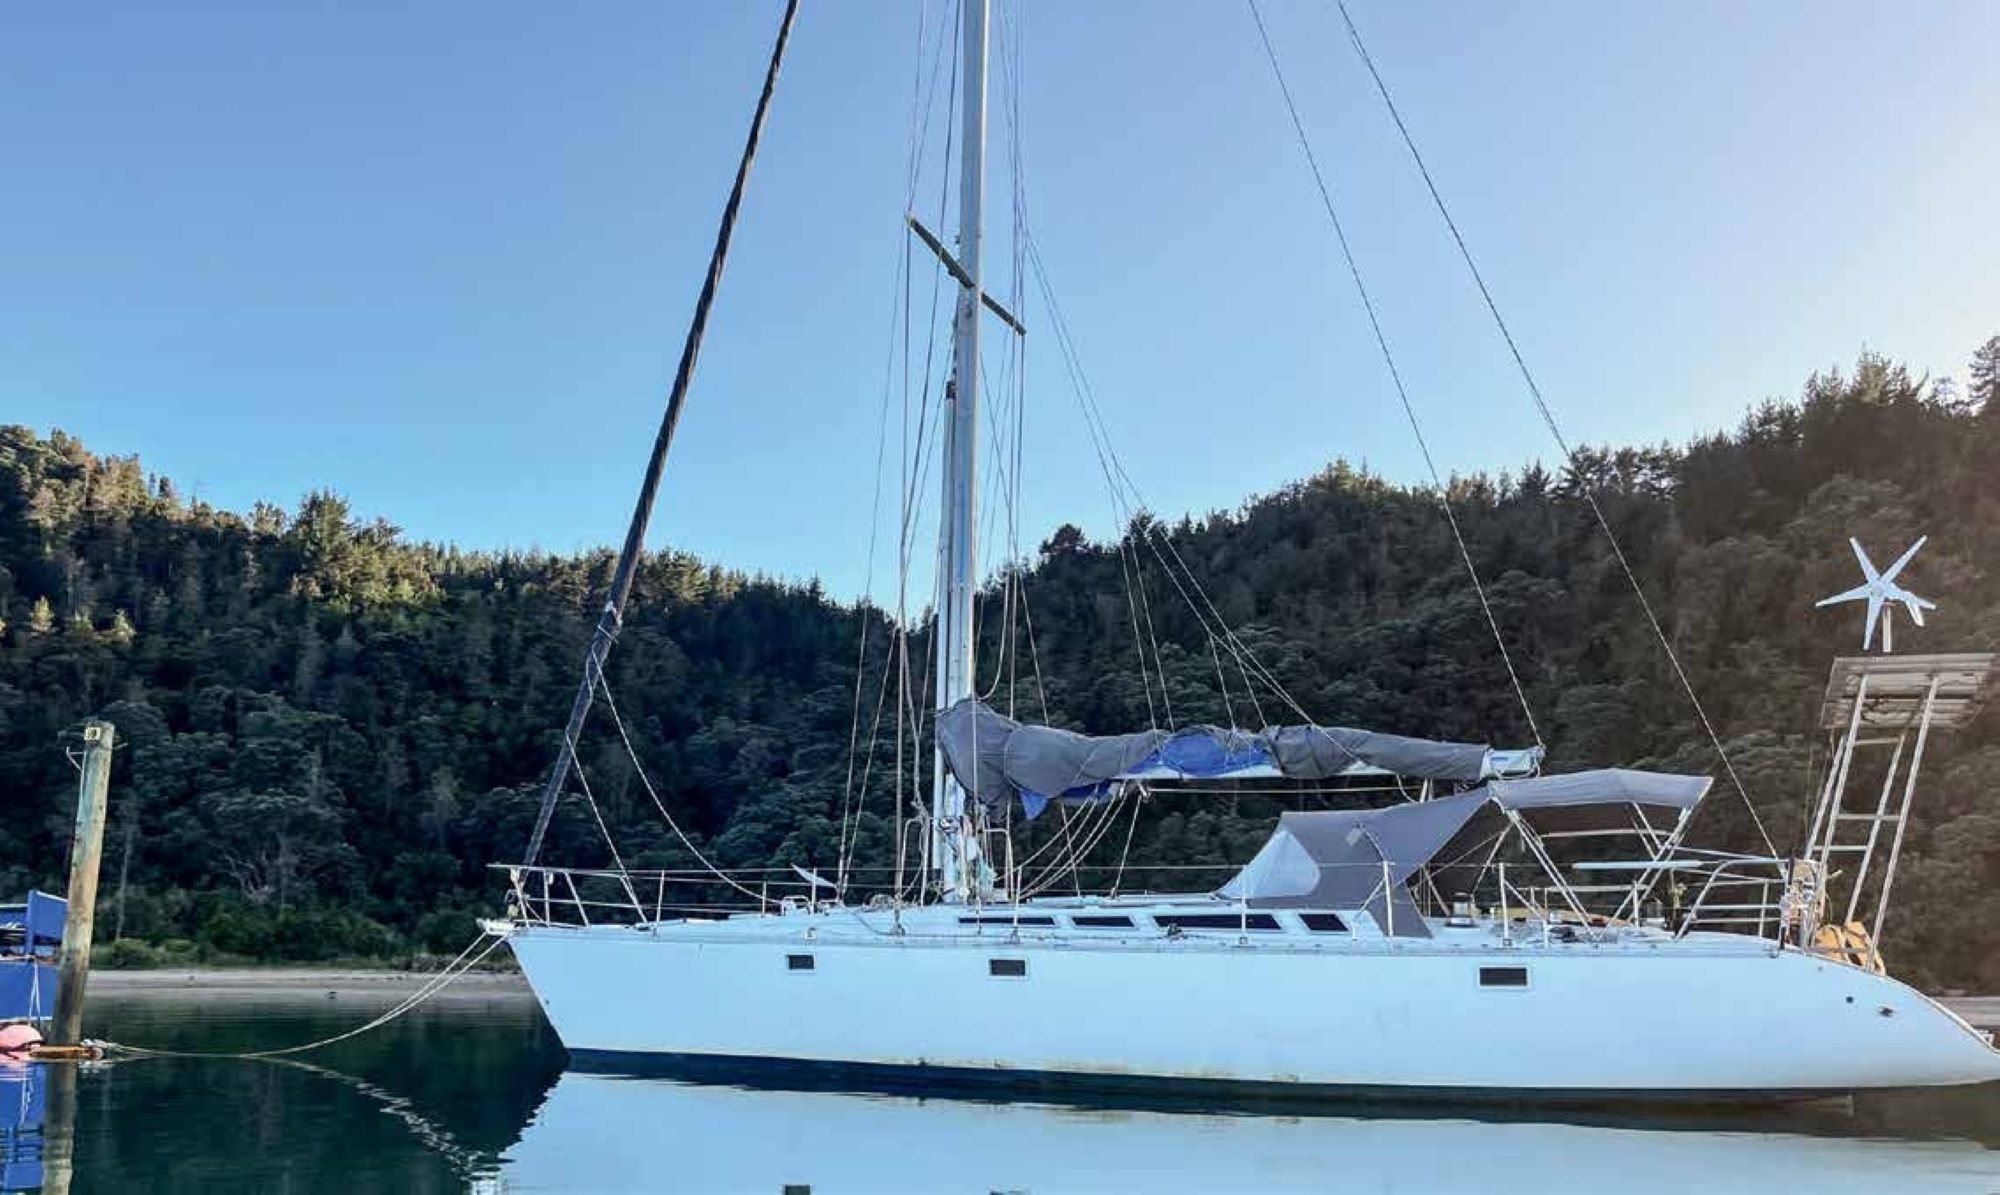
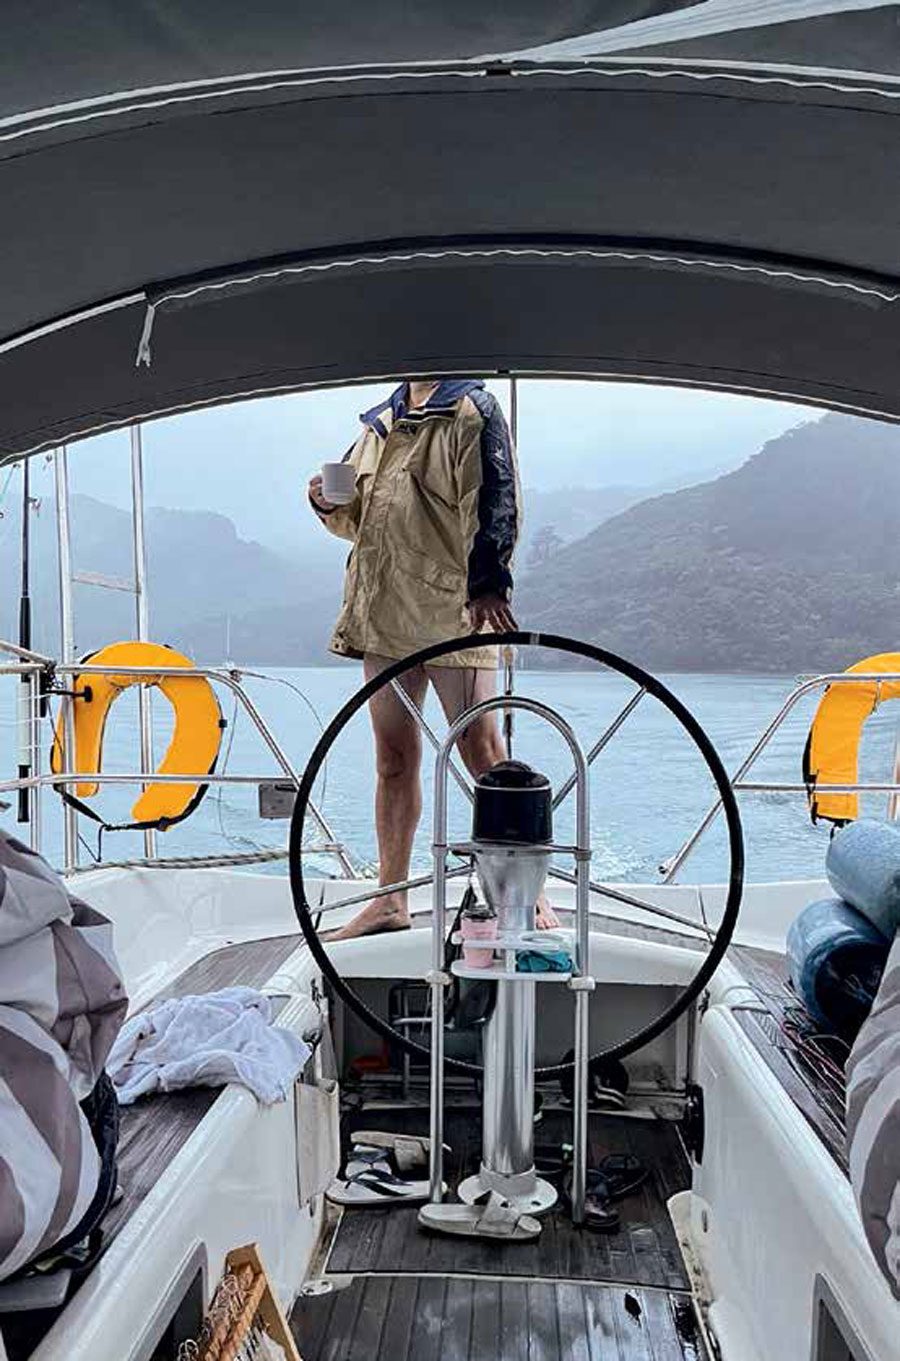
I’m writing this article during the 2022 April school holidays while anchored at Great Barrier Island, our newly favourite sailing homeaway-from-home. .
Yesterday, the weather turned from beautiful late summer sun and warmth to high winds and rain. The plans we’d made for heading ashore for long walks and extensive swimming have turned into lying back and feeling the motions of SV Sauvage as she swings around her anchor, interspersed with the occasional swim and some fishing. We’ve left the frenetic pace of life behind. We’re chilled. Sometimes, life knows exactly what we need; after a busy quarter at work, it is a pleasure to simply rest and recover from life!
Looking back, I am aware that for a while I’ve been planning for events like this: extended time out on the boat, alone, without reliance on land-based utilities, instead living ‘off-thegrid’ with our own power and water generation. This notion of self-reliance is more than liberating, it is freeing, as sailing the world becomes more-and-more achievable.
In November, when we were preparing for our long summer sail along the east coast of the Coromandel Peninsula, we carefully considered what we needed to be self-sufficient so we could have extended time at sea. SV Sauvage has a deep draft which makes it difficult to pop into just any old marina or traverse a high lying bar to get into a wharf.
It became quickly obvious that the ability to create our own fresh, drinkable water was deeply desirable.
Thus, our analysis of watermakers began. There are many watermakers on the market. I found one from New Zealand and many imported from Europe, but prices appeared to start at about the $10K mark – way outside my budget. So, the search continued, re-visiting and re-searching. Finally, I found a watermaker produced by an Australian company. Built from commodity components rather than a purpose built solution – certainly a trade-off – it’s sadly not an ideal single frame installation with sea water coming in one side and freshwater coming out the other. But at a price point of NZ $4,500, I thought it was a very viable starting point!
I contacted the owner and his story reflected mine in that a couple of years before he had been cruising up the east coast of Australia and found his limitation to travel was fresh water. On his return he researched the market and found that, while the function of a watermaker is very simple and the various functions are simple and logical, the price of the solution is prohibitive. After some more research he concluded he could build his own for less than half the price of others by using offthe-shelf parts.
My first goal was to get the Aussie watermaker ordered and on its way to New Zealand. I tried to outsmart the design of the watermaker and reduce how much I spent by omitting the inverter that came with it. Duh! I ended up adding complexity and had to get an inverter to finish the job.
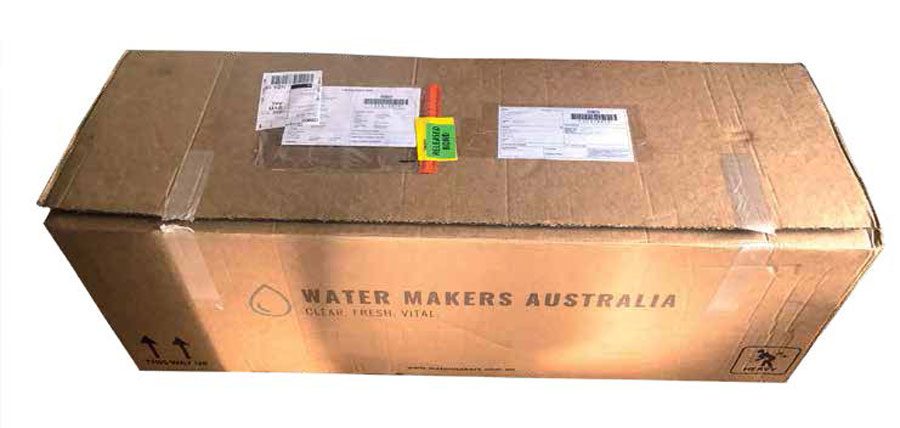
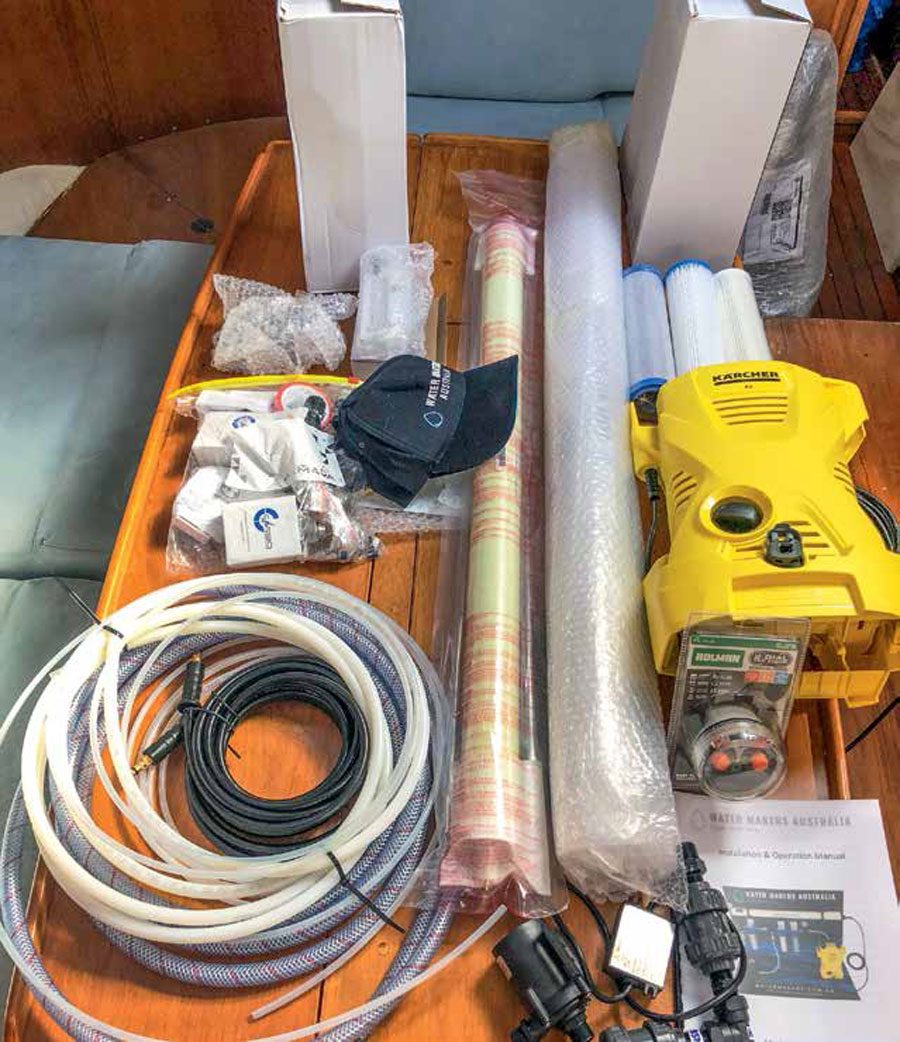
Ten days later, my watermaker kitset arrived. Rubbing my hands in glee and anticipation, I opened the box and thought, “Crikey, what have I done?” No going back now. At first sight it was a little scary. There were quite a few bits and pieces. Some clearly had a function, such as the reverse osmosis tube and filter; others not so obvious, like the garden hose timer which I learned later was used to backwash freshwater through the system once a week.
My frustrating, and demoralising, installation of the head at Christmas proved why it is important to check all the parts are in the box and I was very pleased to find that this kitset came with everything I needed.
Not known for my patience nor an ability to follow detailed instructions and knowing my wife would have stern words for me if I didn’t, I decided patiently following the instructions would be a good idea. Happily, after a couple of hours, I had the machine built on the saloon table. Whew!
Then I faced my next challenge. I had anticipated where I would house the watermaker on SV Sauvage, but after assembly, I found that the reverse osmosis tube was much bigger than I’d envisaged – 120cm on paper seems very much larger in reality!
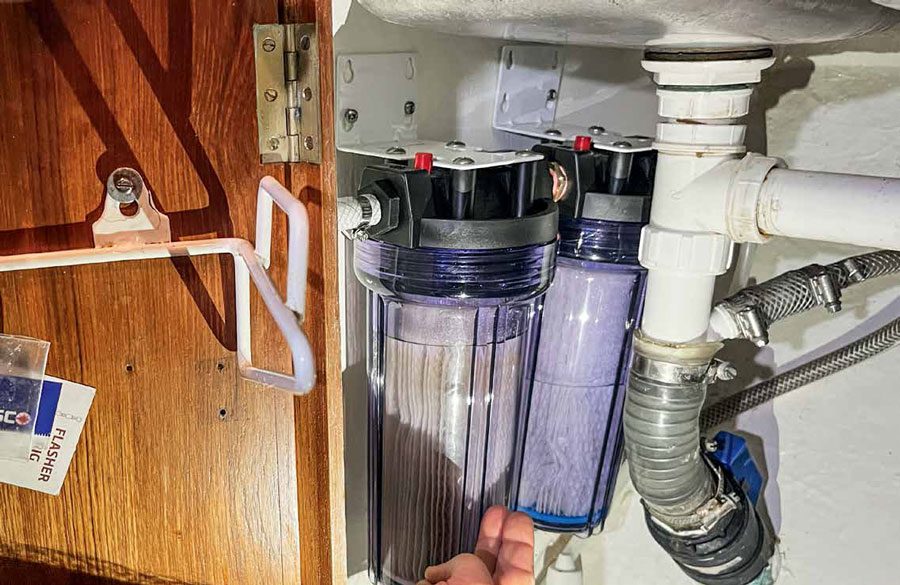
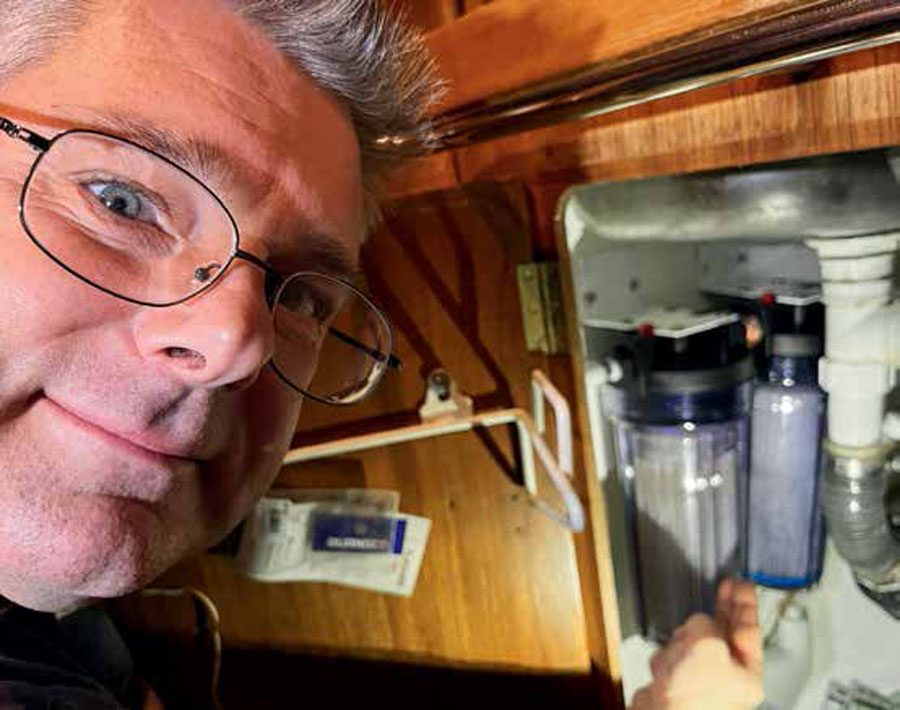
And so, my ‘solutionising’ began. In the end the reverse osmosis portion was housed in a cupboard in the second cabin. Yes, we lost some cabin storage space, but having fresh drinking water trumps almost all else. The high-pressure pump went in beside the main freshwater pressure pump and the three prefilters were installed in the galley, along with the low-pressure water pump.
Perhaps I might be a man of little faith, but for now, I want to be able to directly test the fresh water. So, I left that pipe rolled up in the cupboard where I can easily roll it out, drink some water to make sure it’s all good before extended it farther to fill the tank. Later, once my confidence has been filled, I will run the hose to a tap in the galley where I can test the water before gracefully directing it to the tanks afterwards.
Three hours after starting the job and, having installed the components, I turned the low pressure pump on for the first time. To my amazement, no leaks! Water ran from start to finish. Perhaps I had been too anxious, but I was quietly pleased.
After a few minutes of monitoring, just to be sure all’s well, I started the high-pressure pump. A word of caution: when starting the high-pressure pump, be very careful to have the reverse osmosis tube taps fully open. If you have them set to pressure (water filtering) settings, you will rip the guts out of your reverse osmosis filter – a replacement membrane is $600.
I did it right! The tap was fully-open, and the high-speed water went to the waste pipe as it ought. Heart palpitations, but I’d got it right.
Now I needed direct the seawater through the reverse osmosis tube rather than the waste pipe. As I turned the tap just a small turn (well below the guidance pressure for good water), water started to come out of the good water pipe. I tested it. YUCK! It was just basically saltwater still.
So, I continued to add additional pressure via the reverse osmosis tap – up to the recommended pressure for fresh water – and I tested the water again… This time, FRESH WATER WAS FLOWING!
As we travelled the Hauraki Gulf and the east coast of the Coromandel Peninsula over summer, we regularly ran the watermaker. It was clean and easy every time. The worry about water levels on a boat with three kids aboard is gone!
I ran my watermaker for about an hour every two or three days. That generated about 60 litres of freshwater an hour and gave us more water than we knew what to do with during our cruise, which would be true for any watermaker installation. However, for me a $10-15K solution was not feasible at the time, so this kitset was exactly what I needed.
My advice is to check the market, but certainly, give the team at watermakers.co.nz a yell and have a chat with them when considering your watermaking journey. BNZ