One of the advantages of an aluminium boat is the rigidity of the hull. While there may be a small amount of flex, depending on the design, for the most part it will be solid and predictable. However, that same rigidity also tends to make alloy boats very noisy – effectively the entire hull is one big sounding board. Anything knocking against the hull, and any vibration on the structure, can be heard and felt throughout the boat.
Which is not usually a problem, except for that great big hunk of machinery (or two) that makes the boat move – the engine. In the case of inboard engines, a considerable amount of cost and effort goes into installing vibration-dampening engine mounts and flexible drive shaft couplings. This is not the case with most outboards – the powerhead is bolted directly to the leg and gearbox, which in turn is attached to the tilt and turn mechanism through a fairly robust steering swivel with little in the way of vibrationabsorbing materials.
While that engine is running, you can probably hear it resonating through the boat’s hull. At lower speeds you will also feel the vibration, which will be especially evident to someone sitting on the transom or gunwale next to the engine. But that low-frequency hum/vibration can also transmit through the hull all the way to the bow, making it unpleasant to sit in the cabin while the engine is at full roar.


The conventional way of dealing with this is by absorbing the sound – lining the interior walls of the hull with carpet, for instance. However, it makes much more sense to eliminate the vibration at source. This means isolating the engine from the hull, while still allowing the engine to transfer propulsion force to the hull to drive the boat. The other benefit of reducing vibration is to extend the life of the hull – over time vibration may cause metal fatigue resulting in cracks developing through the transom.
And to reduce outboard vibration there is only one game in town: Vibra-Stop urethane engine mounting pads. New Zealand-made and patented, the heart of the system is the 15mm thick urethane backing pad which is mounted between the engine and the transom. This flexible, or elastomeric, mount dissipates the vibration rather than transferring it to the boat.
The manufacturers claim that the compound of urethane used will not compress over time, despite the heavy forces exerted on it. It also has very high UV resistance to prevent damage from the sun, and being impervious to water and solvents, it will also not swell or soften. Urethane also has a service life that’s likely to exceed that of the outboard itself.


The pad is only part of the answer, though, since the engine also gets bolted onto the boat through the transom. This means there is a set of rigid bolts forming a direct link between the engine and hull, and for maximum shock absorption, these also need to be isolated. The best solution is the complete VibraStop bush kit, comprising the pads, sleeves that get welded into enlarged holes drilled through the transom, and matching urethane bushings that fit inside the sleeves. A huge cup washer on the inside the spreads the pressure from the mounting bolt while maintaining the distance between the rigid transom and the vibrating engine.
Although aluminium boats are inherently noisy due to aluminium’s density and vibration conduction properties, fibreglass boats can also suffer from this problem. The VibraStop kit therefore can also benefit owners of fibreglass boats with solid transoms, the sleeves being epoxy-bonded into the transom rather than welded in.
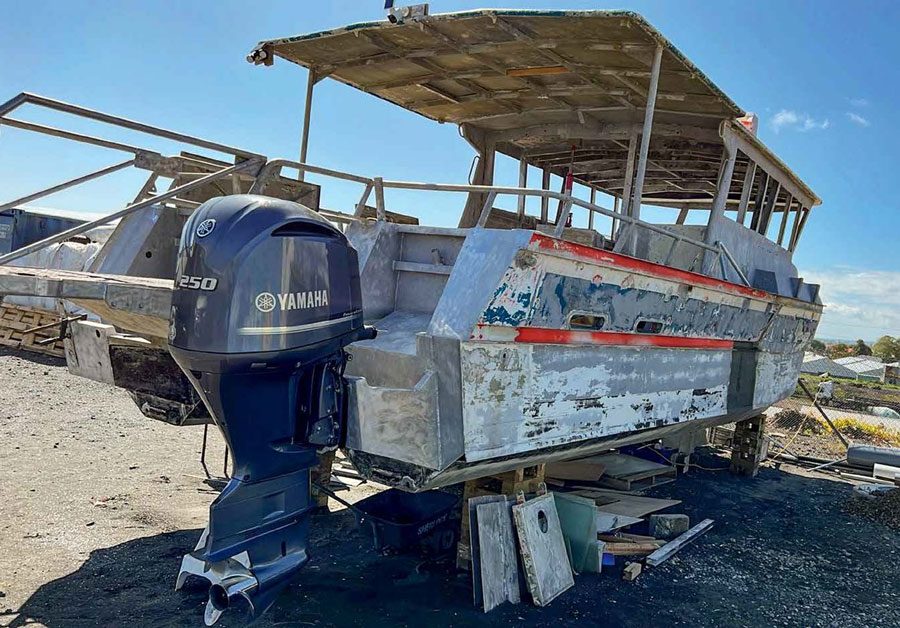
Fitting this system is not a trivial task due to the need to both remove the motor(s) and then fit the sleeves into place through the transom. So this is best done when you have some other reason to remove your engines from the transom, or at least access to some heavy lifting gear like a crane or forklift. In our project, of course, we scrapped the original drowned motors and are about to fit a pair of secondhand, Yamaha F250 V6 four-stroke motors with low hours. So, a perfect time to install Vibra-Stop on both motors.


The first step is to order the correct kit for the transom thickness of your boat and for the appropriate horsepower rating. Marine Express is the supplier, so a quick call and the order was placed. Within a week I had the package delivered to my door. Each kit comprised two transom pads (one each for left and right), four aluminium sleeves of the right length to suit my transom width, four urethane bushes and four hefty stainless cup washers. And, of course, a full set of detailed instructions.
In the case of my alloy boat, the aluminium sleeves need to be welded into the transom, which is probably the most difficult part of installing the system. Most boatbuilders would be able to do this for you, while Marine Express, which supplies Vibrastop, also offers a custom fitting service in Auckland. In my case I have access to all the necessary equipment, so was able to tackle the job myself.
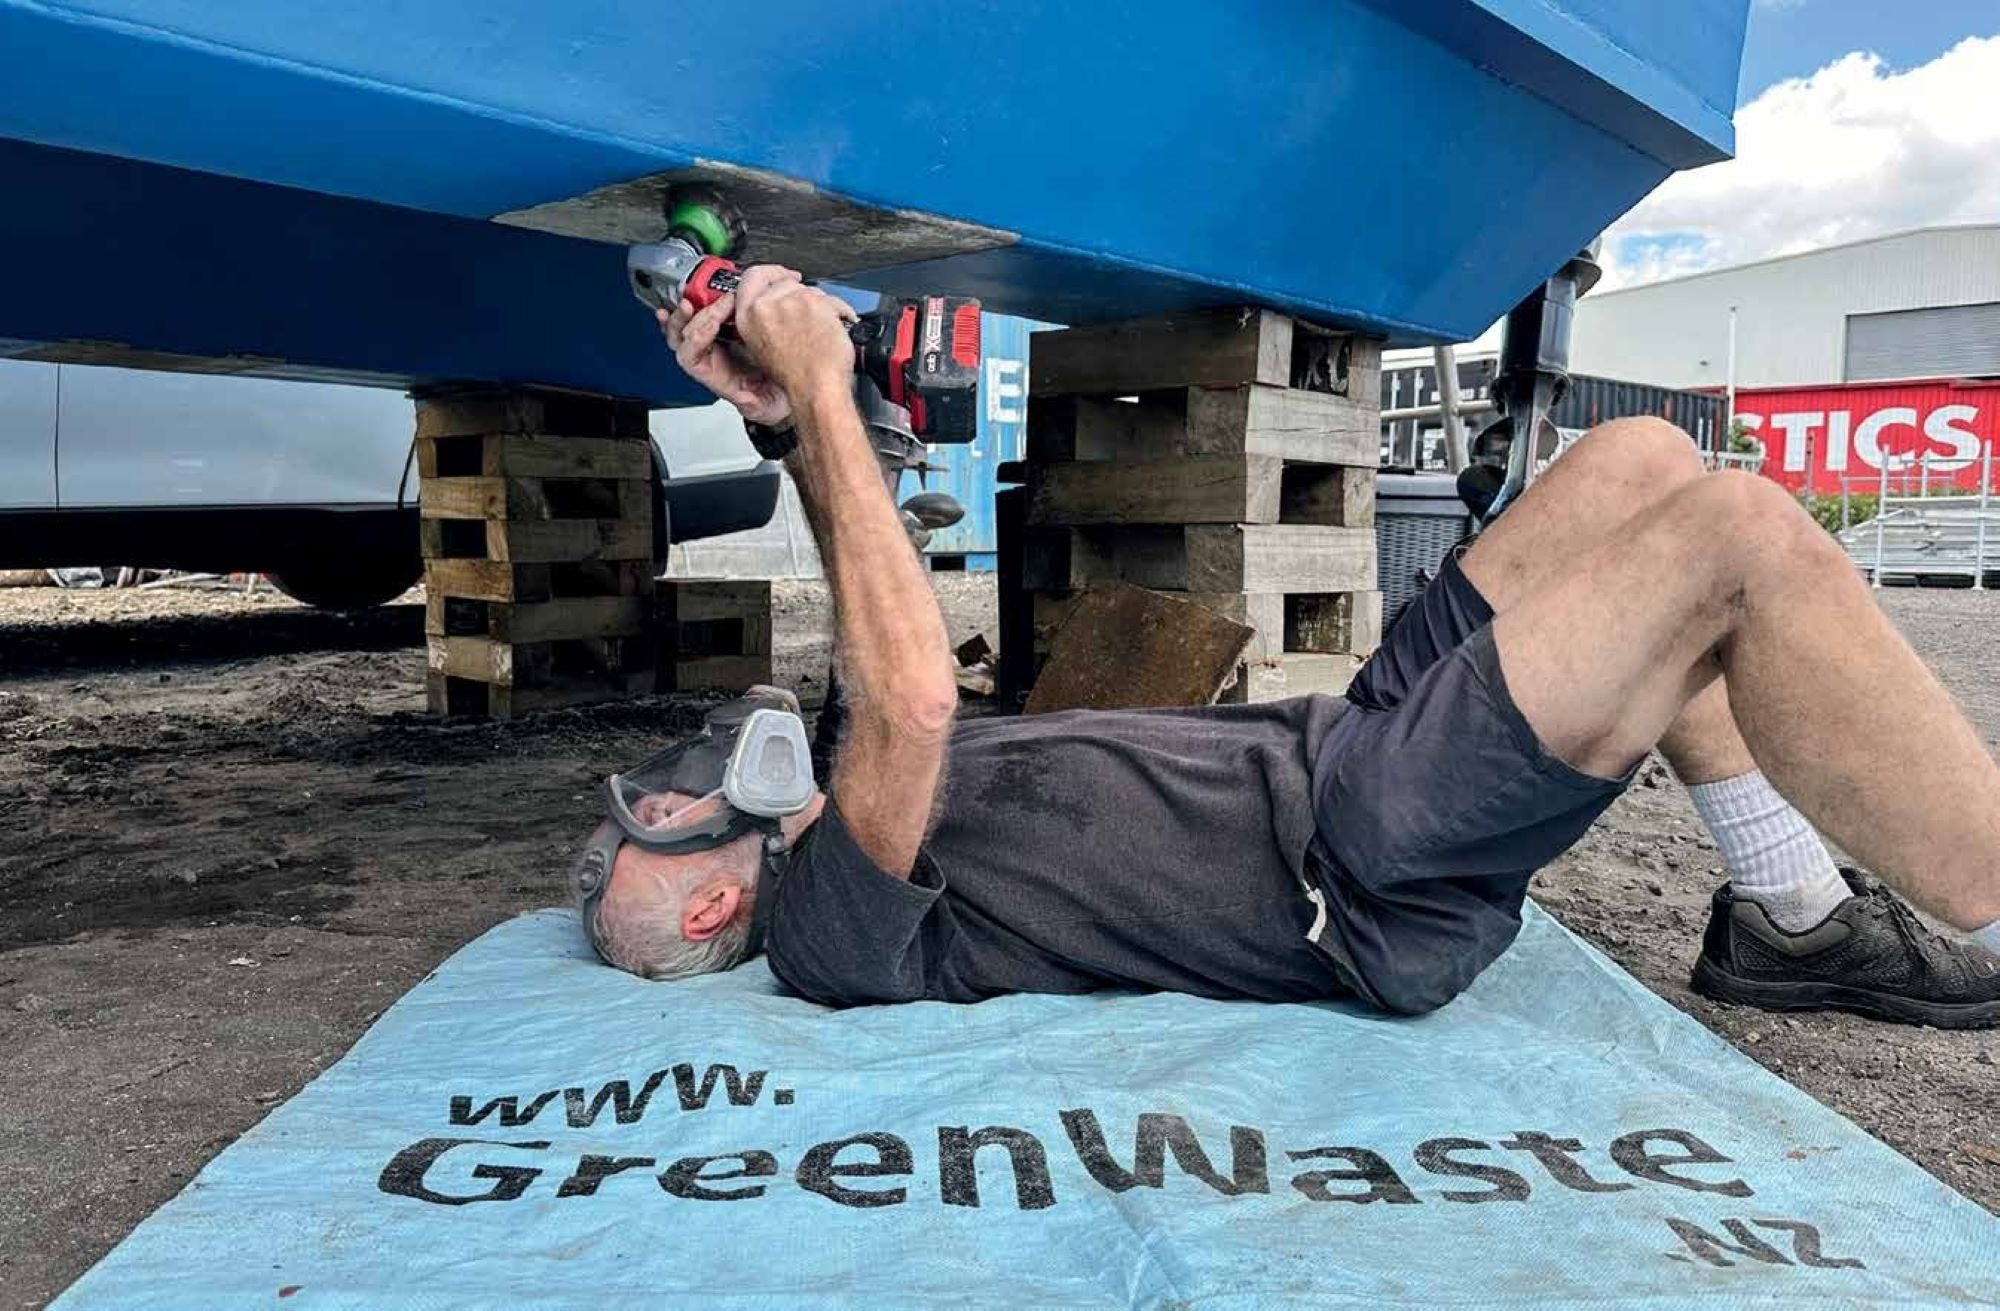
The first stage is cutting the appropriate size holes through the transom. Since the previous engines’ bolt holes were bigger than the hole-saw’s pilot drill, a custom jig was made to get the bigger holes lined up correctly. With experimentation we found that slow cutting speeds were necessary to stop the saw ‘grabbing’ the aluminium and tracking off-centre. Fair to say the first hole required some extra welding to correct, but things improved after that.


It did not take long to get all the holes cut. A quick tidy-up around the area with a stainless wire brush on the angle grinder, and we were ready to weld. Aluminium welding is a whole science by itself, but with the appropriate equipment and expertise we got these welded securely in place. An angle grinder was then used to grind the welds flush, although we decided to retain just a slim shoulder of extra fillet around the weld rather than grind it completely flush. This left the welded spots slightly untidy but also arguably somewhat stronger. Luckily the urethane pad and bushings completely cover this anyway so no one else will see.
After cleaning up the weld spatter on the inner surface of the sleeves we then fitted the urethane bushes from the inside of the transom, using a mallet to whack them fully home. Ready for the motor, and I had to call in the help of the yard manager with his forklift. The first outboard still had the lifting eye fitted to the flywheel, so he eased it out of my storage container and over to the boat. It took a bit of backwards and forwards to get the mounting holes lined up, followed by checking the vertical alignment of the cavitation plate with the bottom of the hulls. After that he wandered off for a cup of tea while I started the process of tightening up the mounting bolts and nuts over the cup washers. These had to be torqued up to the Vibra-stop requirement of 50Nm, to achieve the right degree of pad compression.
The last step was to electrically bond the engines to the hull to avoid future galvanic corrosion. The kit helpfully comes with a braided stainless strap and matching bolt. The best place to connect this is the same bolt as the engine anode, and the other end of the strap is then connected to the hull using the small bolt provided.


Job done. Total effort was about six hours of labour for one engine – the second motor still needs a minor repair, so it has not yet been installed. The cost of the Vibra-Stop kit depends on your engine size and make, and the transom thickness. For our Yamaha 250hp four-stroke motors and a transom thickness of 50mm, the kits were $573 incl GST per engine. BNZ