Last issue we covered the installation of the toilet and holding tank, also known as the black water system. The final plumbing project is to implement a running hot and cold freshwater system.
The two main uses are for washing dishes or having a shower, both activities I am likely to perform during overnight trips on DiveCat. As previously documented, fitting a gas califont for heating the water has proved to be unviable. Luckily, there are now numerous 12-volt water cylinders available thanks to the booming RV market, so I had a wide choice of options to choose from.
These units operate in a similar manner to a domestic hot water cylinder, although they operate off 12VDC battery power rather than 220VAC mains power. The lower voltage limits their heating capacity and therefore also their water volume.
If your boat has an inboard engine, then it is possible to capture some of the engine heat through a heat exchanger and improve the thermal efficiency. In fact, many 12V units already include the internal piping for a heat exchanger circuit. However, with an outboard powered boat this is not an option and hence electric power is the most practical way to go.
The first step is to choose the most appropriate size of water heater, and then source a unit to install. The energy requirements for heating water are well known, and the magic number is 1.175 watts to raise the temperature of one litre of fresh water by one degree Celsius in one hour. Thus heating 10 litres of water by 25 degrees in an hour would require 293 watts.
So it is no coincidence that available options seem to start with 10 litre cylinders that are equipped with a 300-watt heating element. Assuming the ambient temperature is 20 degrees, this water cylinder would therefore get the water to 45 degrees after an hour’s heating, while consuming 25 amperehours of battery power. Since a comfortable shower temperature is slightly warmer than body temperature, this would be perfect for showering, especially on a warm summer evening. It is a little too cool for effectively washing dishes, but that water can be supplemented by boiling water from a kettle or pot or leaving the cylinder to heat up for a longer period. And 10 litres is adequate volume for a satisfying shower, although necessarily brief in duration.
Increasing the heating capacity would of course speed up the rate of heating, assuming sufficient battery capacity is available. Units drawing 600, 750 and 900 watts are also available, and common volumes include 15, 20 and 22 litres. There are also ways to reduce the time required to heat the water, including adding a solar water heater to increase the temperature of the water before it comes into the unit. Another option is adding a separate diesel-powered pre-heater. Either of these will reduce the amount of time and stored energy from the battery needed to get to the desired temperature.
On the other side of the equation, running the outboard while heating the water is one way to prevent unduly discharging the battery. Installing a genset is another way to provide supplemental power. Naturally, I already have solar panels installed on the cabin roof, but these would be inadequate to heat the water on their own. It does not help that showers are generally desired in the evening when the sun is not shining, and a wind turbine is another power option sometimes used by cruising yachties.
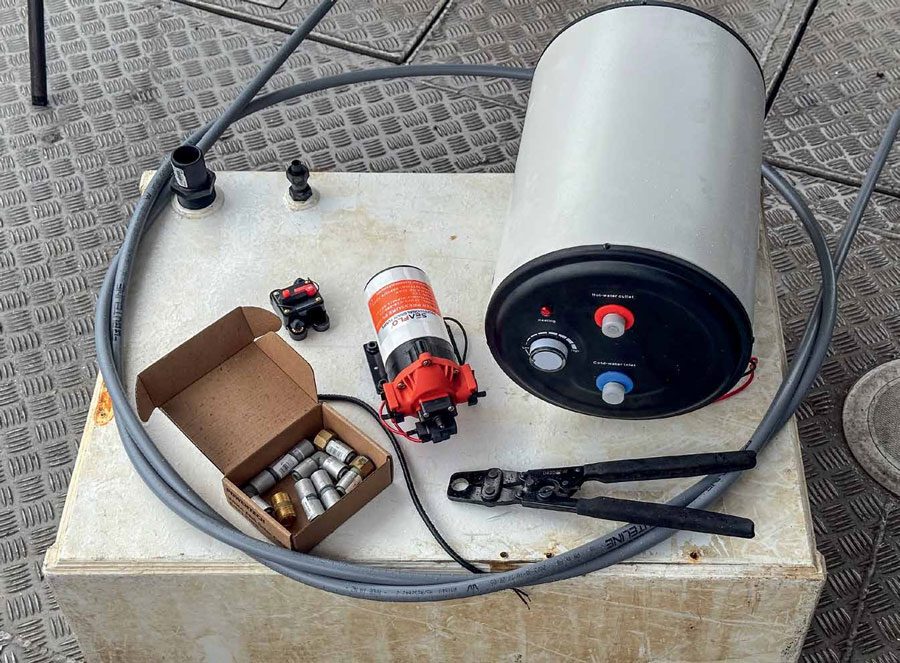
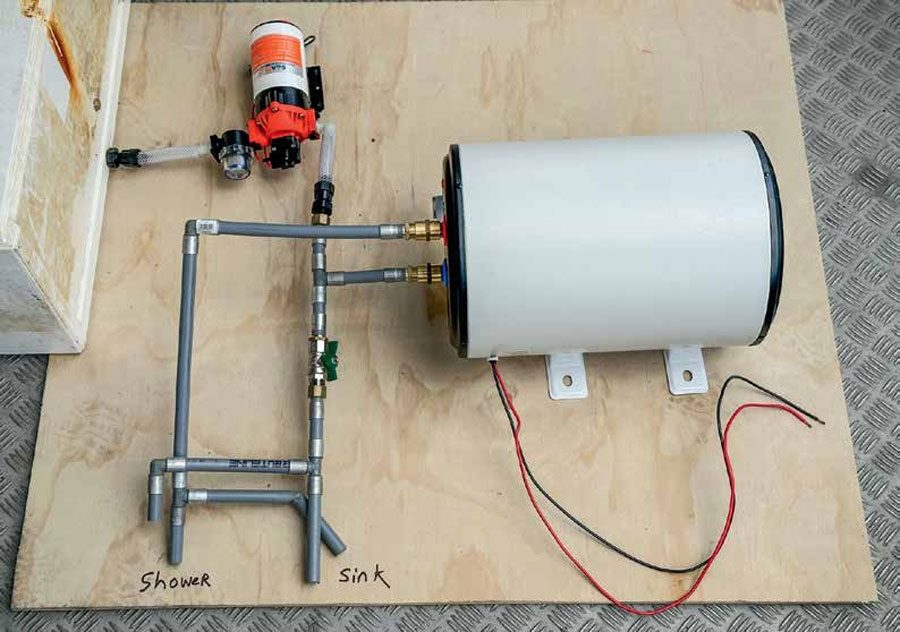
Sadly, my bank balance is somewhat depleted at this late stage of the project, and so I have been forced to select one of the cheapest options: a 10-litre cylinder with a heating element of a modest 300 watts. This cost me $465 including shipping. Once the unit arrived, I also sourced a freshwater pump with a pressure switch. This ensures the pump can be left switched on but will only kick in as required when the tap is opened. When the tap is closed again the pump turns itself off.
I had an existing freshwater tank with a capacity of 120 litres, and both the sink and shower units had already been installed in their respective locations. Some buteline plumbing pipe, pipe fittings, and appropriate power cables were the last elements required before I started the job.
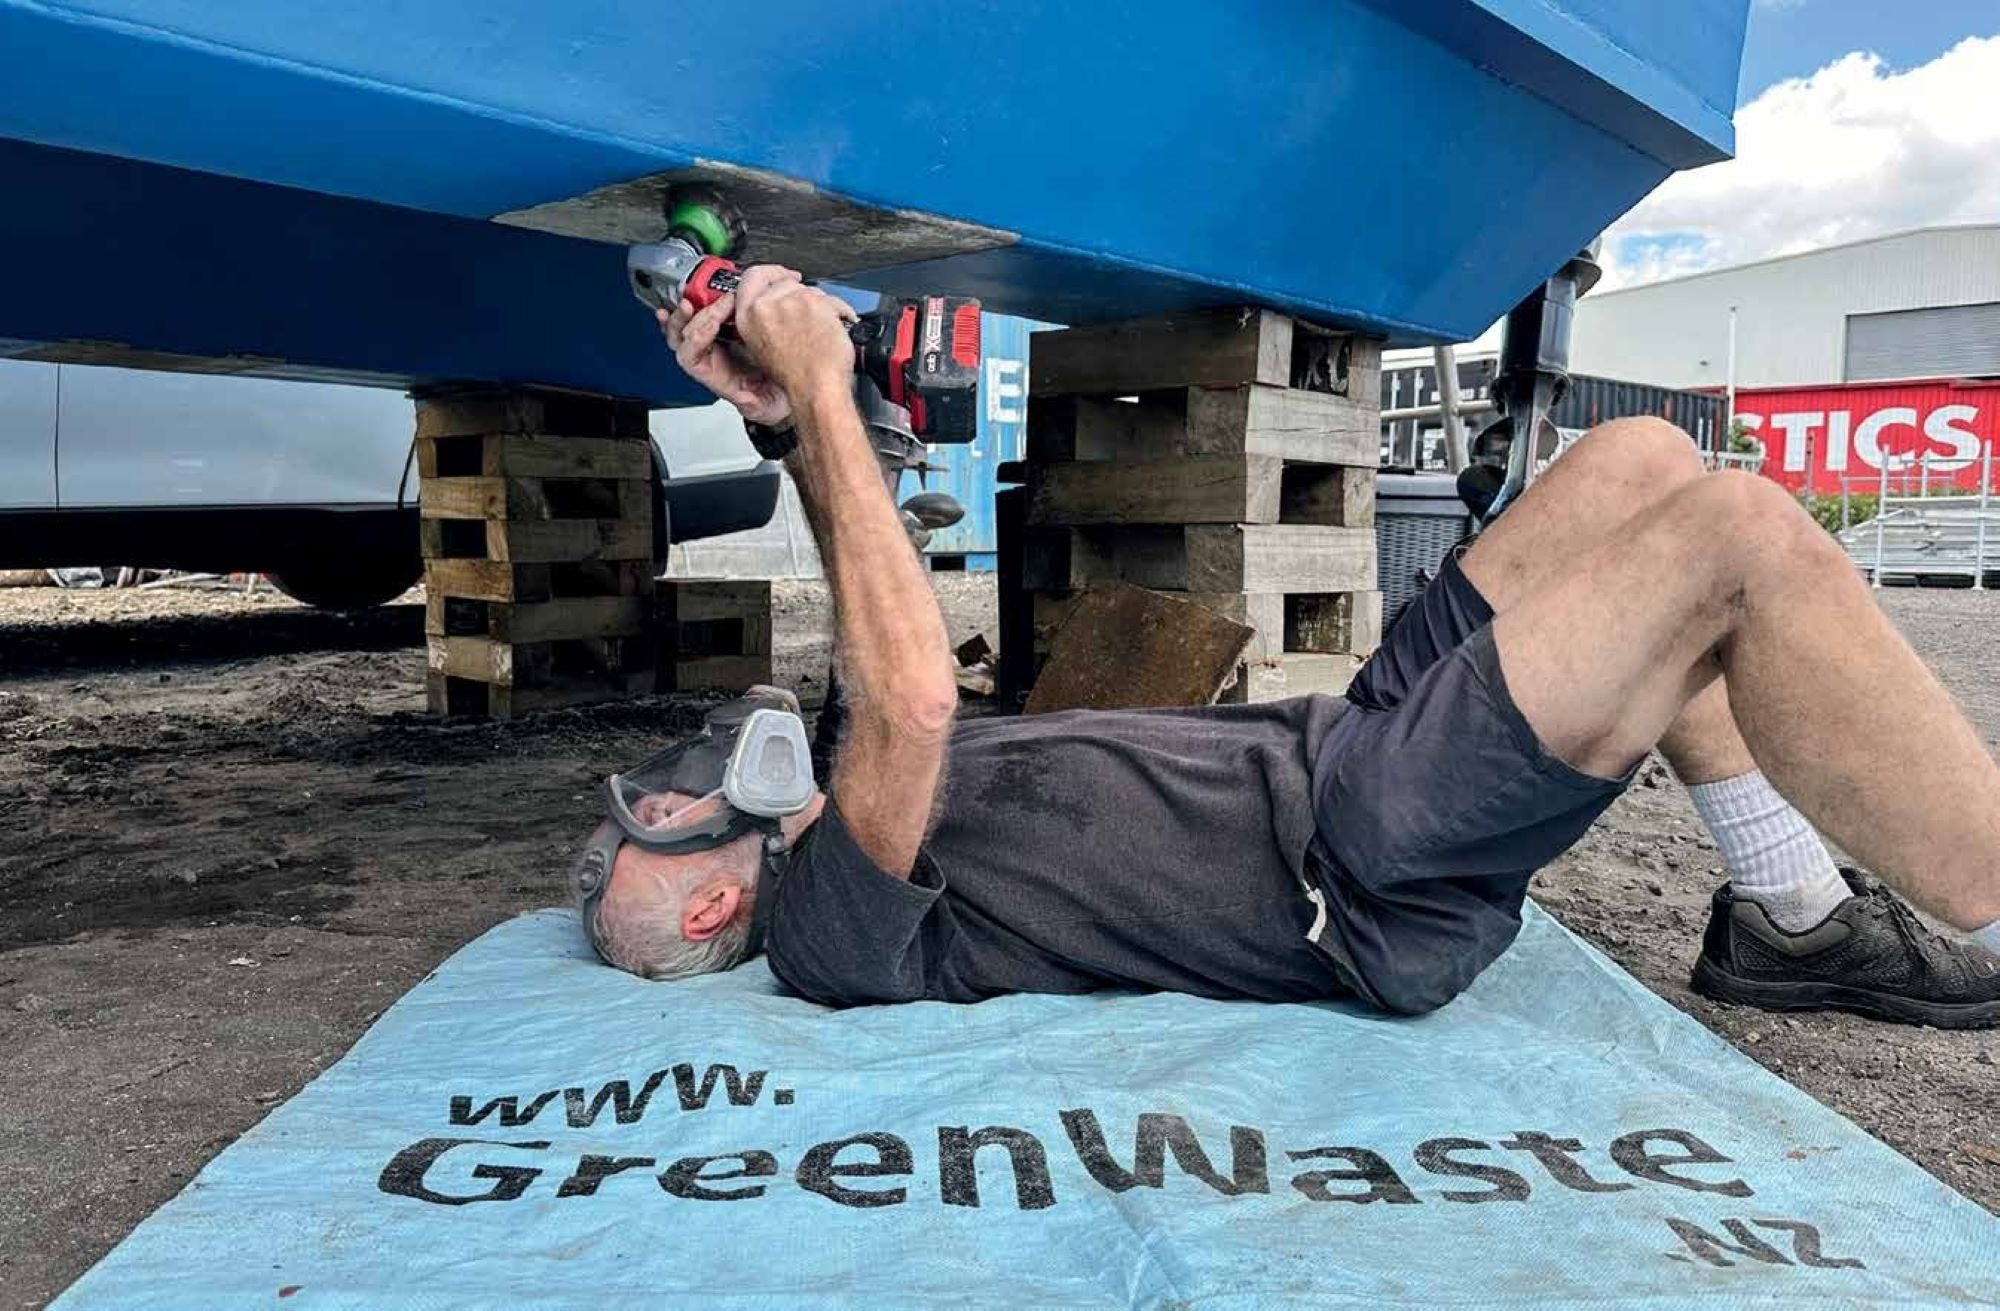
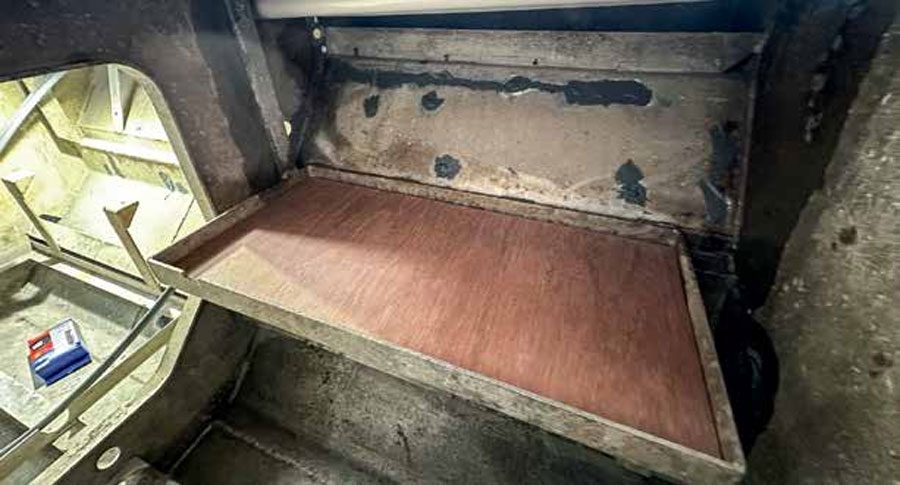
Installation was simple enough. The buteline pipes are rigid but can be gently curved around corners and are joined with crimped-on fittings. A previous home repair job meant I had the required crimping tool, and I ran two pipes from the shower on the starboard side, down into the hull, through watertight bulkhead fittings in the tunnel between the two hulls, and over to the port side. In the port hull compartment a frame was already in place to hold the freshwater tank, and I had previously fitted a tank level sender into that tank. I constructed a secure base to screw the new hot water cylinder and freshwater pump onto and fastened these in place.
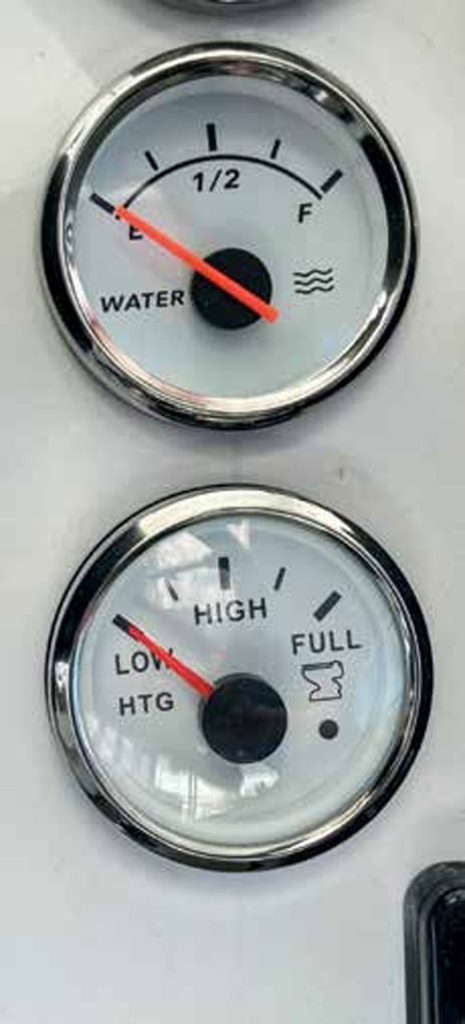
The tank still needed a filler hose, and I had already removed and cleaned up the original deck filler cap. Despite spending two years underwater, it was still perfectly serviceable. That newly cleaned deck cap and wide filler hose, plus a thin breather hose and vent, were both fitted and connected to the tank. A twin-core cable was connected to the tank level sender and run up to the helm where the tank level gauge was installed. This is the same brand and style as the holding tank gauge from last month’s project and was fitted right next to that one.
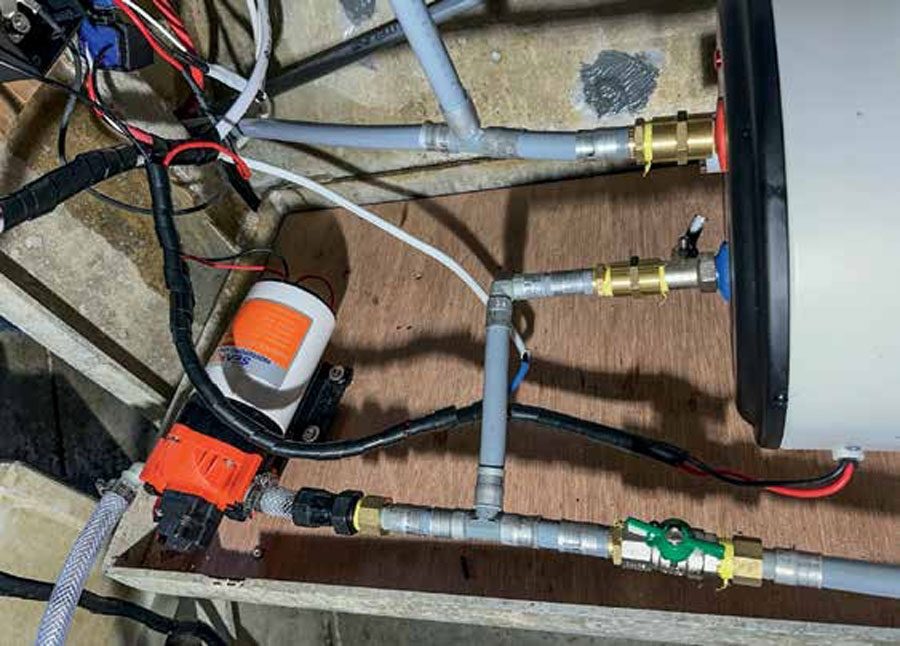
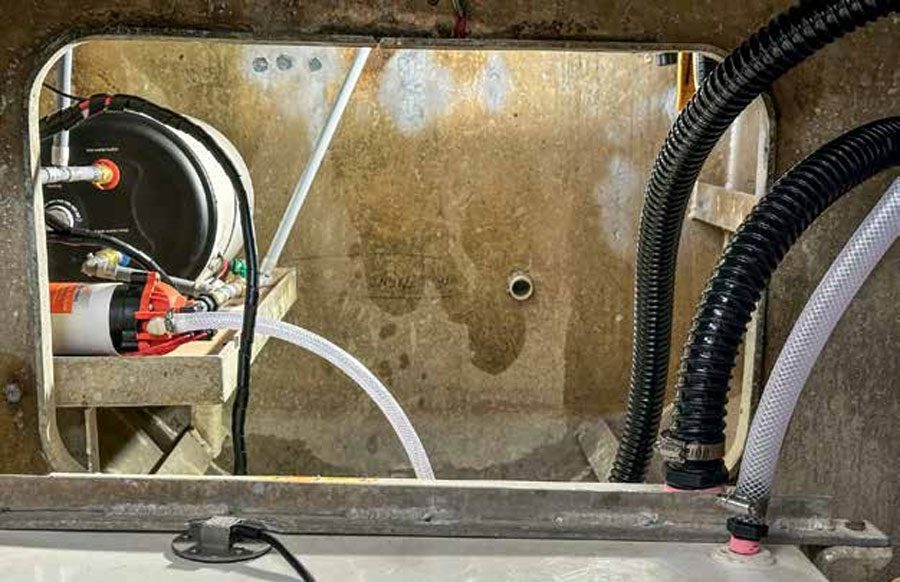
Getting enough power to the heater element requires substantial cables, so I elected to run a heavy common negative cable from the house battery back into the hull compartment. I could then run separate positive cables from the switch panel on the helm to each of the pump and heater, making sure the heater cable could handle 25 amps of continuous current. A circuit breaker was installed in that circuit, while the pump line was protected by a fuse on the switch panel.
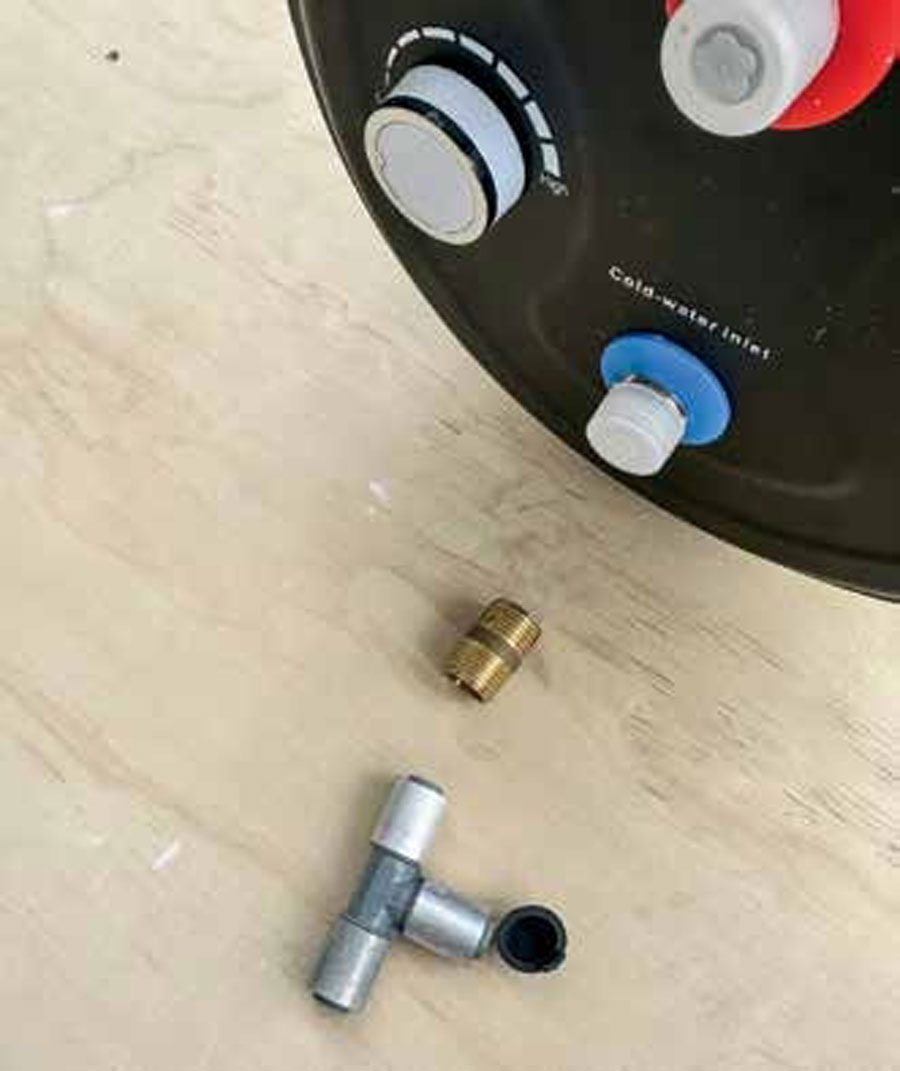
The final step of the installation was connecting the plumbing to deliver hot and cold water to the sink and shower. This needed a bit of refinement since a single pump serves both the hot and cold circuits. The hot water causes a slight flow restriction midway due to the heating cylinder and I needed some way to adjust the flow through the cold circuit. Without this there was a risk that there would never be hot water, as it would always flow through the tube which had the least restriction. Hence the output from the pump was plumbed into a T-junction, with a small ball valve fitted to what would become the cold side.
From there the cold line was again split with another T-junction, with one end connected to the shower’s cold line and the other end to the cold for the sink. The hot side of that first junction went into the hot water cylinder inlet. The hot water coming out from the cylinder was again run through a T-junction, with one side going back to the shower and the other up to the sink. I made sure the ball valve was reasonably accessible through the deck hatch, so I could easily tweak the flow rate once I was ready to test everything.
The final missing step was to plumb the sink’s drain, and this is simply a gravity feed out through the side of the hull. The outlet is above the waterline and covered by a clamshell cover on the exterior, to reduce the potential for waves hitting the side forcing sea water up the drain.
All done. After checking all the electrical and hose connections, I then partly filled the water tank. A quick test showed the water was pumping when either of the taps was opened. I made sure the hot water cylinder was completely full of water before turning it on for about 20 minutes. By then the water was warm enough for me to confirm it was working as expected – plus I could get a definite idea of the effectiveness of the mixers. Using an infra-red thermometer, I discovered there is a heat loss of about two degrees between the outlet of the cylinder and the inlet to the shower – not too bad, but at some point, I might insulate the hot water pipe. Otherwise, everything worked well – and I was also able to test the automatic drain pump I had previously fitted to the shower sump.
Total material costs for this effort was around $950 for the hot water cylinder, pressure-activated freshwater pump, tank level gauge and sender, buteline pipes and fittings, power cables and circuit breaker. Note I already had the 120-litre tank which would have added about $500. BNZ