


A casual examination of boats in a marina usually reveals a litany of battle-scars – scrapes and dings sustained during tricky berthing attempts. Wind, prop-walk, lack of confidence – they all play a part. A DIY bow thruster can help. By Norman Holtzhausen.
For many boaties returning to the marina after a trip is always fraught. Everyone’s on high alert with a boat hook and fenders at the ready to try and prevent the inevitable crunch with the dock or a pile. Often, shouting happens and fracture lines appear in otherwise watertight marriages.
It can take several attempts to get into a berth. As a result, many boaties lack the confidence to take their boats out on their own and often will relinquish control of the helm to someone after a trip rather than risk disaster. Ideally, they need a bow thruster – but they’re not too easy on the wallet – especially a retrofit project.
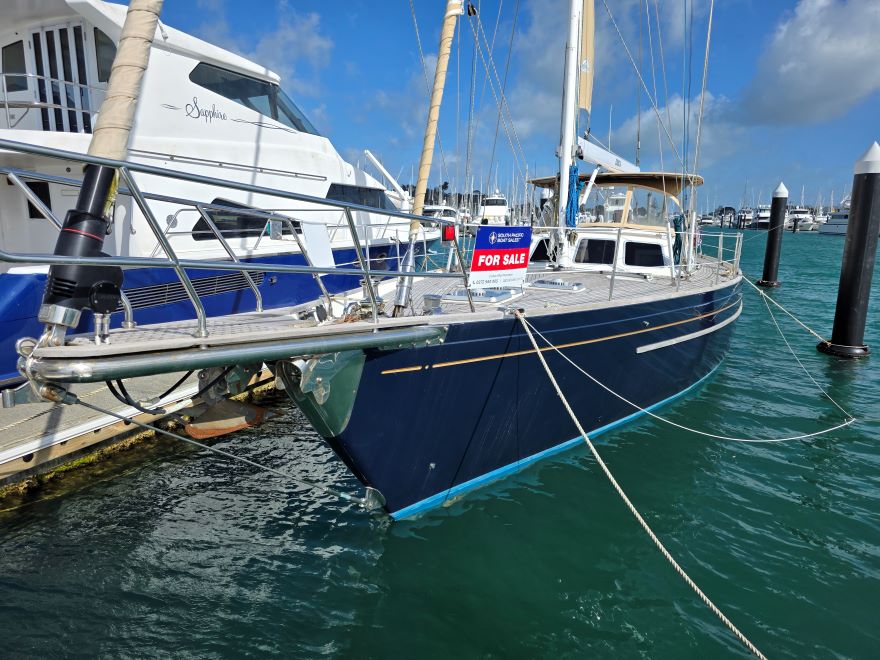
So – for a friend’s boat – we decided to explore building a DIY bow thruster. She’s not a particularly big boat – an 8m Marksply GRP launch powered by a 250hp four-stroke outboard. But that single engine combined with relatively high cabin sides (plenty of windage) can make her tricky to manoeuvre, especially in anything other than flat-calm conditions.

The engine delivers a tremendous amount of power if the throttle is shoved injudiciously and it’s also fairly heavy to turn. These factors have led to ‘incidents’ that have left scars on the gelcoat and bends in the railing.
While a small bow thruster would greatly simplify the berthing process, his budget doesn’t stretch that far. Even the smallest thrusters are priced at just under $2,000 and fitting one would incur significant additional costs to modify the hull.
The standard design requires the creation of a bow tunnel to accommodate the propeller and drive mechanism. There are new add-on models from Sideshift which retrofit to the bow outside the hull, but these are also beyond his budget.
ELECTRIC TROLLING MOTOR

One ‘existing’ DIY solution is a modern electric trolling motor. These units have lots of power (thrust), are easily installed and run off the boat’s 12v supply. Some models, such as those from Minn Kota, already have an over-bow installation kit option. Would it be possible to make a bracket to fit a simpler version to the bow? It could be used to push the bow sideways – as required – and lifted clear once the vessel was in open water.
Our investigation showed that several Minn Kota models could do the job ‘out-the-box’, as they also come with an optional wireless remote control for both steering and thrust. We could install one on the bow and perhaps even add the auto-deploy kit – effectively we could use it instantly for manoeuvring.

The unit remains flat on the deck until required and pushing a button would deploy it into the water. After that, the simple controls make it easy to manoeuvre the boat back into her berth by steering the bow. This is be a great solution for anyone with sufficient budget and/or DIY skills, as installation is pretty simple.
But this option still exceeded the available budget. And we didn’t need full steering control – only a simple, fixed direction solution providing left and right bow thrust. A quick search online to see what other people had done convinced us we were on the right track.
We just needed the right components and a suitable, custombuilt mount. A self-contained and relatively inexpensive electric trolling motor would form the heart of the solution.

WHICH MODEL?
Somewhat confusingly, specifications for trolling motors are usually listed in pounds (lbs) of force, while bow thrusters are listed in kilograms (kg) of force. The recommended model bow thruster for this size boat develops 25kg of thrust force, while available trolling motors range between 18 and 112lb of thrust.
Multiplying kilograms by 2.2 to get back to pounds, we found a 54lb thrust trolling motor would be in the same ballpark as the bow thruster, at 24.5kg of thrust force. So we ordered a mid-range model with the right amount of thrust from Marine Deals for $319.

We also wanted a simple joystick control and could have purchased a ready-made thruster joystick for $169. But in keeping with the low-budget approach we sourced an arcade-game style joystick for $29.90 from Jaycar Electronics.
We purchased the necessary marine cable for extending the controls from the existing motor controller to the helm-mounted joystick. Some boats might need an additional heavy-current power cable to get 12V power to the motor, but in our case we could access suitable power from the anchor winch solenoid in the bow area.
Having secured the trolling motor, the first item on the agenda was making a bracket to hold it securely off the bow. The shaft length is just under a metre while the boat’s bowsprit sits 1.2m above the waterline. We needed a simple bracket which would hold the motor in the right place, while also allowing easy deployment of the unit.

To get the dimensions right we built a wooden prototype in 45x90mm framing timber – easier fabrication – with a view to constructing the final mount in aluminium. The most important factor was making sure it could withstand the twisting motion from the lateral force the motor would exert. We needed a fairly robust structure with at least two mounting points.
We also devised a system to swing the unit over the bow rail for deployment. This reduces the effort of lifting it in place and considerably reduces the risk of dropping the whole thing into the water!
We worked at getting the unit the right distance into the water – the prop needs to be sufficiently deep. Because the motor’s transom bracket can slide up and down on the shaft, we can fine-tweak the final depth.

We chose to err on the side of caution and settled on a slightly too long vertical strut. We cut a ‘hook’ at the top so the bracket fits over the rail and identified where two clamping bolts will be required. These will hold it securely to the rail at the top, and the vertical side of the bowsprit in the middle.
POWER & CONTROLS
We established that the anchor winch’s controlling solenoid (in the bow area) has a direct connection to the battery – good news – we didn’t need any additional highamperage cable. We will, however, replace the lugs at the end of the cable with suitably grunty clips to temporarily clamp onto the solenoid’s power terminals.

At the helm we established the best spot for the joystick control. A space in front of the existing engine control is ideal but we had to keep it clear of the throttle. We also investigated running a cable from the joystick to the bow and identified where we would fit a waterproof (IP67-rated) connector to the trolling motor control unit. This will allow us to permanently install the joystick and cable, and simply plug in the motor when required.

Time for the test. After tying a rope around the motor (just to be safe!) we connected the power cables to a spare battery and twisted the throttle. Success! The bow moved well and the mount handled the sideways force without any issue.


