Cleaning off old coatings from a boat’s hull is no easy task, especially if they are years old, made up of a variety of materials and several layers thick.
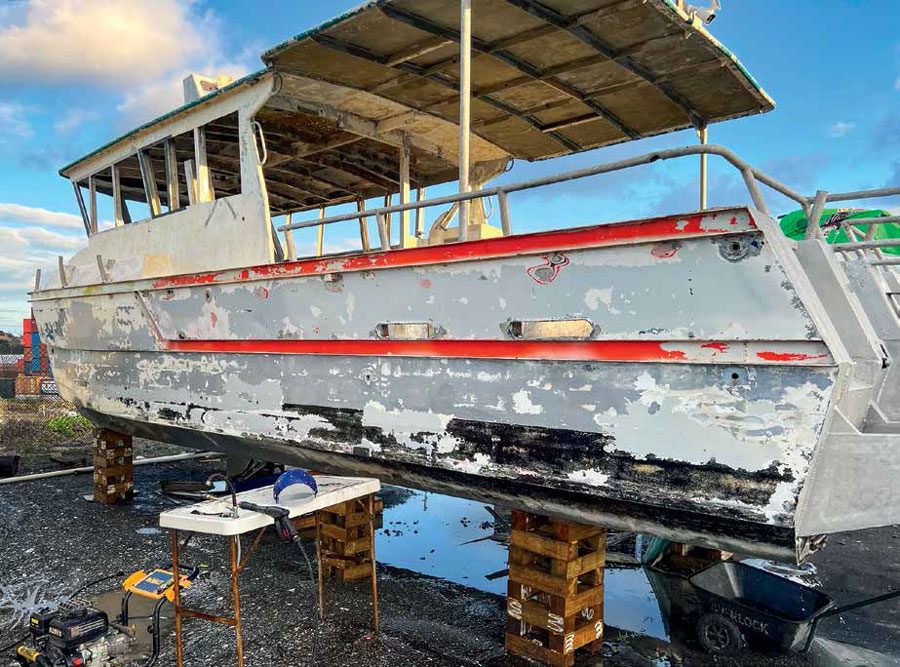
One of the many challenges I am facing with rebuilding my boat is how to fully remove the old coatings. Since the hull is aluminium which has been submerged in seawater for over two years, I need to clean it back to the bare metal to identify and correct any corrosion issues. And there is a lot of surfaces to deal with on an 11m catamaran!
Firstly, let’s get it out there that cleaning an aluminium boat down to bright shiny metal is normally a BAD idea. The only time you ever have a shiny alloy boat is when it is brand new, or if you get it treated with a clear protective coating like Nyalic to keep that shiny look. Otherwise, the bare metal will very soon fade to a muted grey, and that is how you should leave it.

The reason is that the non-shiny surface actually is an important protective coating of aluminium oxide. New aluminium very quickly creates this barrier layer, and it is harder and much more resistant to corrosion than the base metal is. As long as nothing impinges on that layer (like, for example, an enthusiastic but misguided owner scrubbing the surface with an abrasive) it will act as a coating to preserve the underlying metal. Painted boats don’t form an oxide layer quite as thick, although by the time paint is applied onto even shiny aluminium there is usually already a thin protective layer under the paint.
Where painted aluminium boats often corrode is when something breaks the bond between the paint and the metal. Later on, when salt water gets in between the layers there is insufficient oxygen to continue to form the protective oxide and the metal quickly degrades due to the galvanic corrosion effect. This is why painted alloy boats often have bubbles in the paint around rod holders and other fittings that have been installed without appropriate sealant.
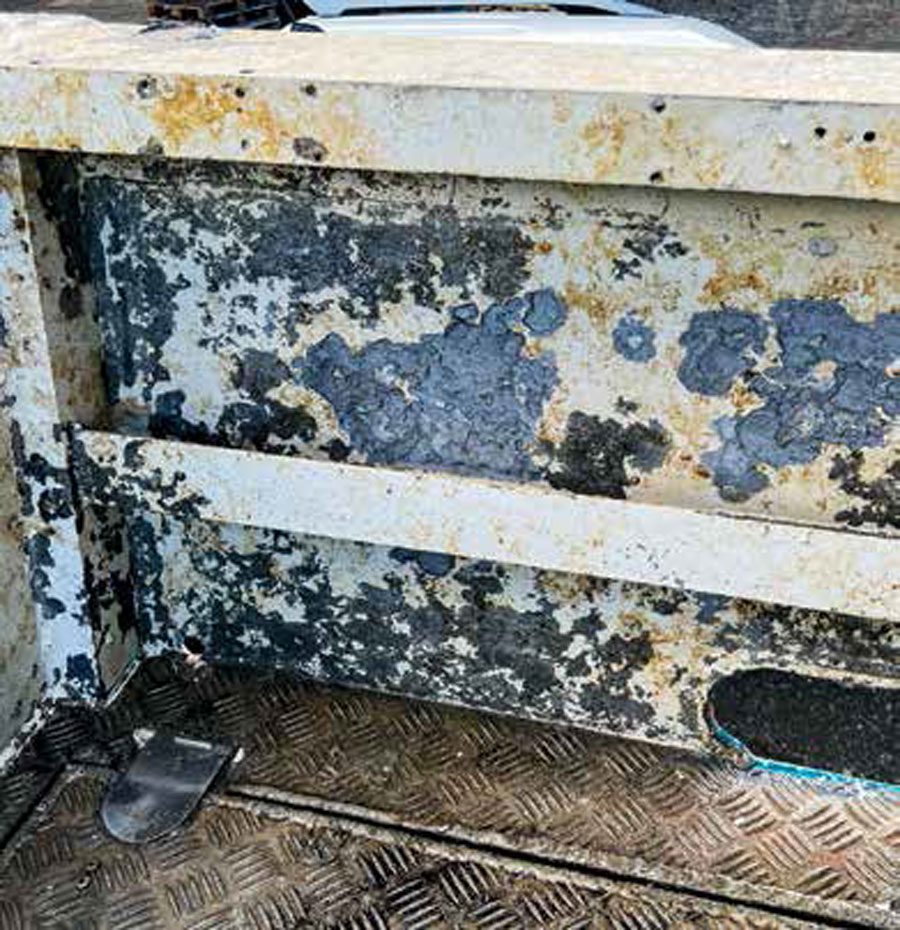
None of which applies in my case. The 35-year-old boat has had a variety of paint layers, as well as a vinyl wrap, and this had (even before the sinking) become somewhat ‘tired’. A lifetime of work has left the paint layers chipped, and this was further degraded by barnacles and other marine growth. While that organic material has since been scraped or blasted away, it has left the surface a complete mess.
Given the huge amount of surface to deal with, I explored a range of solutions. The first was chemical–paint stripper, in a variety of forms. There are a plethora of products on the market, and these range hugely in cost, effectiveness, ease (and safety) of use and environmental impact. Fair to say I tried almost every one on the market, from an enviro-friendly water based solution that needed a 12-hour soak time, through a range of toxic and unpleasant chemicals and eventually up through to the Coopers Strip Club solution.
All the products worked, but the trouble with a 35-year old surface with many layers of paint is that the paint itself had become very hard. The chemical agents all need to soak into the surface and soften it, then a scraper is required to remove the softened paint before it re-hardens. I discovered the sides of the hull had up to seven different layers of paint which came off one at a time.
The Coopers system, available online or through Guthrie Bowron branches, gave me the best results of all the chemical options. Despite its higher up-front price, it worked out to be the most cost-effective. This is because it is applied with a spray bottle, hence achieves an even coverage with minimal wastage. To start with it worked brilliantly on the vinyl wrap, which had become brittle and hard to remove. A light spray of the Coopers softened the vinyl and allowed me to peel huge areas off in one piece. On the paint itself the Coopers also worked very well, although the soak time was critical – too short and it had not yet penetrated enough, too long and the active components had evaporated, and I had to start again. Coopers also got through more than one layer at a time, but still required several applications. None of the chemical products were quick enough for my liking due to the need for repeated application. Next, I tried a couple of mechanical means, involving first a paint scraper then sanders and angle grinders with various abrasives. The Linbide tungsten carbide scrapers worked well on thick layers, and especially if the paint was already starting to flake off. On the down side, they require considerable physical effort, and a couple of hours of scraping was followed by a days of aching forearm muscles.
More power was needed, so I then experimented with various power sanders and angle grinder options. Most sandpaper-based or wire brush options were far too aggressive, easily taking off the metal as well as the paint. Paint stripping wheels, which look like hard scotchbrite pads, worked much better and easily removed the paint while not digging holes into the surface. However, they wear down quickly, leave a swirly pattern on the surface and also generate clouds of very fine dust which get into every bodily orifice despite wearing a face mask. Also, the size of the wheel means it is great for big open flat surfaces but could not be used to get into tight corners or textured surfaces like deck plate.
WET SANDBLASTING
What I needed was a non-contact powered solution. Sand blasting or soda blasting were the obvious contenders, and both are known to be efficient. However, these also generate huge amounts of dust and are prohibited at most boat yards and marinas. Soda blasting also uses a more expensive abrasive medium which racks up the cost.
And then there is wet sandblasting, a relatively new technique that I had not heard of before. While my boat was still at Half Moon Bay Marina one of the guys from Boatspray Ltd stopped for a chat. It turns out Boatspray have recently invested in a wet sandblasting system and would be able to clean the entire hull in the space of a week or two.
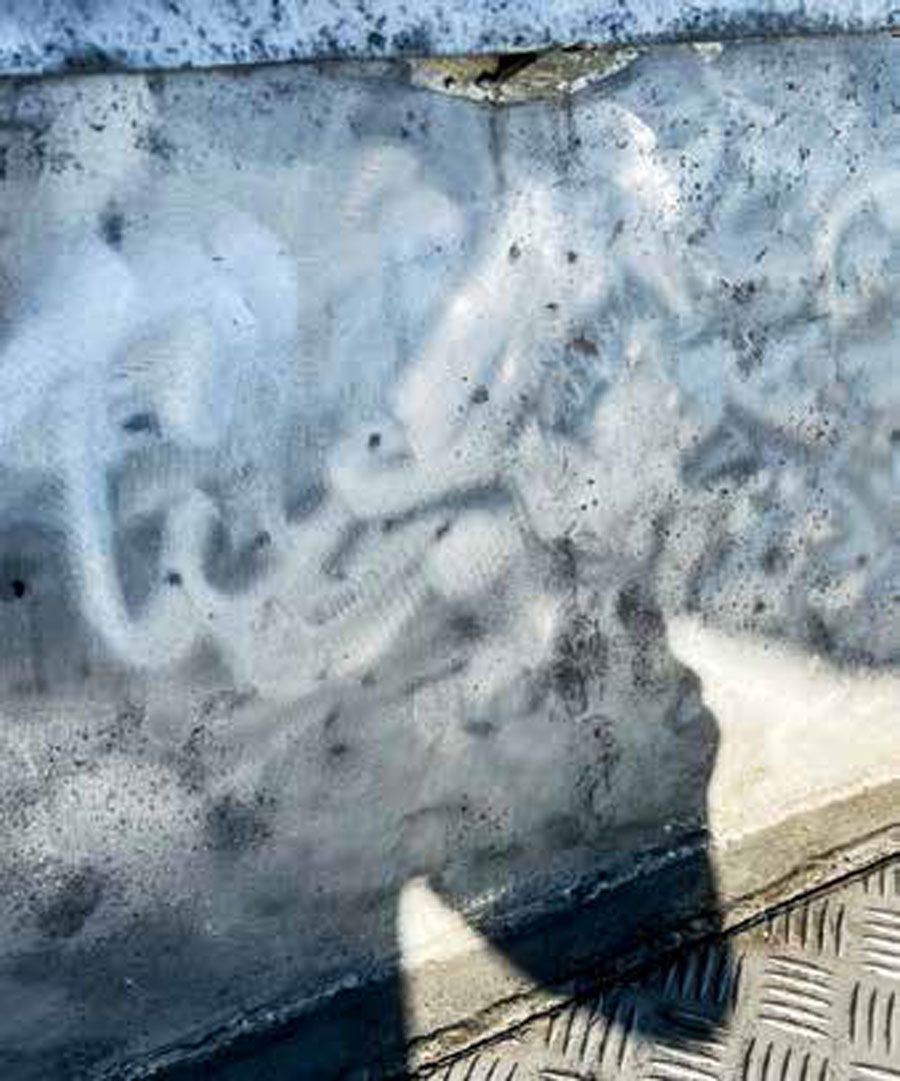
We quickly organised a trial, and indeed it removed all the coatings back to clean metal with no dust and minimal residue. Not completely without a mess, though, as the sand, water and paint chips still need to be channelled away. But the resulting surface is perfectly clean with no swirls or other marks and very little of the underlying metal is removed. It also cleans into every tight corner, crevice, or texture, so no additional hand finishing is required.
Although the process is not cheap, due to the labour, equipment and special blasting sand required, it is fast and produced the best surface for re-coating or leaving as bare metal. For most jobs it makes sense to simply pay for the professional to do the work quickly. In my case however my limited budget and the cost of the hardstand for an extended period meant that I had already arranged to truck the boat out to an industrial yard where I could do the work myself.
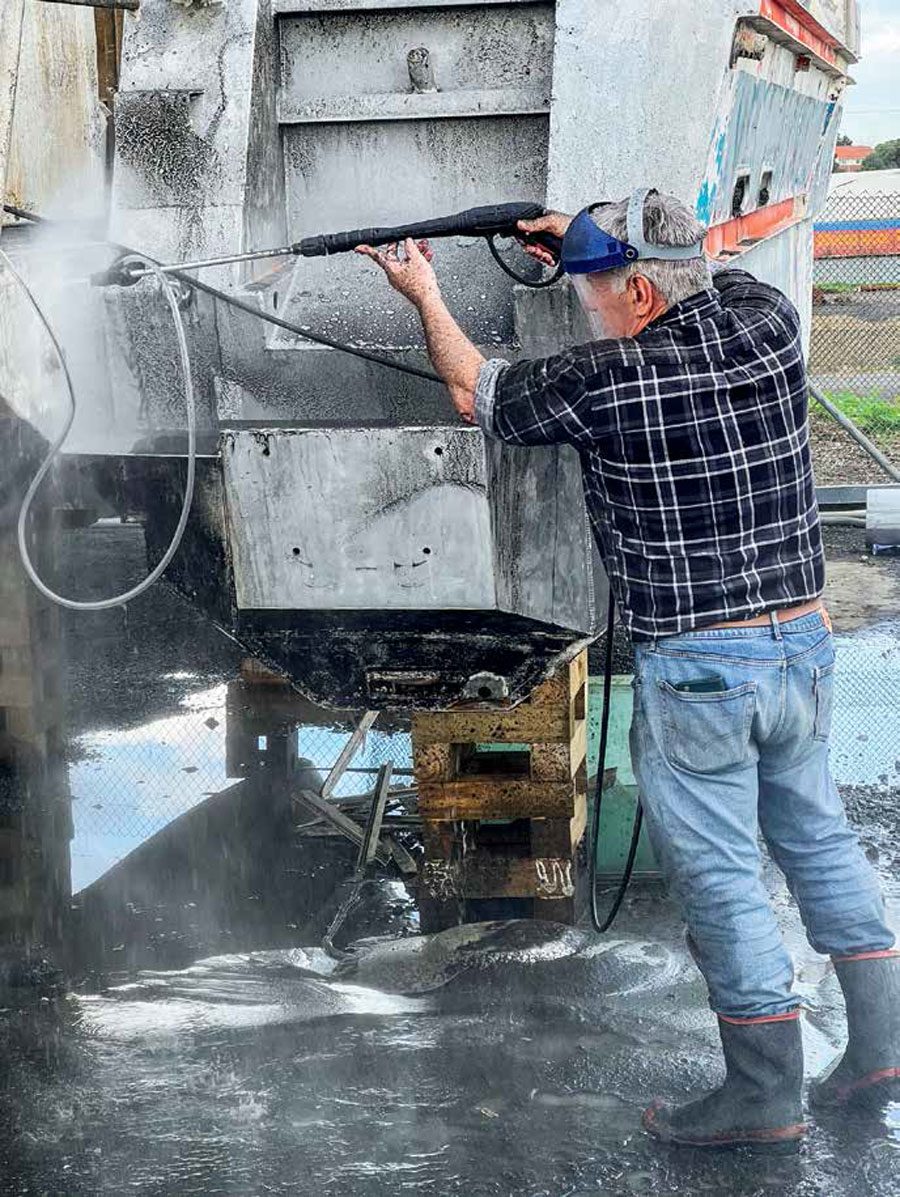
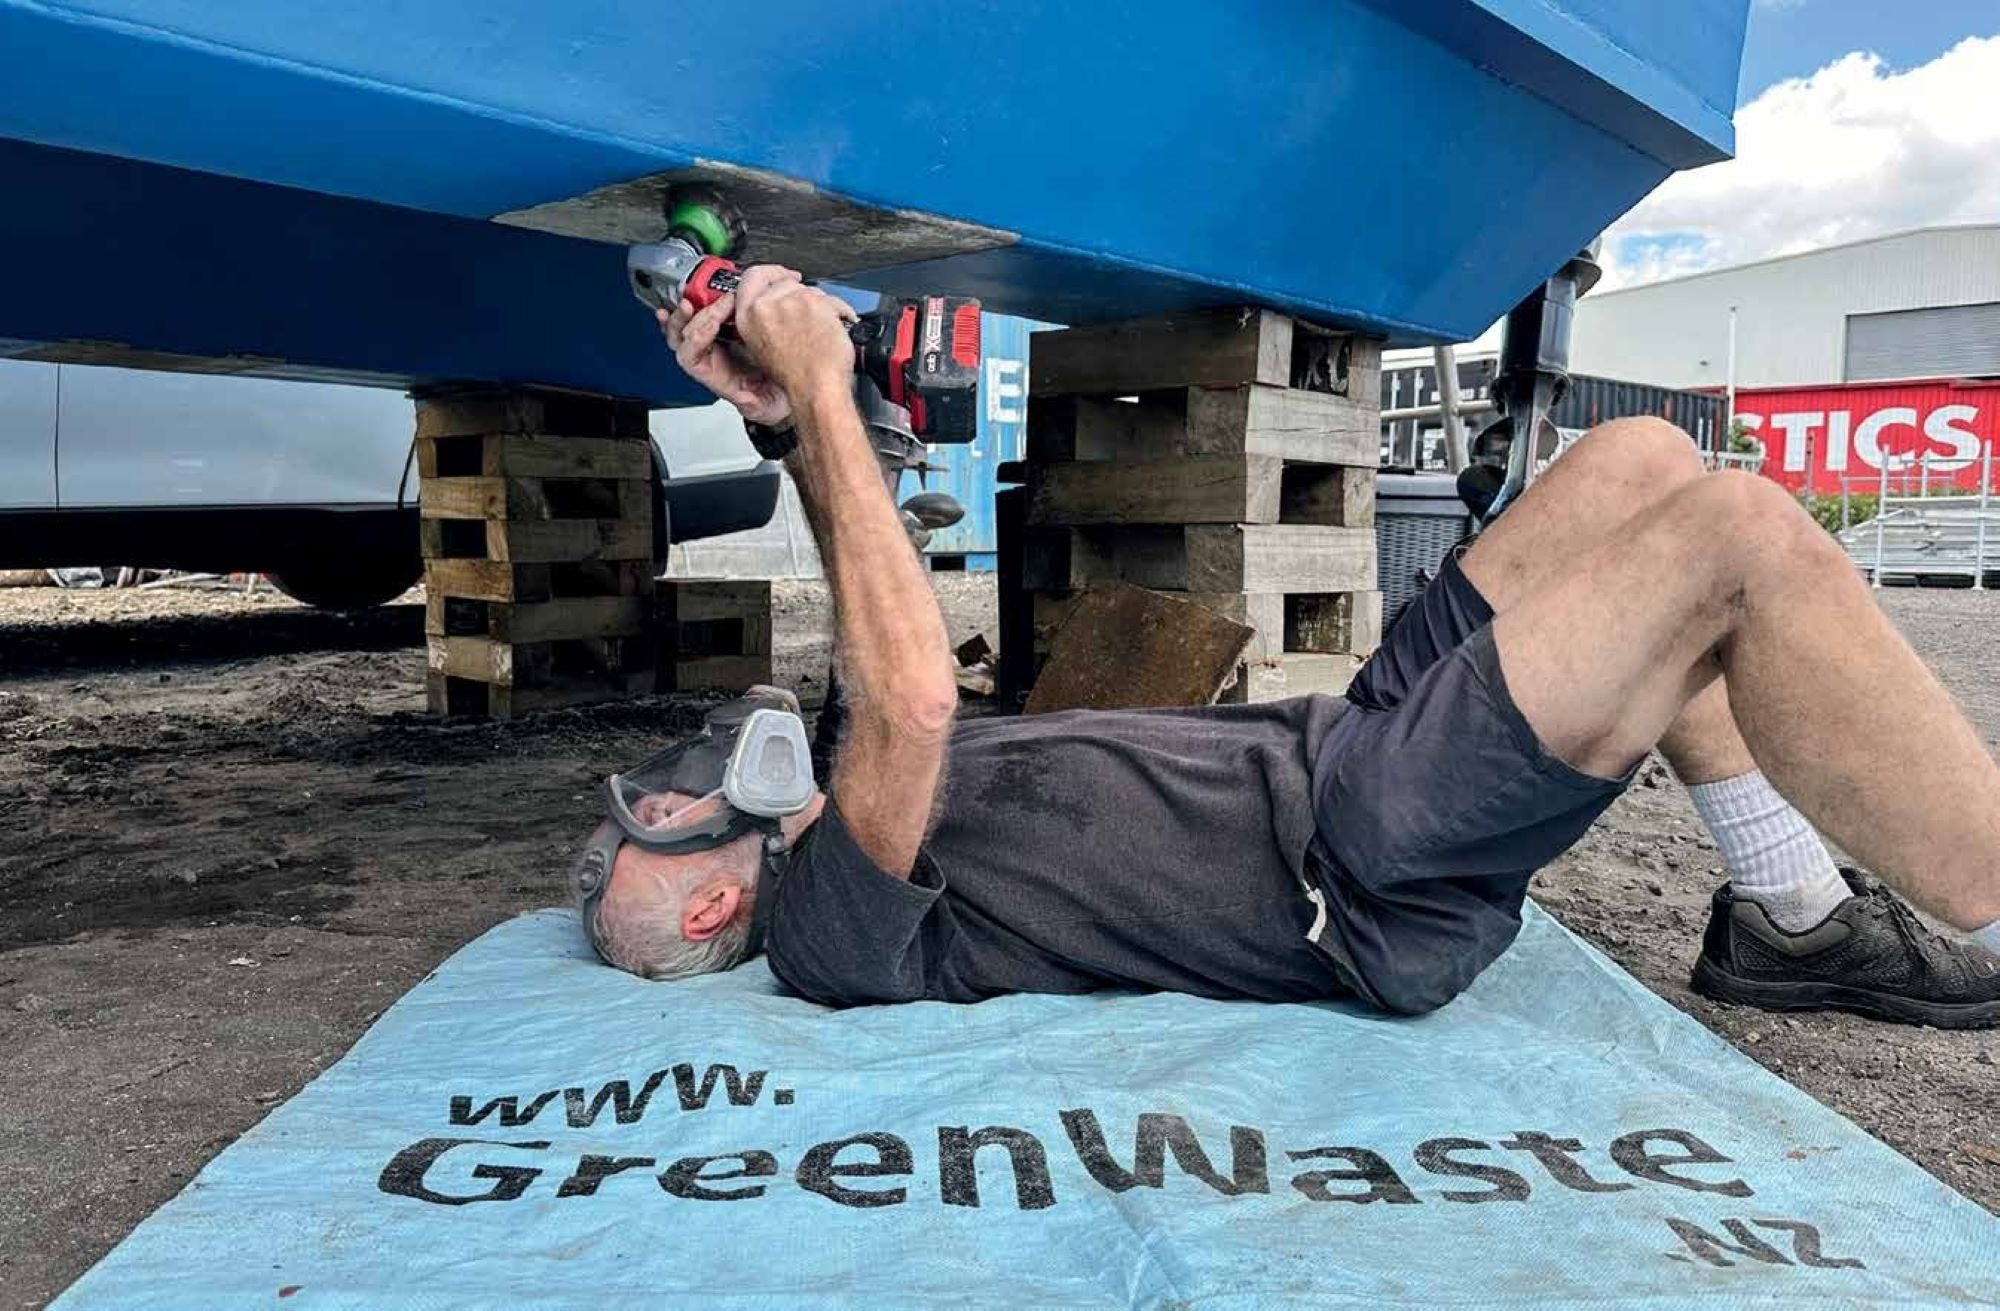
Hence, I set about acquiring my own wet sandblasting setup, starting with a commercial-grade petrol-powered waterblaster capable of more than 3300PSI of water pressure. A special wet sandblasting nozzle was added, and I constructed a hopper to keep the sand dry despite the blaster spraying a fine mist of water everywhere. Suitable protective gear was required, with a full-face shield proving the best to protect eyes and lungs.
And the last component was the sand itself. Although sandblasting has been around since the 1870’s, it was only relatively recently that we discovered the dangers of Silicosis. This lung disease is caused by repeatedly breathing in fine particles of silica dust. Unfortunately most types of sand are comprised of silica based minerals. Hence blasting them at high speed, even when water-borne, is not a good idea.
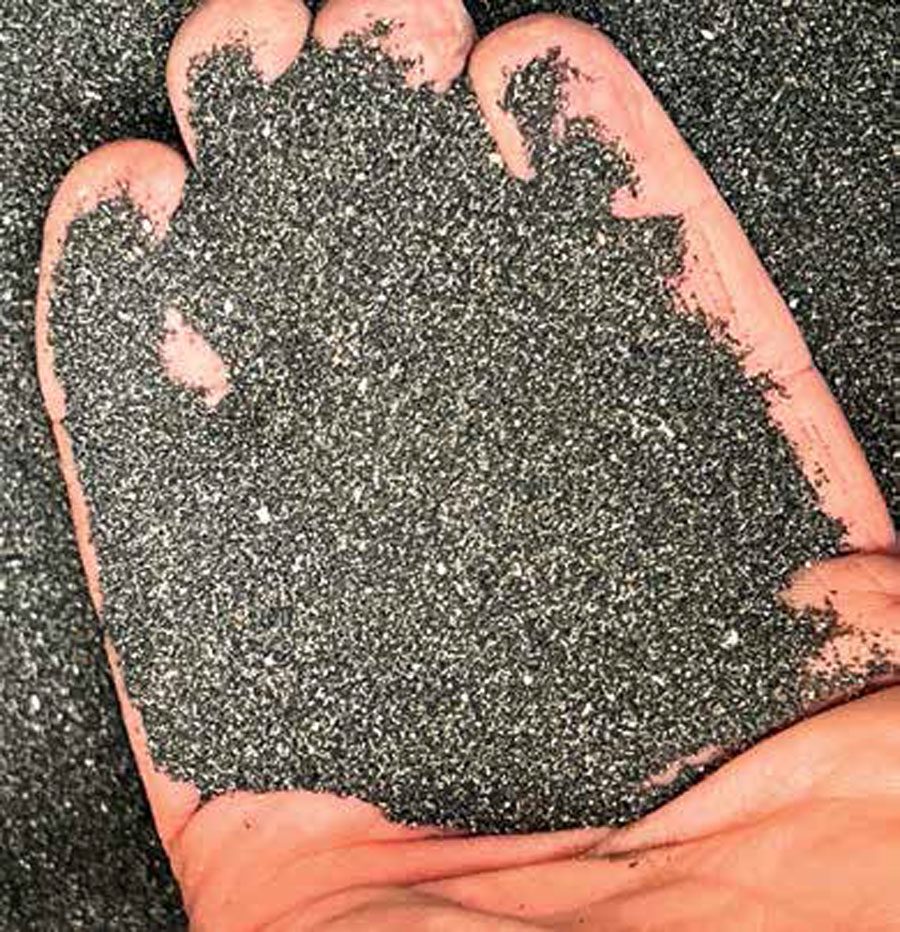
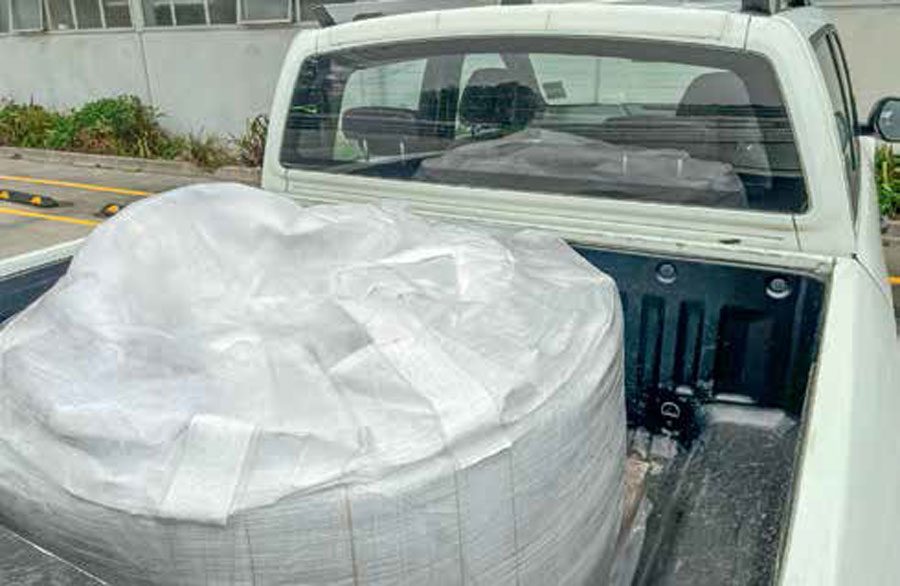
And it turns out that one of the safest sands to use is our very own ironsand, mined off the west coast of New Zealand. This is cleaned, sieved to get even particle sizes, and then kilndried. Standard black beach sand is generally too fine, but after some research I found that Commodities NZ in Palmerston North sells the ideal product. It comes in 25-kg bags or a 1-tonne bulk bag, and they will ship anywhere in NZ.
After some initial experimentation with a couple of 25kg bags, I bit the bullet and ordered the bulk size. Luckily a forklift was available at the yard to off-load the truck, and I was ready for some serious work. Another bonus was that the yard where I was working has a dark gravel surface, so the sand that washed off the boat did not need to be cleaned away afterwards.


The photos show the progress. Three days of effort was sufficient to complete the interior of the cockpit and most of the transom exterior. Next on the agenda are the sides of the cabin and foredeck. I also need to start some targeted cleaning inside the various hull voids, ensuring all the corners and welds are completely corrosion free. The outsides of the hull will simply be sanded smooth rather than cleaned back to metal because it will again be vinyl wrapped.
My total investment so far in equipment and sand is over $2000 but I have the satisfaction of doing the job myself. Due to the massive surface area which I am cleaning this is somewhat cheaper than having someone else do it, although it does take a fair bit of time and effort. BNZ