Fish finding technology has evolved in leaps and bounds, but to get the best results you need to give your MFD a good ‘mate’ – a quality transducer. By Norman Holtzhausen.
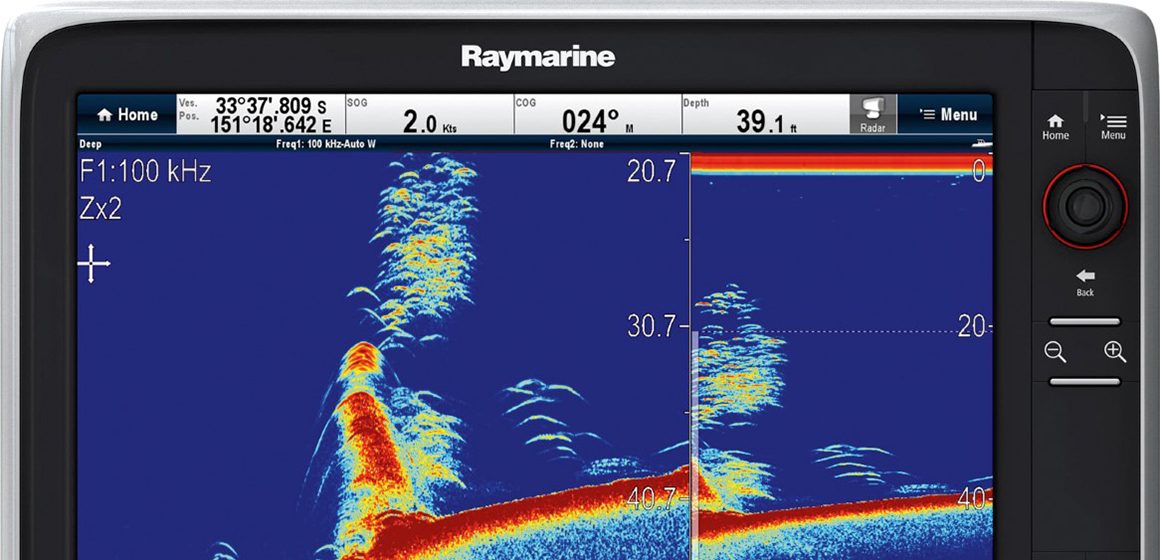
s electronics have become more powerful and screens bigger, the boffins have managed to fit more functionality into the units. Broadband sonar was the first milestone, with a single transducer capable of generating different frequencies. Then ‘CHIRP’ technology arrived – the transducer emits a pulse of continuously varying frequency. This is better for differentiating between objects of different sizes and depths and will more clearly show, for example, a fish sitting above the bottom.
More recent arrivals are side-scanning and forward-scanning sonar units. These use the same principle but angle the beam away from the boat, and from the ‘shadow’ of the reflected sounds bouncing back they generate what looks like a 3D view of the bottom. An added advantage is that they can see things some distance away, not just what is directly below the hull.
![]()
The latest development is active target or ‘live’ sonar. Most fish finders rely on the boat moving continuously to build up the picture. Once the boat stops moving the sonar image becomes a straight line, unless a fish swims into the cone of sound produced by the transducer. Live sonar provides a real-time 3D view of whatever lies in the beam’s area of reach.
But all sonar systems rely on one crucial component: the transducer. It contains a piezo-electric ceramic element that both generates the sound pulse and then ‘listens’ for the returning echo. It doesn’t have any moving parts and contains a single element (in the case of traditional sonar), or multiple elements facing various directions for the side and forward scanning options. That transducer must be in constant, clear contact with the water, since sound does not travel very well across the air-water interface.
Which transducer?
To achieve the best pictures the transducer must run in clear water, without bubbles or disturbed water around it. Every boat generates micro-bubbles at any imperfections on the hull, and especially at the chines and planing strakes. Propellers, too, create a massive disturbance behind (or below) the hull, so ideally the transducer mounting point should be well forward of a prop and/or rudder.
With professional-grade sonar scanning the transducer is often towed in a streamlined sled or torpedo far behind the boat – this minimises any water disturbance and thereby provides the best signal. This is not practical for recreational vessels, so the transducer’s usually permanently attached to the hull.
In general terms there are three options:
• Transom-mounted – the transducer is attached to a metal bracket and fixed to the vertical part of the transom
• Through-hull fitting – the transducer’s permanently bonded into a hole in the boat’s hull. This may protrude below the hull with a fairing block, or it may lie completely flush with the outside surface of the hull
• Shoot-through hull fitting – for boats with solid fibreglass or metal hulls. The transducer’s mounted inside the hull and relies on the sound pulses passing unimpeded through the hull structure.
The transom mount is by far the most common – in fact most fish finders come with a transom-mount transducer bundled in the box. These are typically a fixed 90° bracket, either stainless steel or plastic, or a swing-away bracket that allows the transducer to flick up without damage if it strikes an object such as one of the rollers on the trailer.
Fitting a transom mount is simple, since the cable is usually fed into the hull through a hole located above the waterline. The bracket itself is either attached with short screws (they don’t protrude all the way through the hull), or sometimes fitted to a welded bracket that many aluminium boat manufacturers build into their hull. So there are no water ingress issues and the risk of flooding is almost non-existent. These transducers are comparatively cheap and readily available.
But a transom-mounted transducer is least likely to give you a good sonar image at higher speeds. The critical part of the transom-mount is finding clean water. This means avoiding the chines or other protrusions that cause bubbles, and of course being well clear of the propeller wash.
It is also necessary to fit the unit so the element is just below the water surface when travelling at speed, but not far enough down that it creates turbulence (bubbles) of its own. If your fish finder shows a good signal when travelling slowly but a poor one (or none at all) at speed, the location probably isn’t ideal.
Through-hull fitting are most commonly used on larger yachts and launches, and generally give a better sonar image. Without a trailer there is no risk of damaging the transducer when pulling the boat out of the water. And if carefully mounted the transducer will be in clear water at all speeds, so the image won’t degrade at speed.
The main issue with through-hull transducers is that most vee-shaped hulls lack a suitable ‘flat’ spot under the hull. The transducer needs to be perpendicular to the bottom to avoid a distorted picture. A fairing block is often fitted, holding the transducer surface perfectly horizontal despite the angled hull.
Fairing blocks are typically customised to the boat and are themselves shaped to minimise turbulence. If your boat has a flat hull a fairing block won’t be needed – the transducer can be mounted flush with the outside surface.
The other issue with a through-hull fitting is that old enemy, galvanic corrosion. These models are often made of bronze. They require special care when fitting to ensure a watertight seal and are considerably more expensive than a transom mount equivalent.
Shoot-through-hull transducers (also called in-hull) are installed inside the boat. These are the safest type (they don’t require a hole) and all wiring is safely isolated from water. They can also be serviced with the boat in the water. But they rely on a solid hull and can only be fitted to aluminium, steel or solid fibreglass (not foam- or wooden-cored, and definitely not glass-over-ply) hulls.
There are a couple of ways to install them. They can be permanently bonded to the inside of the hull with epoxy, making sure there are no air bubbles in the bonding material. Once again, care must be taken to get the transducer face parallel with the sea floor, not flat against the side of an angled hull.
When mixing the epoxy make sure it’s free of bubbles and ensure the entire face of the transducer is embedded in the compound. Of course, this is a permanent installation – if you get it wrong you’ll have to buy another transducer.
For this reason the most common way to install in-hull transducers is floating in a ‘bath’ of liquid located inside the hull. Airmar, one of the most popular third-party transducer manufacturers, supplies a mounting system with all its in-hull units.
This adjusts for the hull angle, with only the mounting ring permanently attached to the hull. Once the glue has set, the space is usually filled with standard glycol antifreeze (the green stuff) and the transducer itself is screwed in with an O-ring to prevent the antifreeze leaking out.
On larger commercial boats the transducer may be fitted into a custom-made bath of liquid, but the principle is the same – the transducer’s fully immersed in a liquid which is in contact with the solid hull. The in-hull transducer can give almost as good a picture as the through-hull one, provided the hull’s solid.
Which one’s right for you?
That depends on your boat size, technology, budget and requirements. A through-hull side scanning transducer with CHIRP can cost the wrong side of $2,000, whereas a transom-mount version could be less than a quarter of that.
But for the best image, unaffected by speed and causing no drag, you want to look at one of the through-hull or in-hull options
RETRO-FITTING AN IN-HULL TRANSDUCER
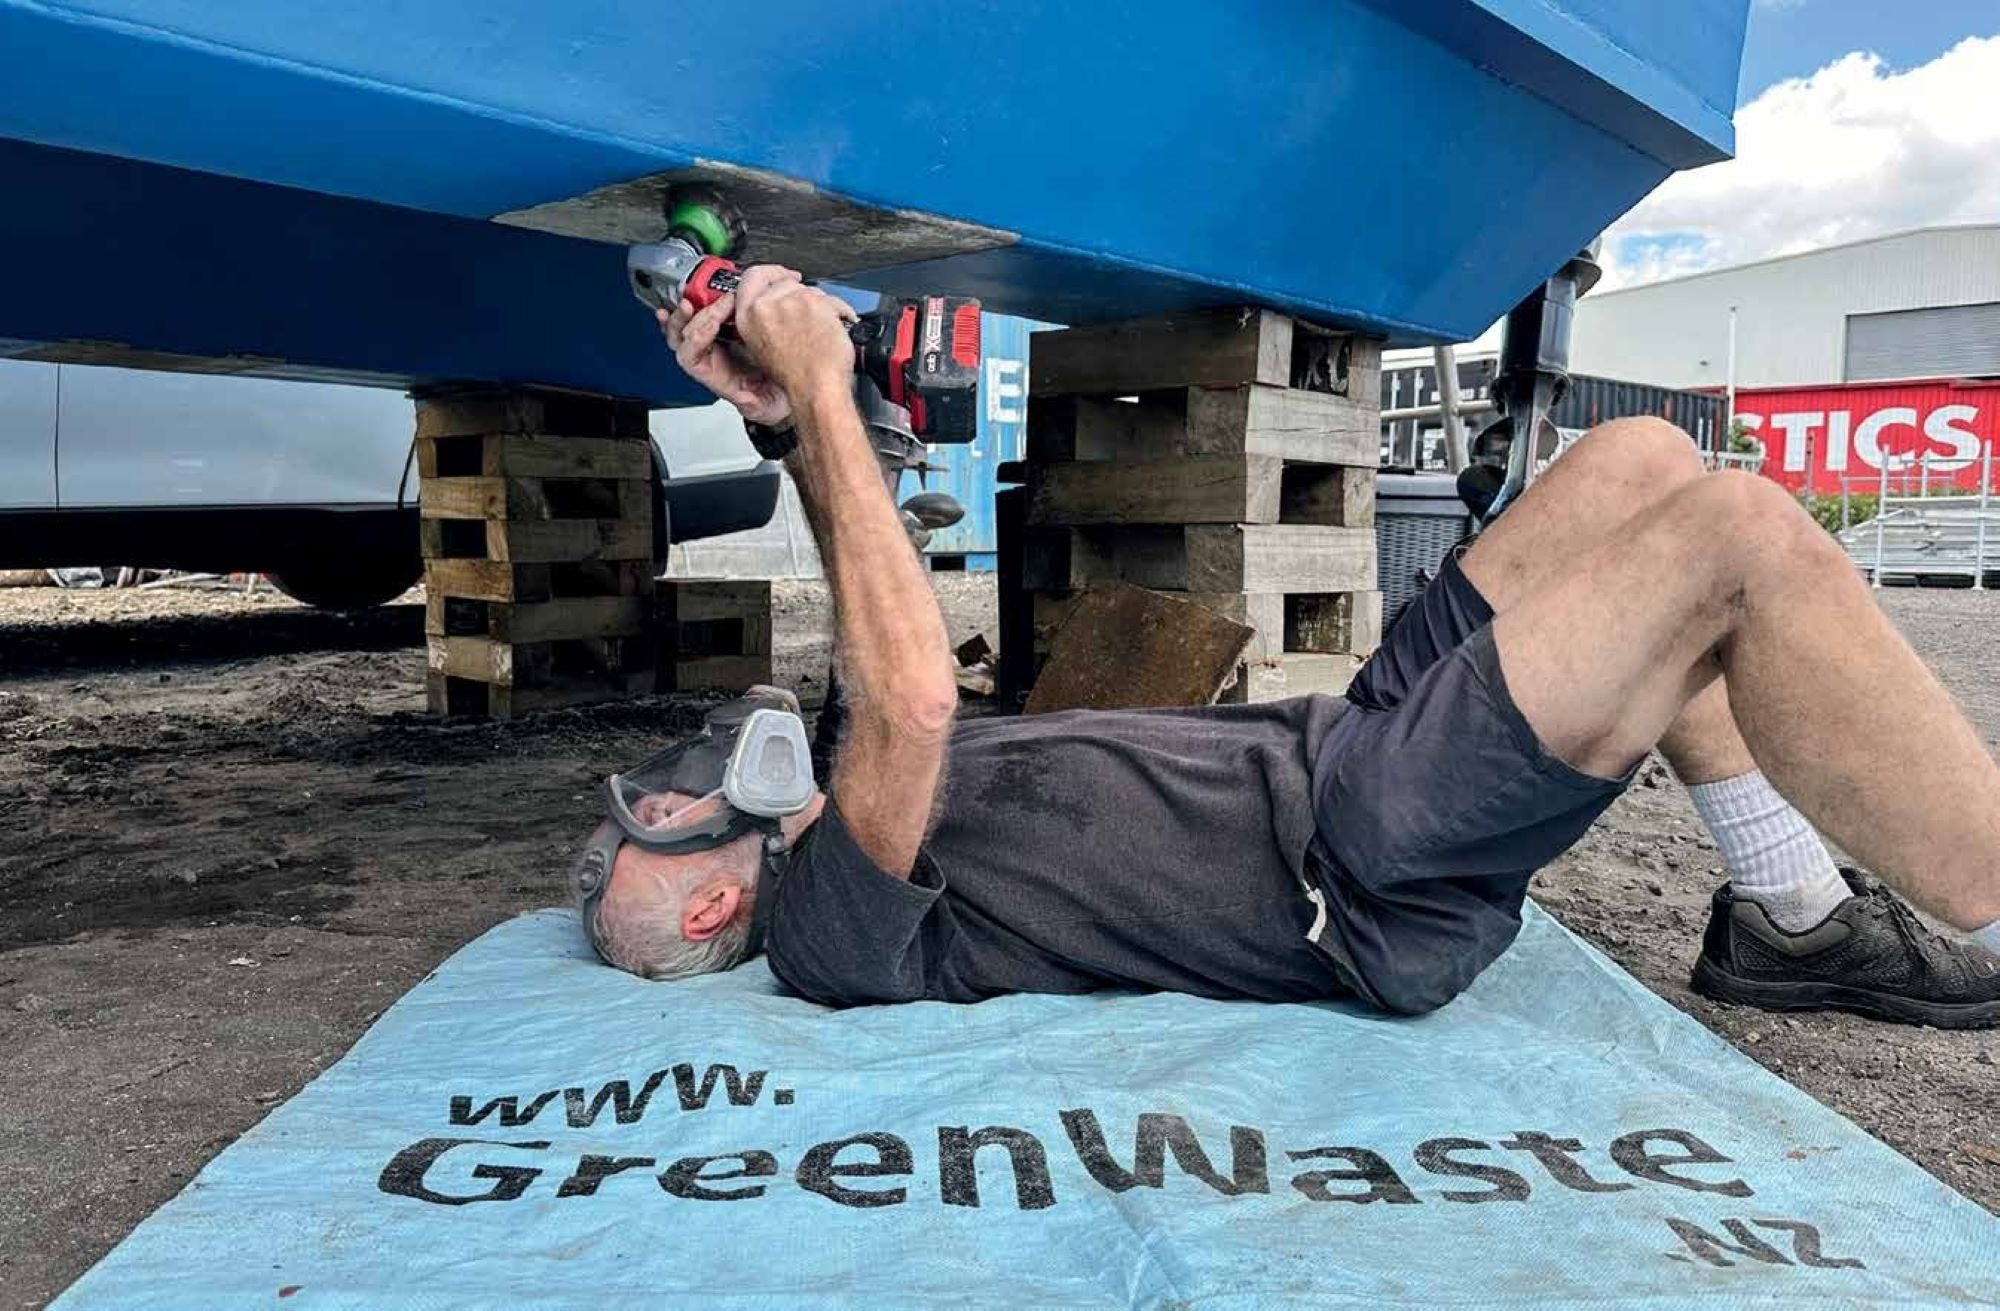
OUR 11M POWERCAT has an older model Lowrance HDS Fishfinder system, with an Airmar in-hull transducer installed several years ago. This works well, with a second display up in the flybridge which is networked – both units share the Navionics map data and use the same transducer.
 Recently we were offered a secondhand side-scanning module for the system at a really good price. But it came with a transom-mount transducer, and the boat has stern drive propellers so there is no clear water out on the transom.
The through-hull version of the side-scanning transducer is fairly expensive, especially when adding the cost of hauling the boat for installation.
Instead, we installed the transducer so it could shoot through the hull. We knew the hull was suitable due to the existing transducer but the new unit was not actually intended for this kind of installation.
Embedding it in epoxy in the bilge looked to be the simplest solution, although we knew this isn’t recommended by the manufacturers and we’d lose some of the unit’s sensitivity. But it was worth a try!
First, we identified a suitable spot in the bilge – a flat, solid section of the hull. To check how well it will work we surrounded it with liquid and viewed the image quality. We were able to pour a small amount of water into the limited bilge space and place the transducer in the water. Another option is to use a very thin plastic bag containing water and the transducer and place this against the hull.
We compared the picture to the one we got by simply dangling the transducer over the side. The first location gave us a fairly poor picture but after trying another spot we got a much better image.
We drained the water and completely dried everything off. A light scuffing of both surfaces with 120-grit sandpaper, followed by a thorough cleaning with acetone ensured we had no contaminants, and the epoxy would hold. We removed the redundant metal transom bracket from the unit and ensured the base would sit horizontally.
The final step was embedding it in epoxy. We avoided the five-minute setting type as we weren’t sure how long it would take to position everything and did not want it to go off too quickly. We used masking tape to create a ‘dam’ a few centimetres bigger than the transducer face. This would prevent the epoxy oozing away and leaving a void.
Mixing up a generous amount of glue we spread it over the dammed-up area. The face of the transducer was also coated to eliminate any bubbles. We then placed the transducer into the pool of epoxy, wiggling slightly to get it touching the bottom and perfectly horizontal.
The next day we took the boat out and ran alongside a few known underwater structures to check the sensitivity of the unit. We had to crank the gain up a bit to compensate for the hull but on the whole we got a good picture. Success!